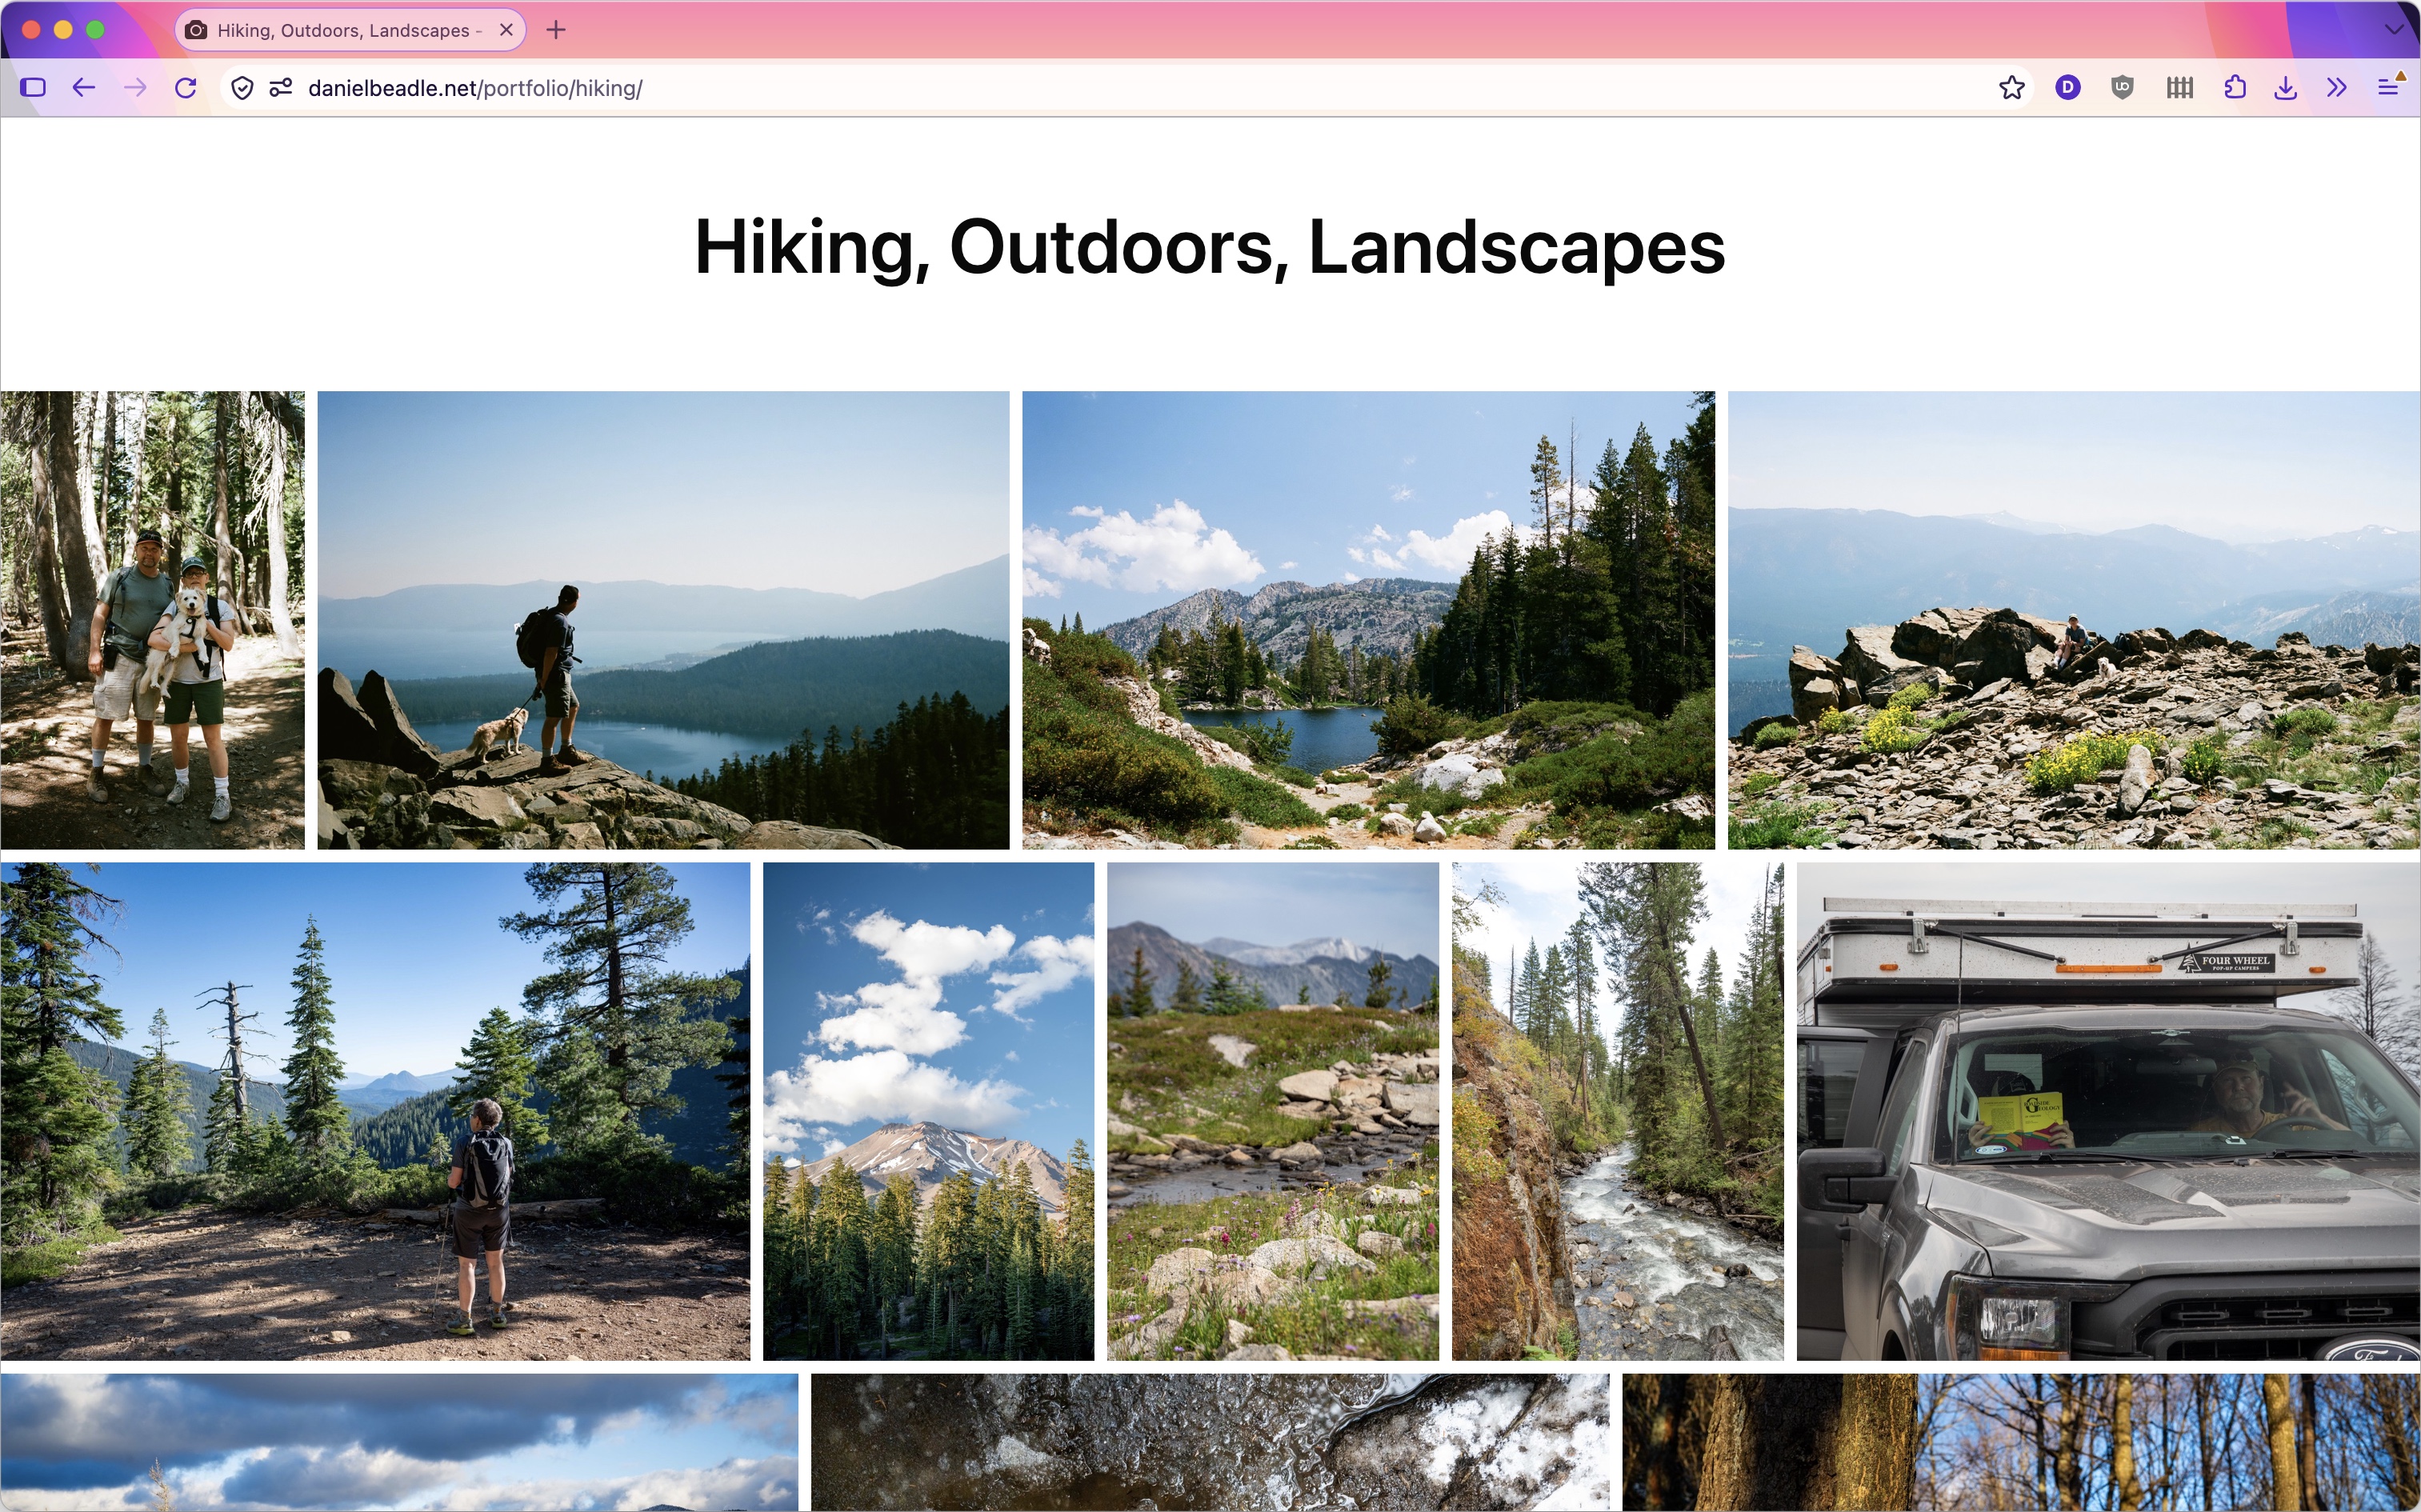
Daniel's Weblog
Posts Tags Colophon
About


Hot & Not (2026 Backpacking Edition)

Just spent two nights in the Adirondack High Peaks and checked Gothics and Armstrong off my list (and repeated Upper Wolfjaw).

Here are some gear notes about what went well and what didn’t so I can do better next time:

Served me well:

  1. Skippy creamy peanut butter squeeze pack

    On past trips I’ve skimped on the calories and suffered for it, this is an attempt to fix that

  2. Sea to Summit Aeros Ultralight Pillow

    This is so much better than resting your head on a pair of rolled up pants I can’t believe I put myself through that for so long. I accidently got the large but I’m sure the regular is great too

  3. REI Flashpack 22

    I like to backpack in, set up camp, and then do some mountains. The Flashpack 22 packs down small enough that I can fit it in my big pack. I actually bought my first second-hand, use it until it wore out, and then just now bought a new one.

  4. SPAM Singles Lite

    I couldn’t find the classic in stock but this was great to eat at the top of a mountain

  5. Katadyn Hiker Pro

    I hate filtering water. This isn’t the lightest thing in the world but it’s quick and I’ve set mine up so it plugs directly in to my hydration bladder eliminating the mess.

  6. JetBoil Zip

    I bought you on sale on a whim and you have changed my life. I used to spend too much time waiting for water to boil but you boil almost too quickly. I wish you had a built in ignighter and I’m still a little scared of lighting you by hand but its worth it to have water done so quickly.

  7. IR5 EOS

    Baby you light up my world like nobody else

  8. XTEINK X4

    Amazing. Don’t tell me about the newly released pro model, I want USB-C, not a proprietary charging cable (I wouldn’t have even needed to pack a charging cable for 2 nights… but it feels wrong to go on a trip without the charging cable)

  9. Bus from NYC to Albany-Rensselaer

    Usually I take the train but it was sold out. Bus worked well! It’s a long trip to the ADK and I don’t like driving all the way back when I’m tired.

Served me less well:

  1. Bare Boxer Contender

    A little too small for one large dehydrated dinner plus snacks, and toiletries for two nights. Great for one night out and in that case much better than carrying the full size cans they rent at the ADK Loj but a little too small for this trip.

    Also, I need to get a dedicated thing for opening bear cans.

I’m not mentioning brand names for these next couple becasue they don’t deserve any hate, they just didn’t quite work this trip:

  1. Backpacking pack

    It’s a good backpack!! I’ve done a bunch of ~2 night trips with it but it’s wearing out and it’s time for me to replace it

  2. Headlamp

    Maybe you just need new batteries but you were kind of dim

  3. Air mattress

    I have broader shoulder than I did when I bought this air mattress

Broke my heart:

  1. REI NYC

    I can’t believe you left me 😭


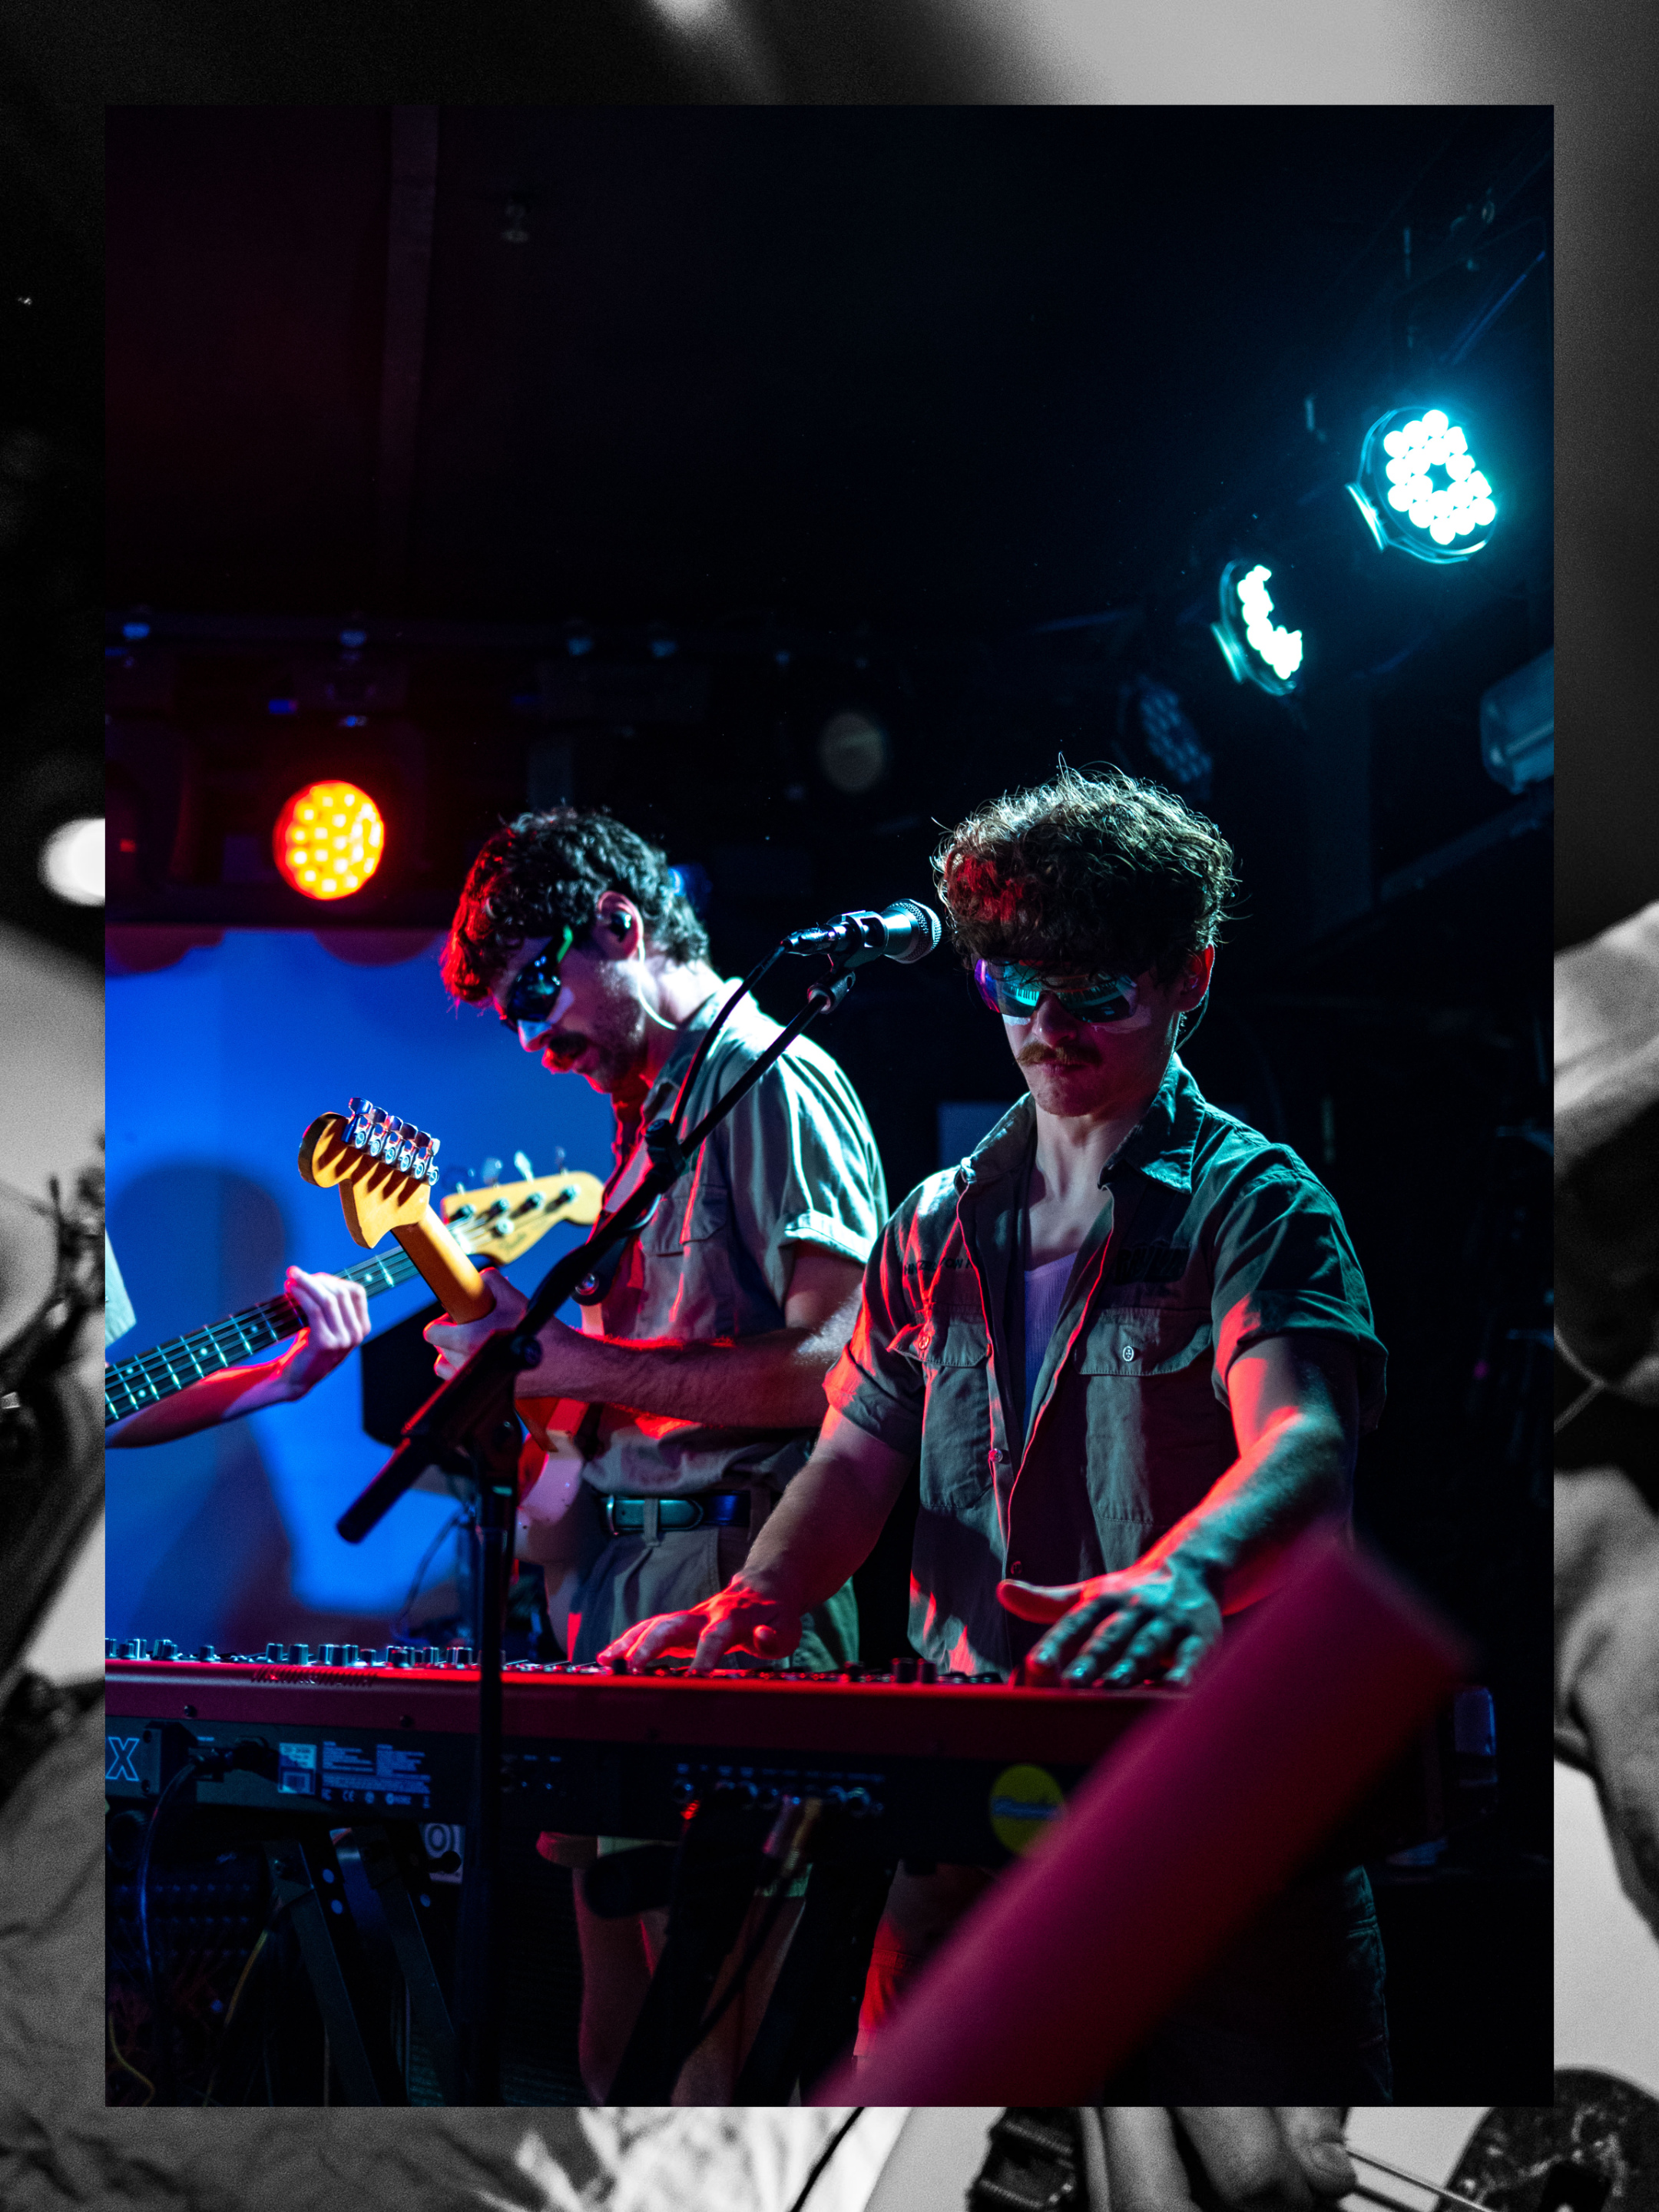
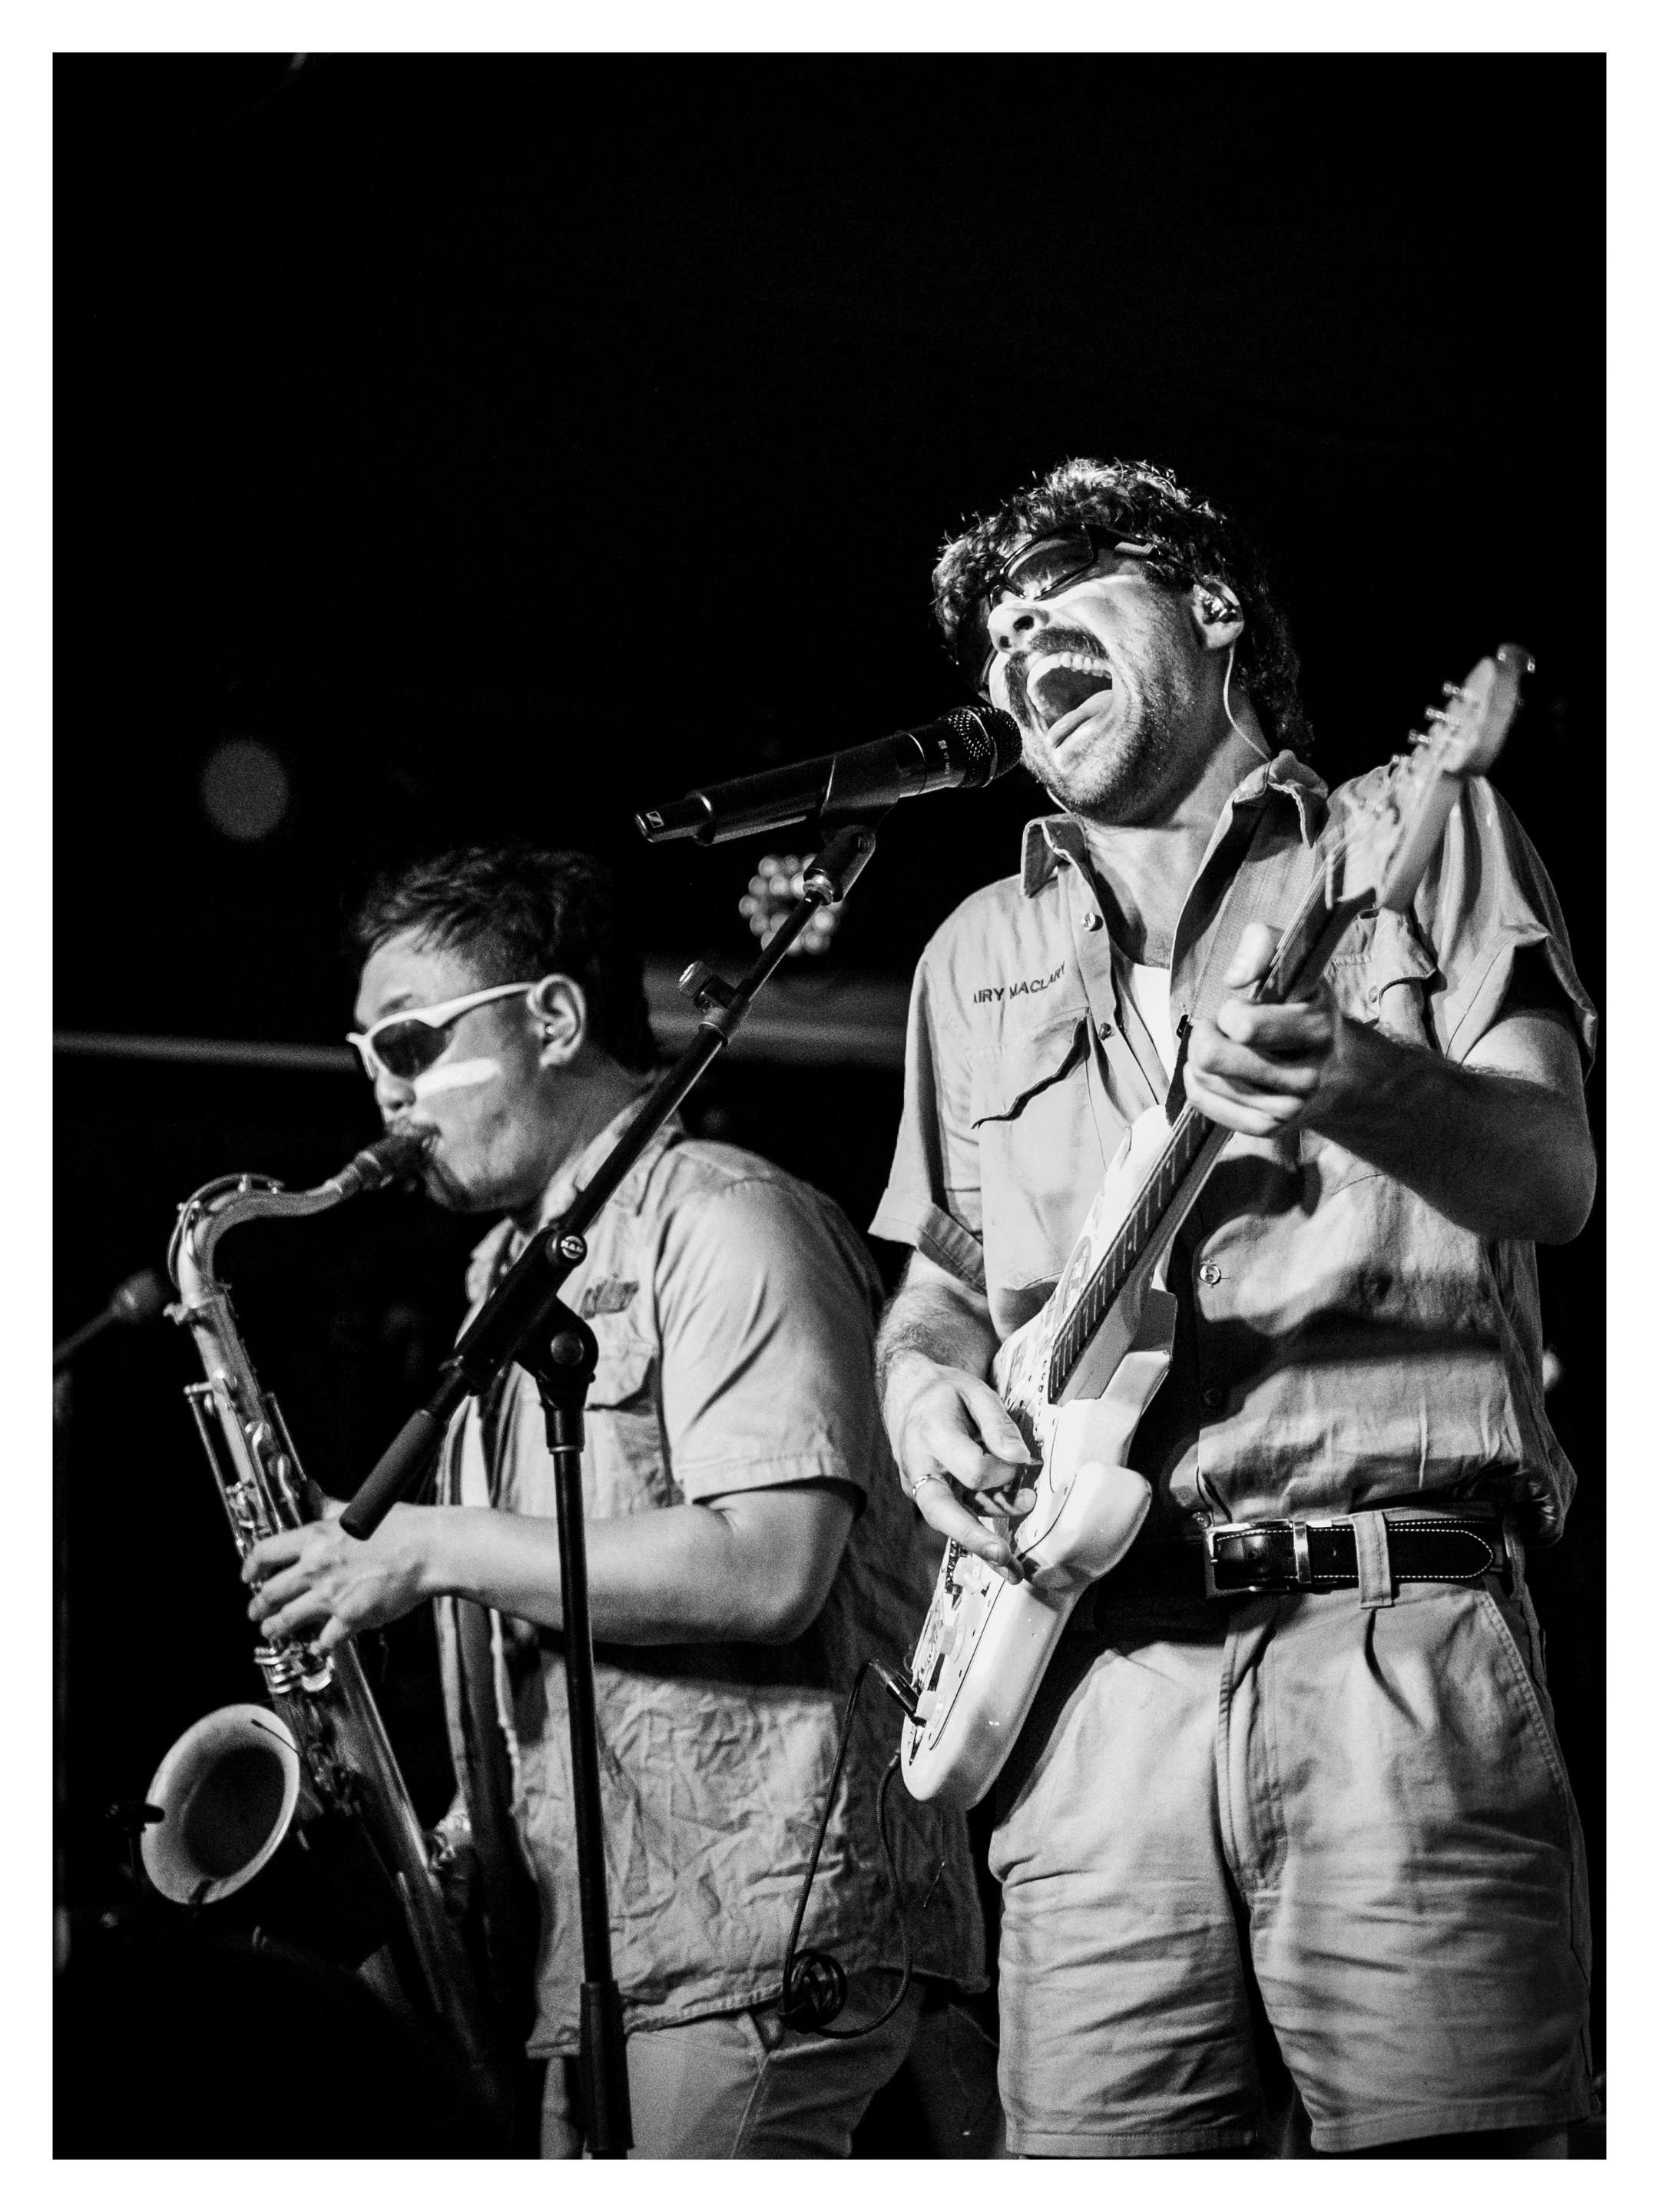
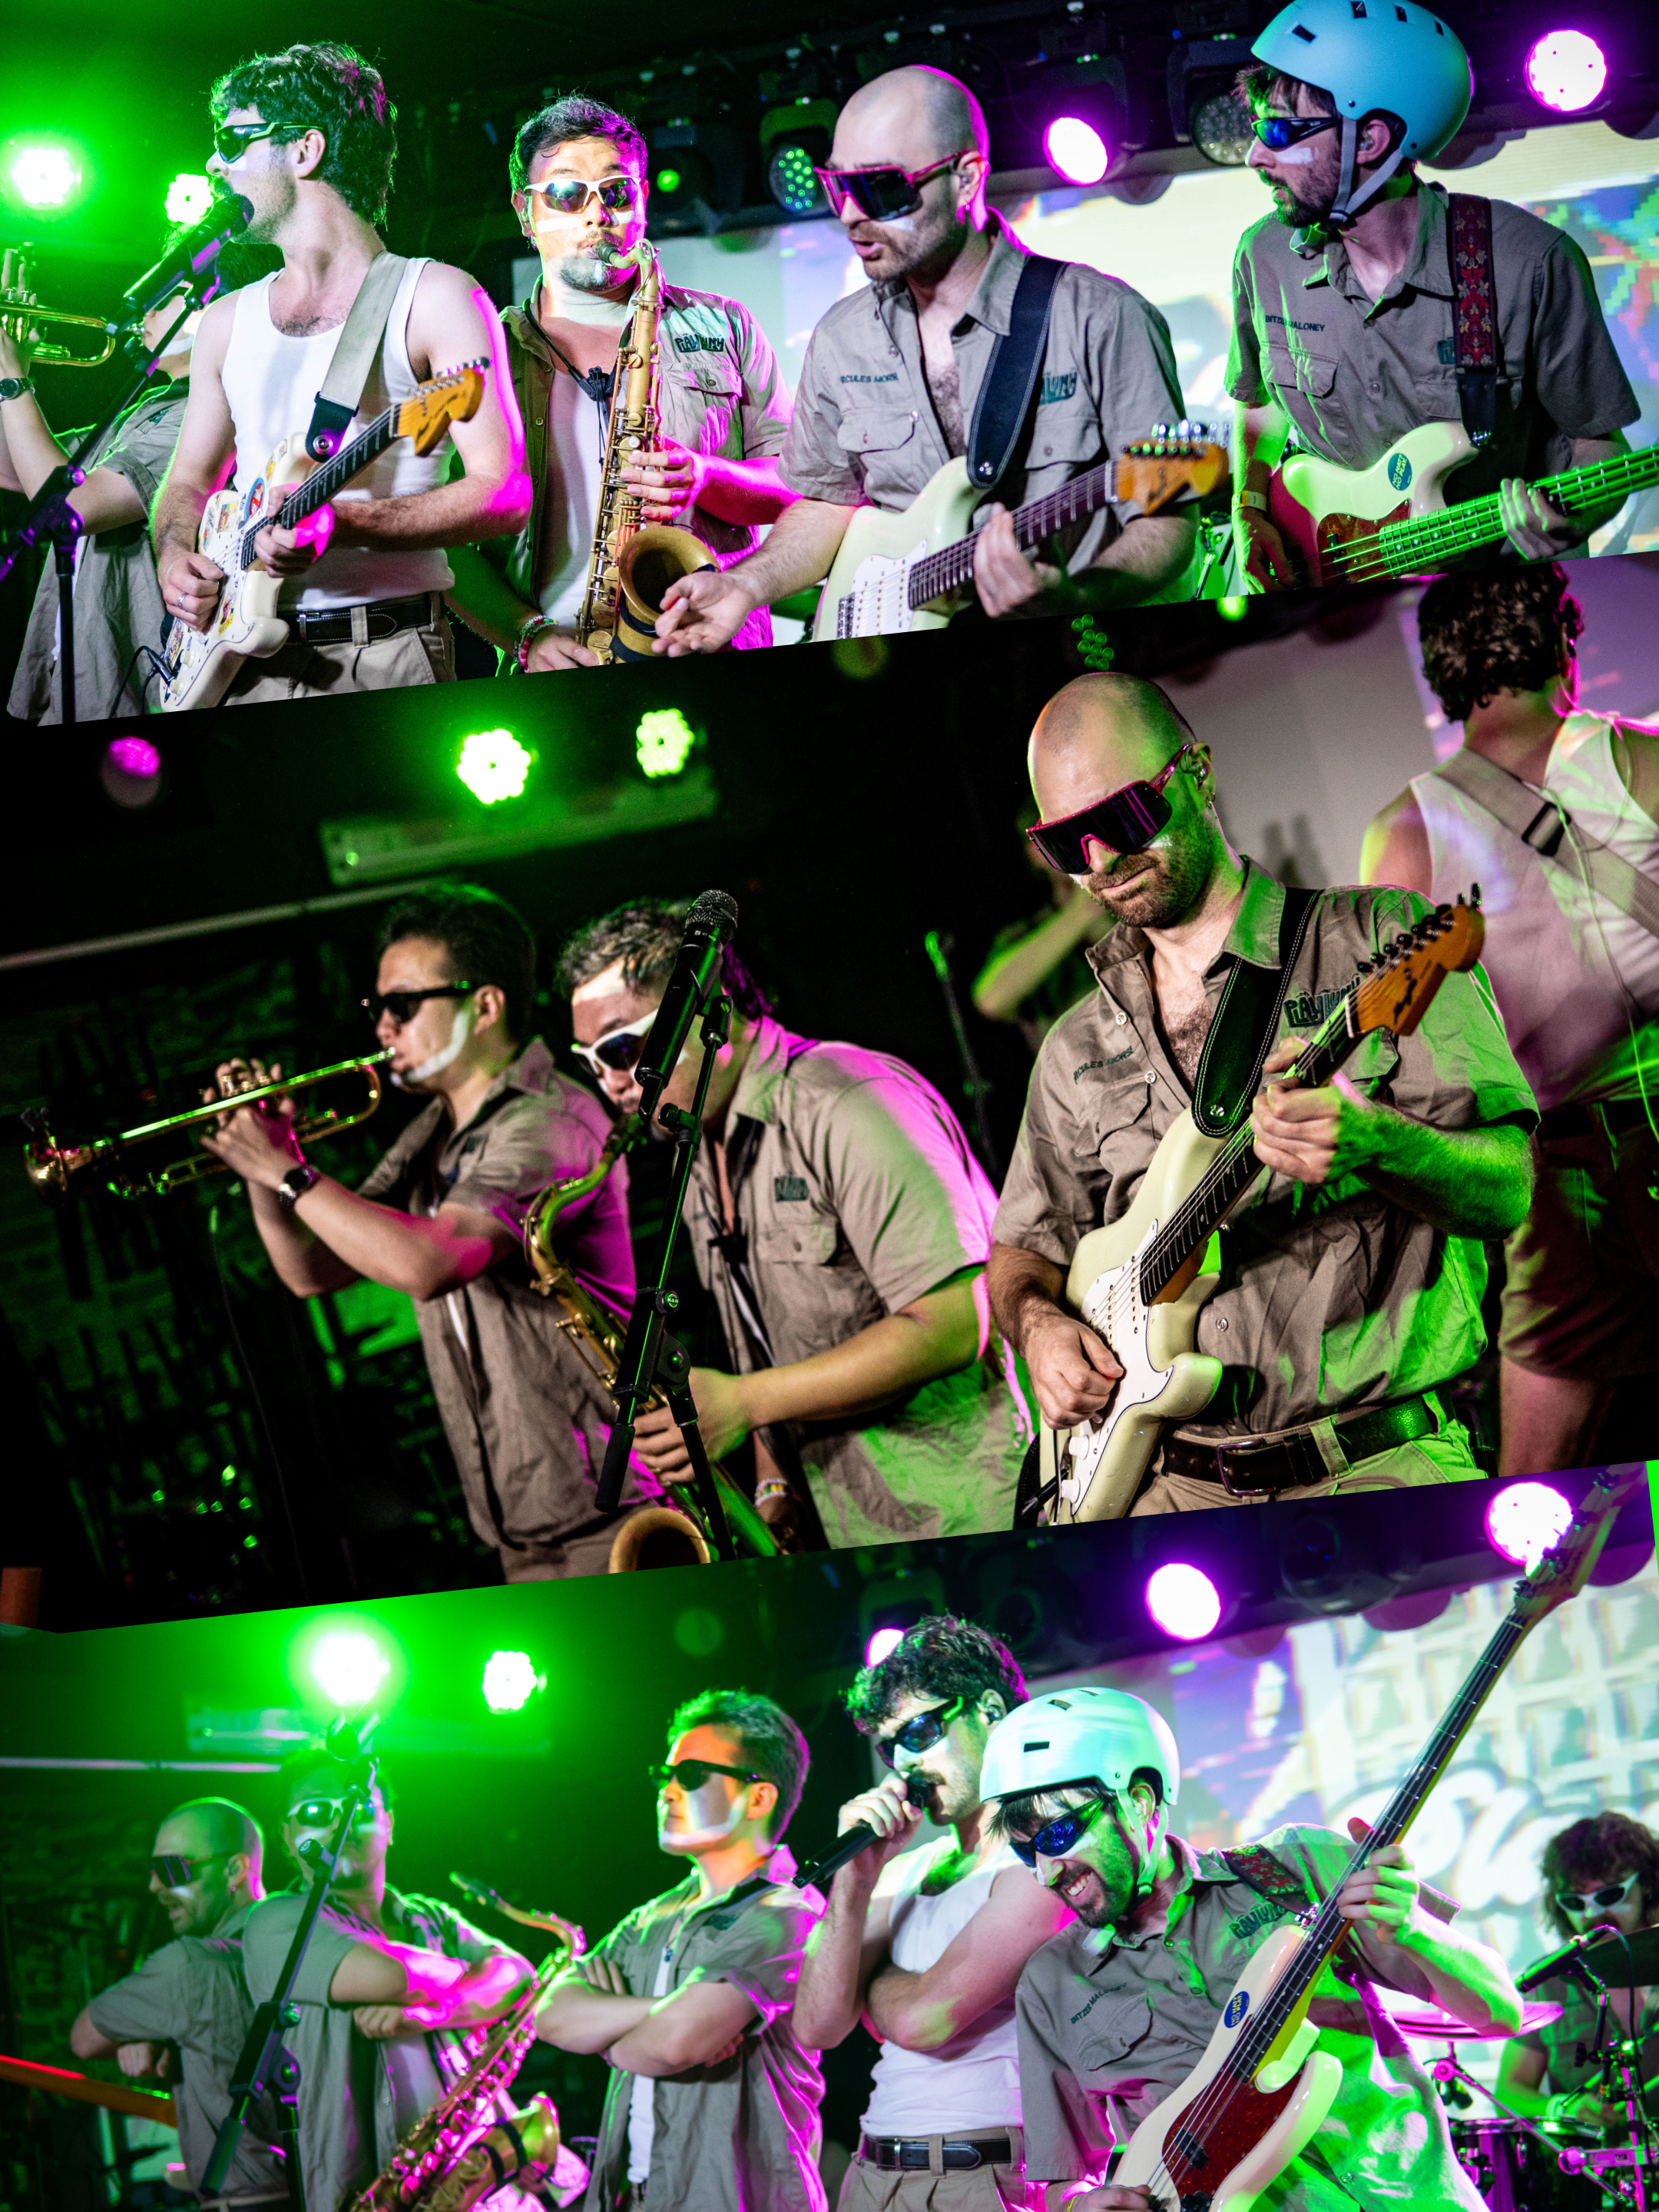
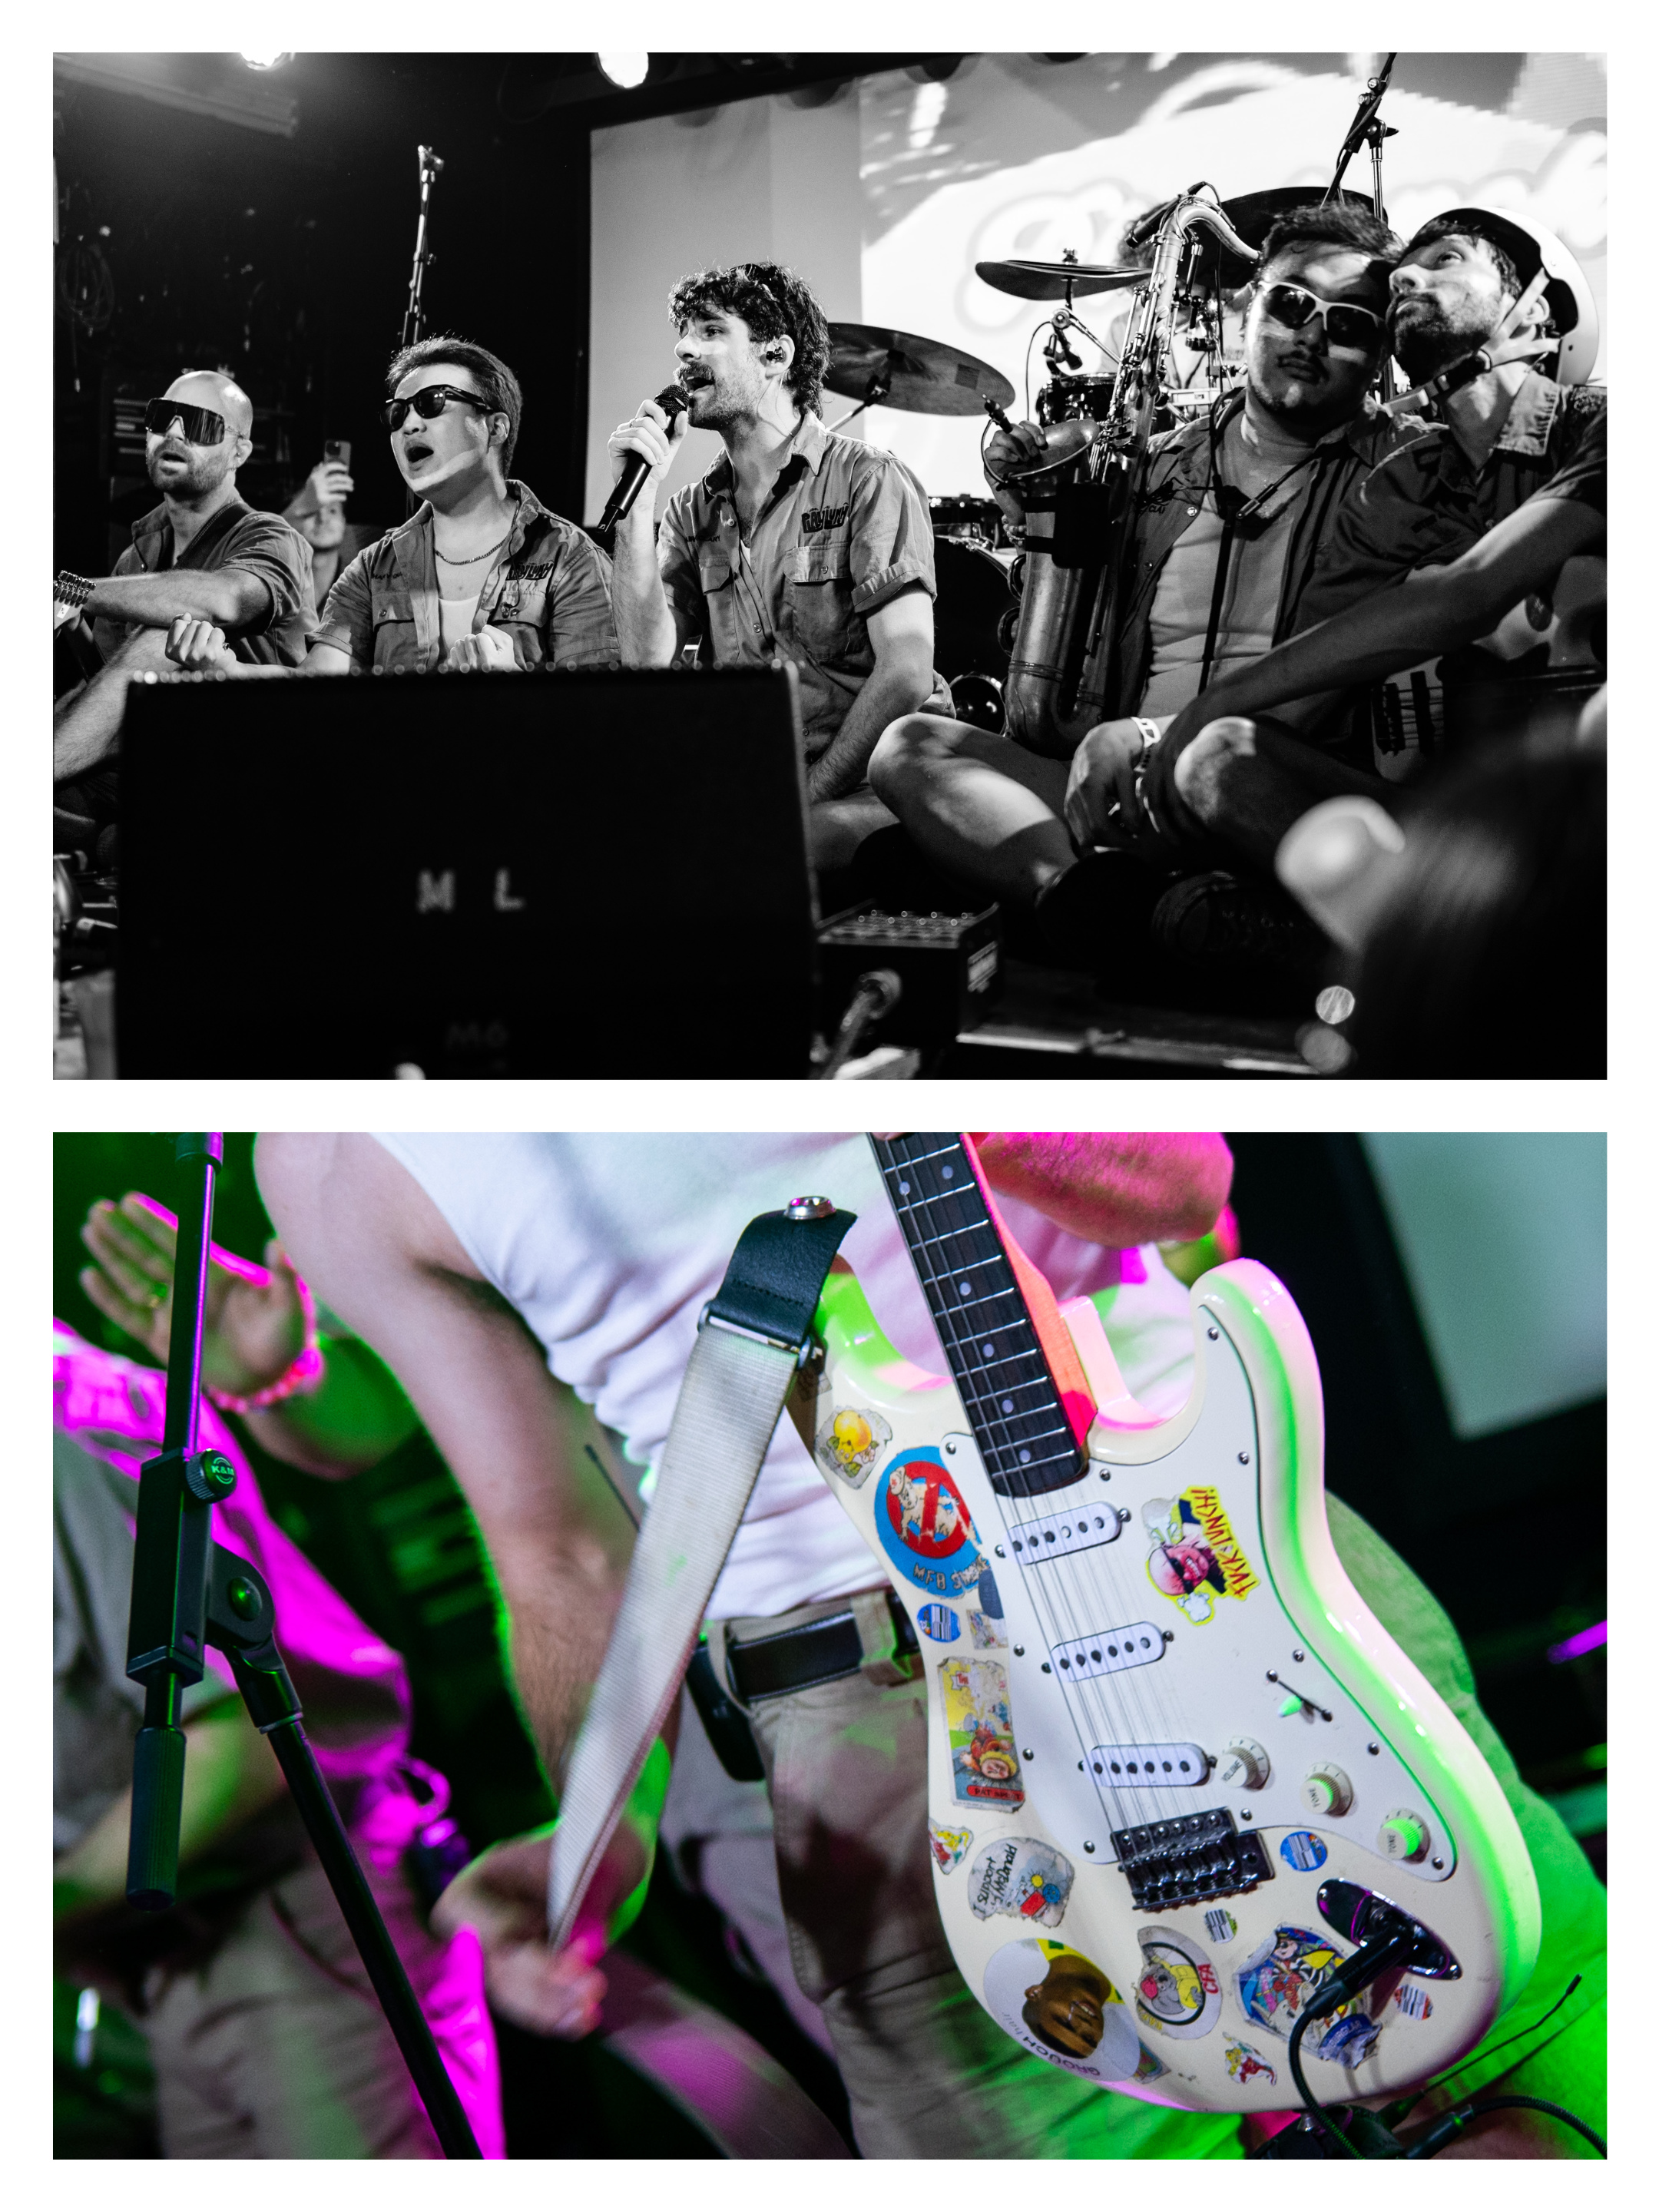
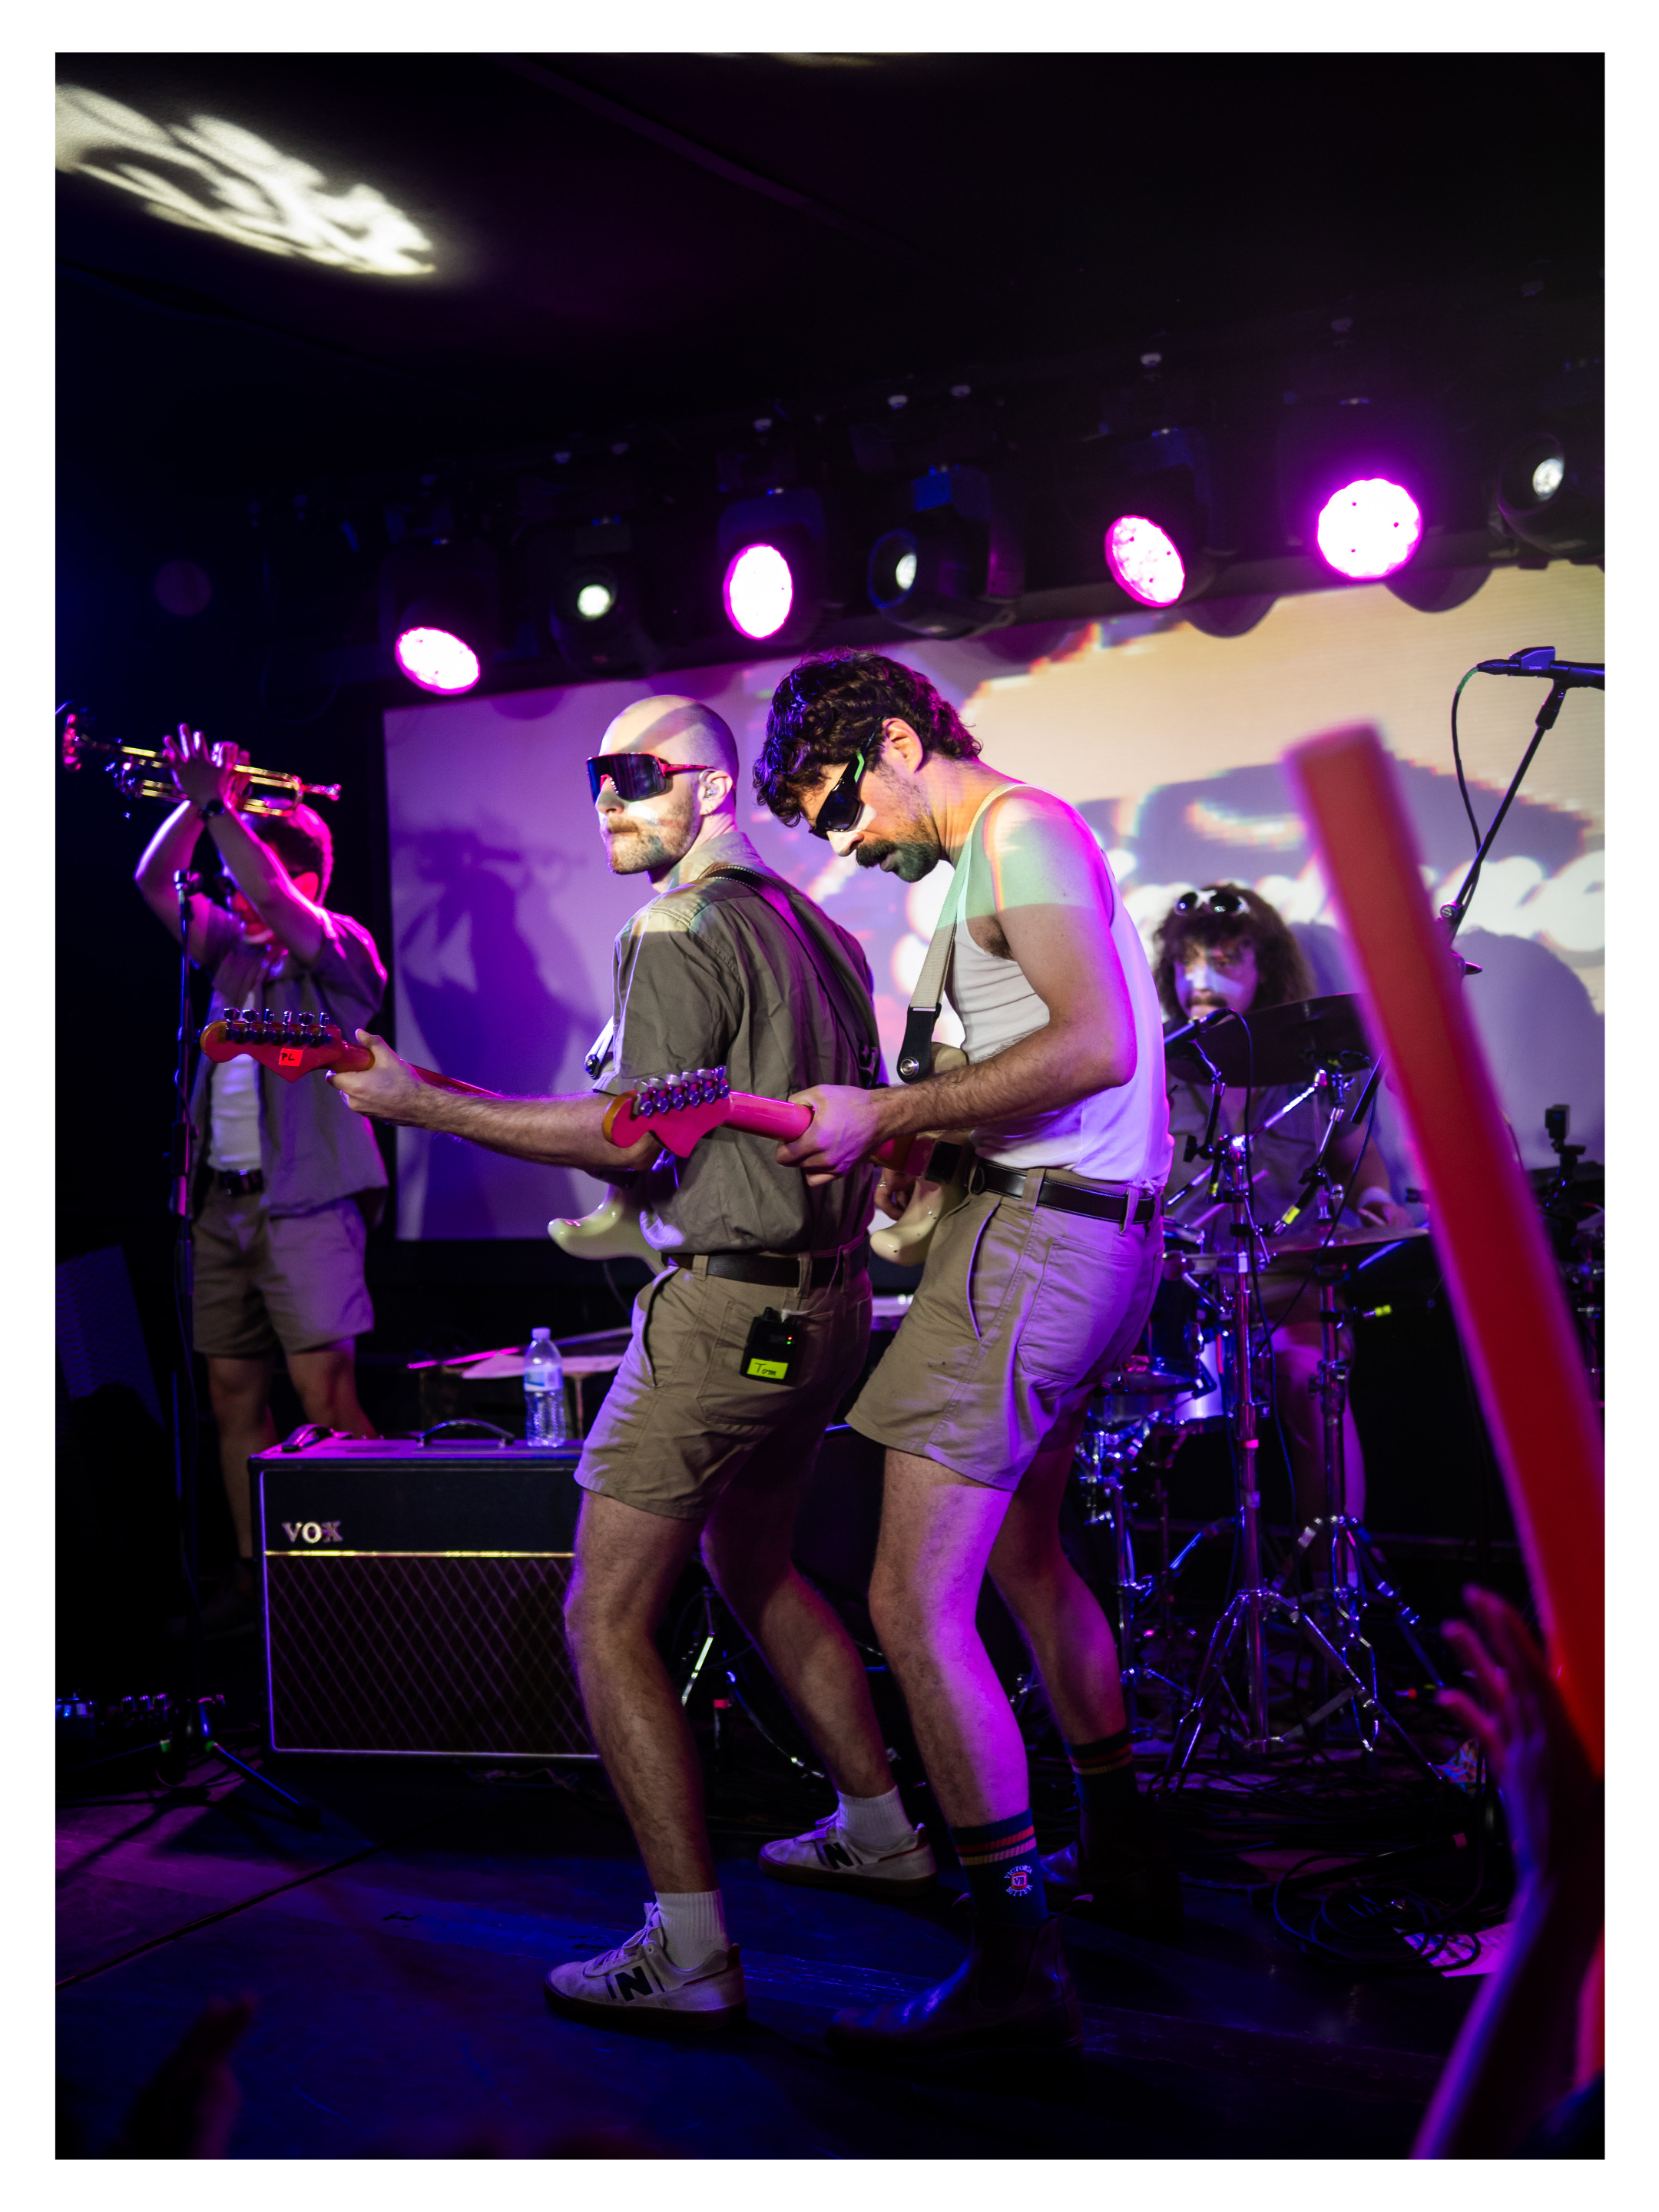
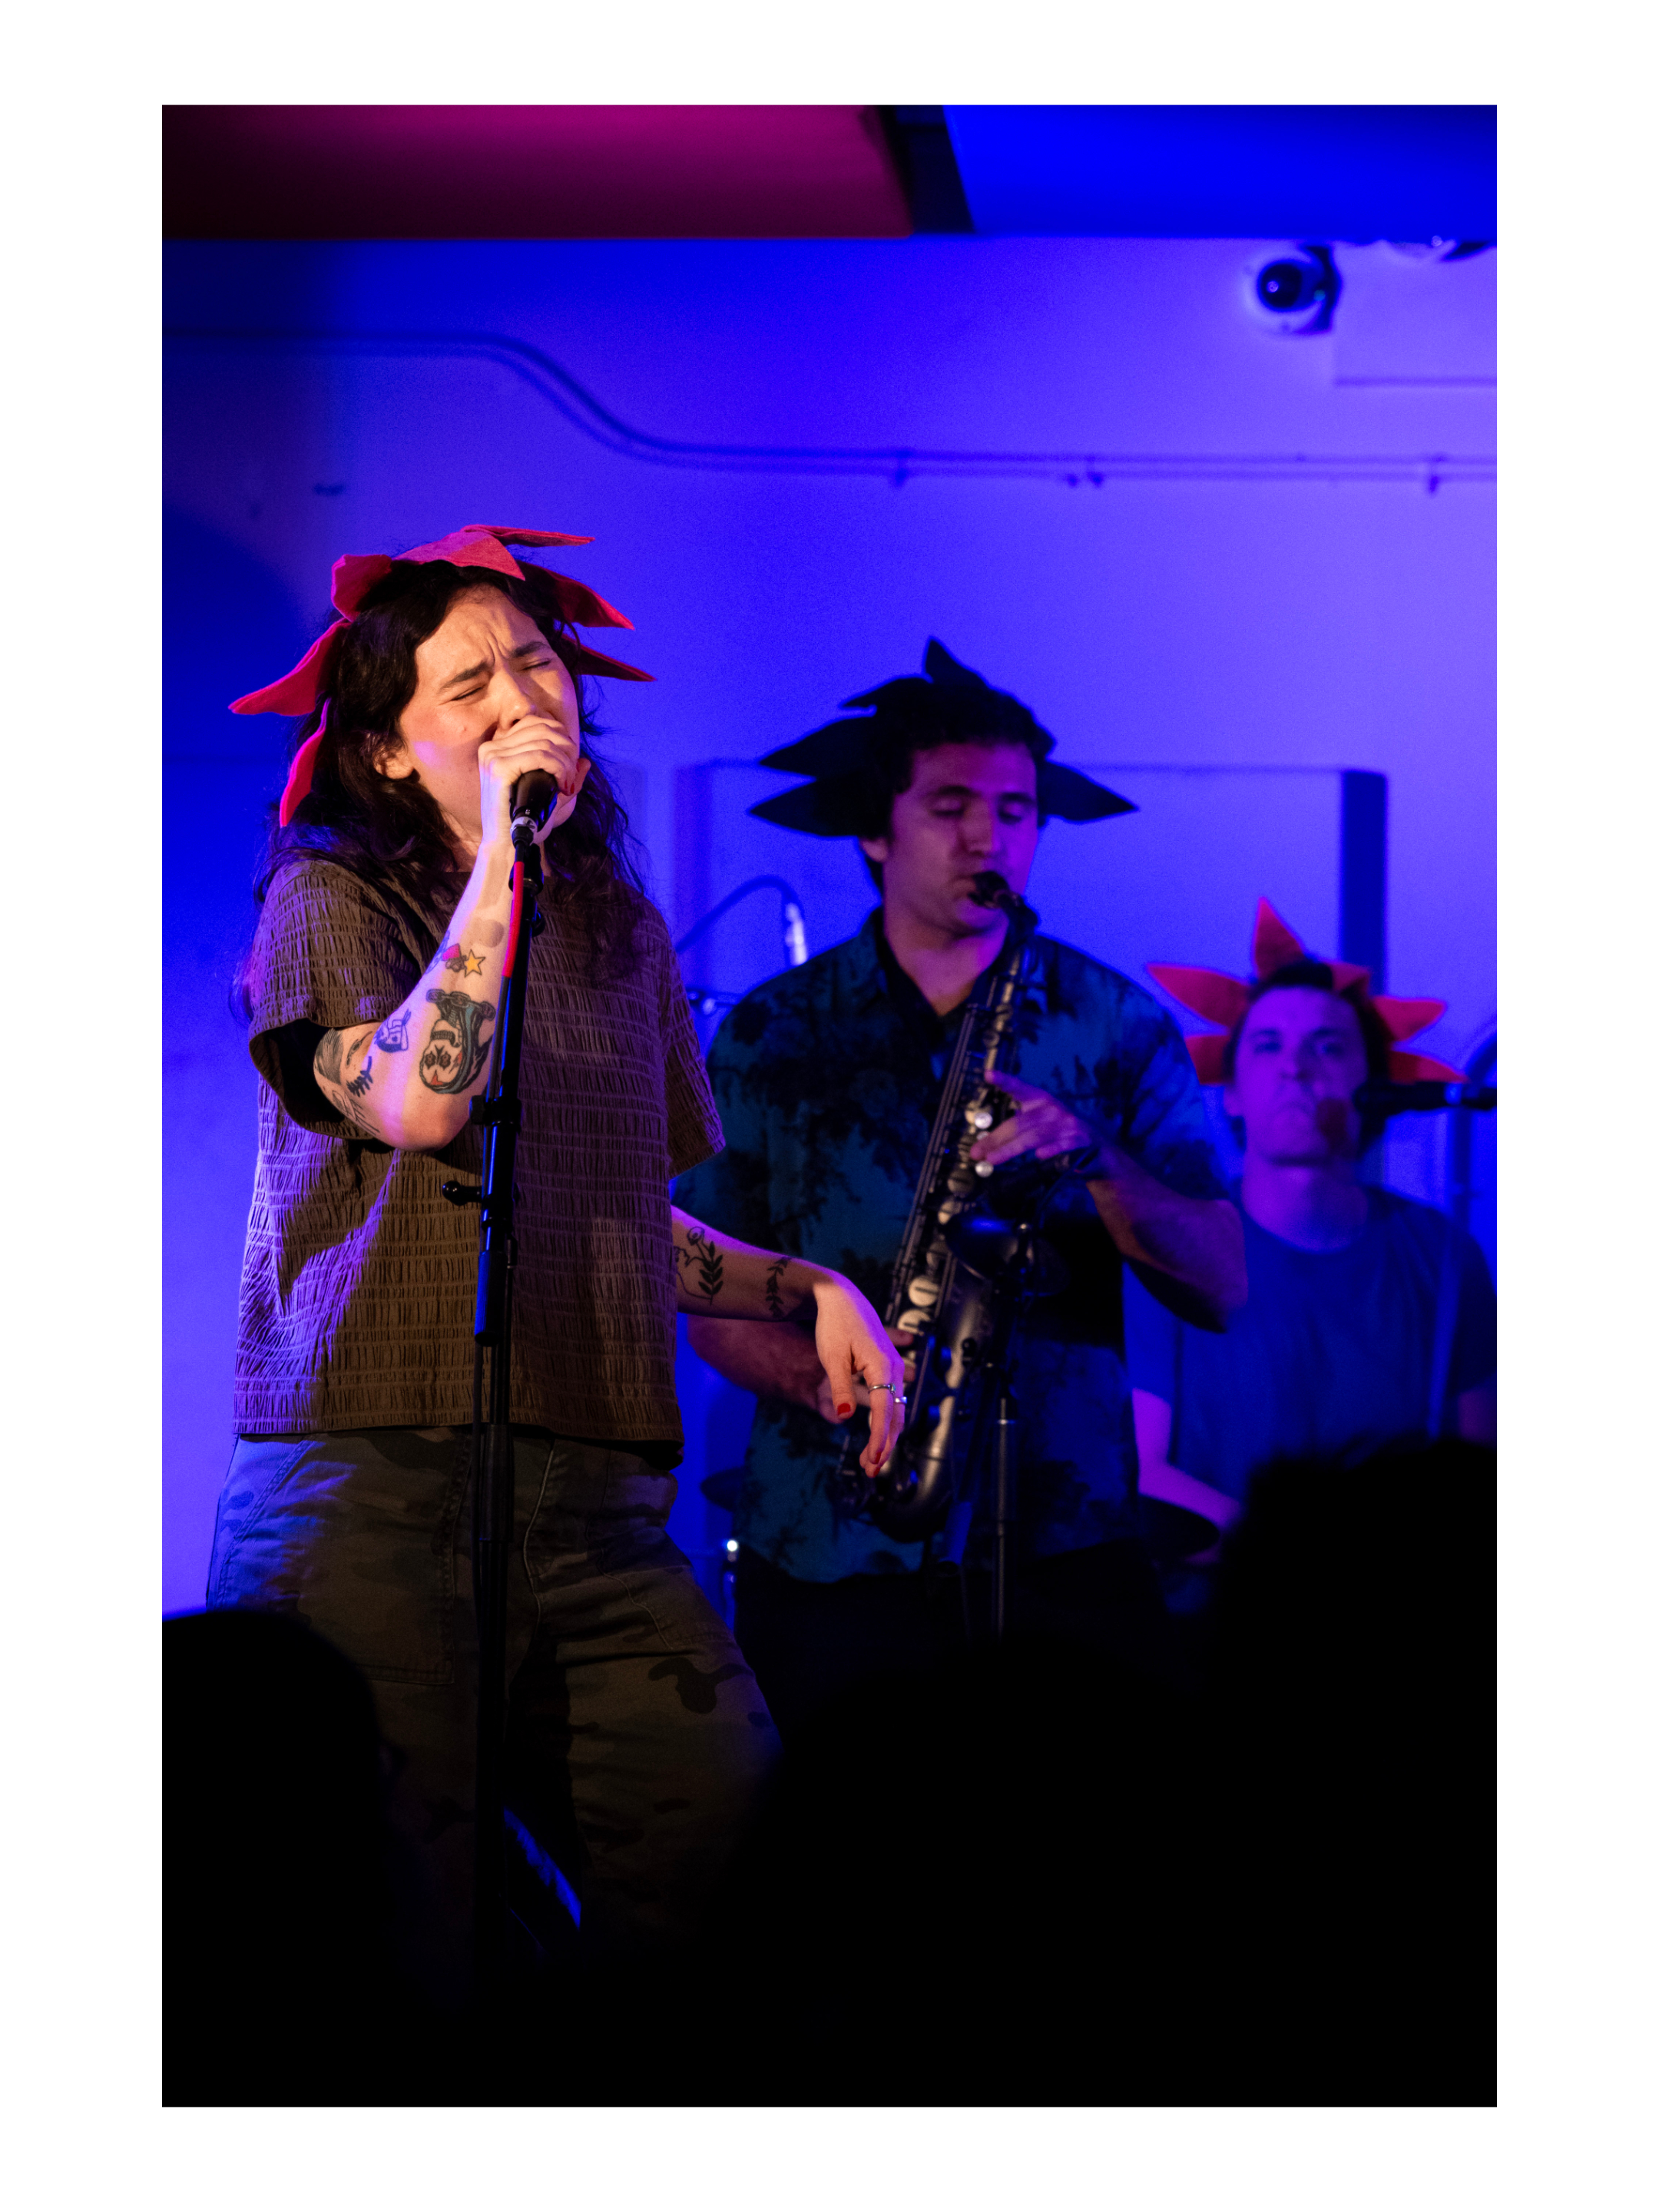
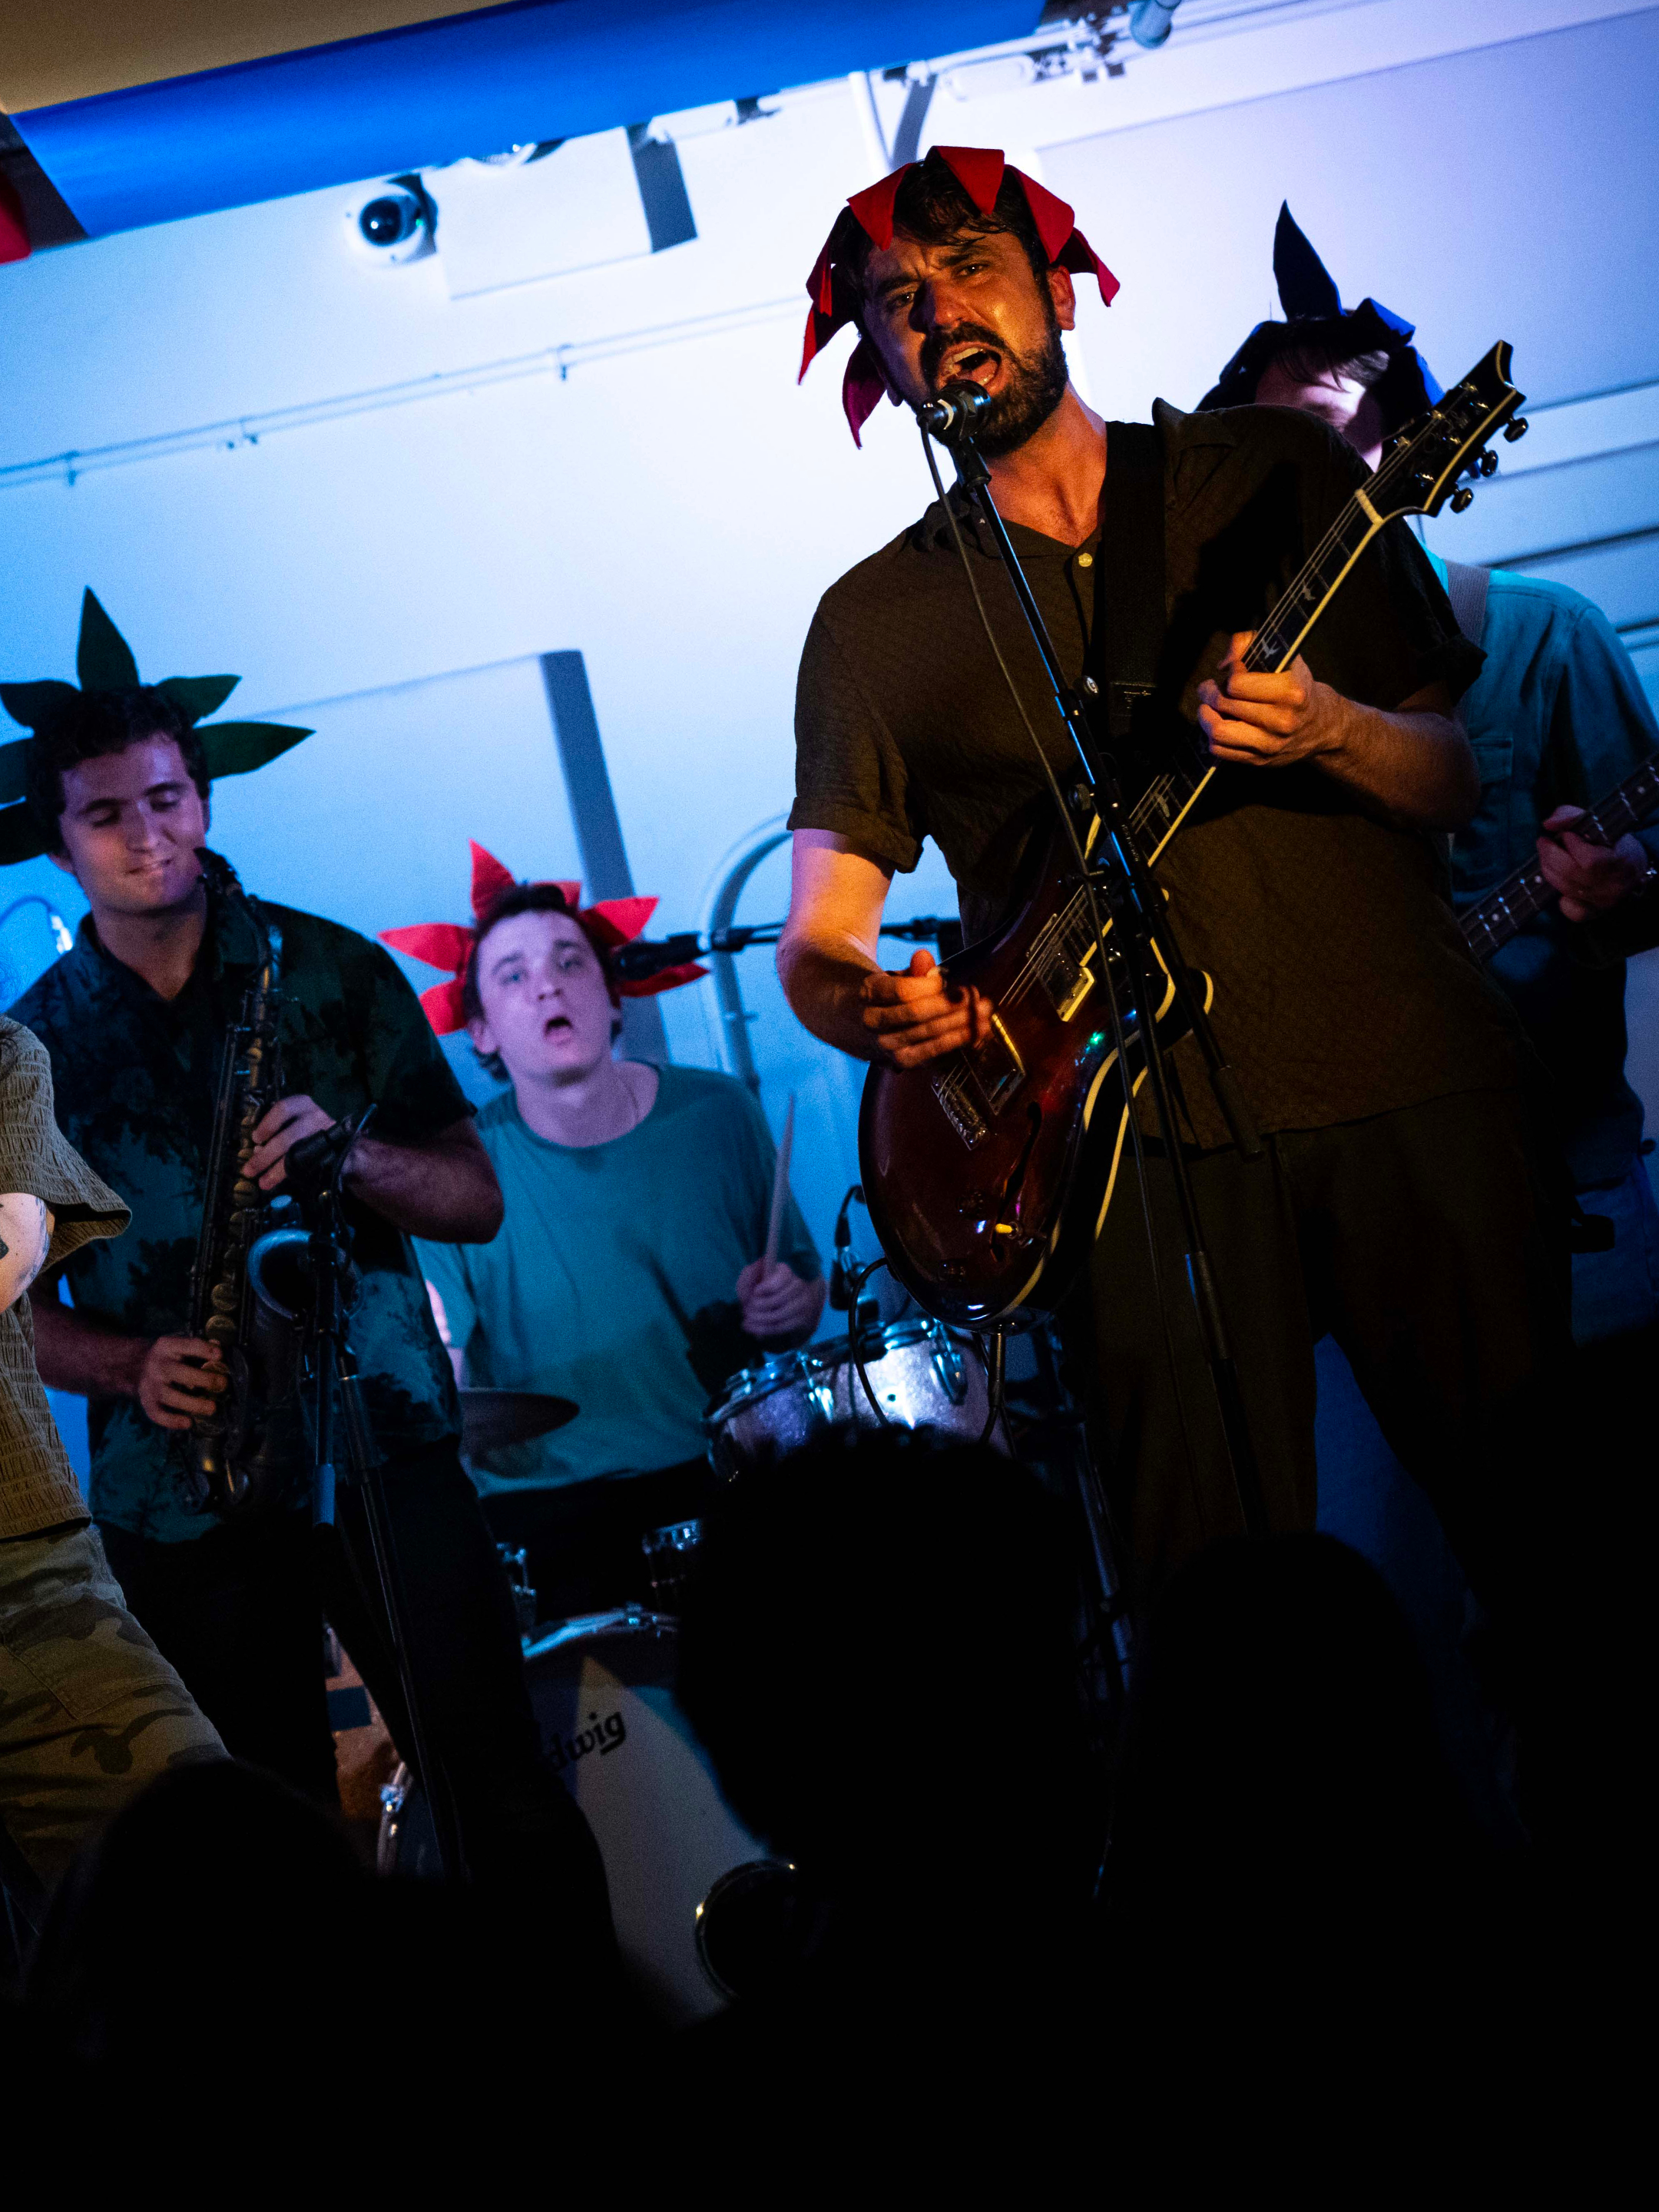
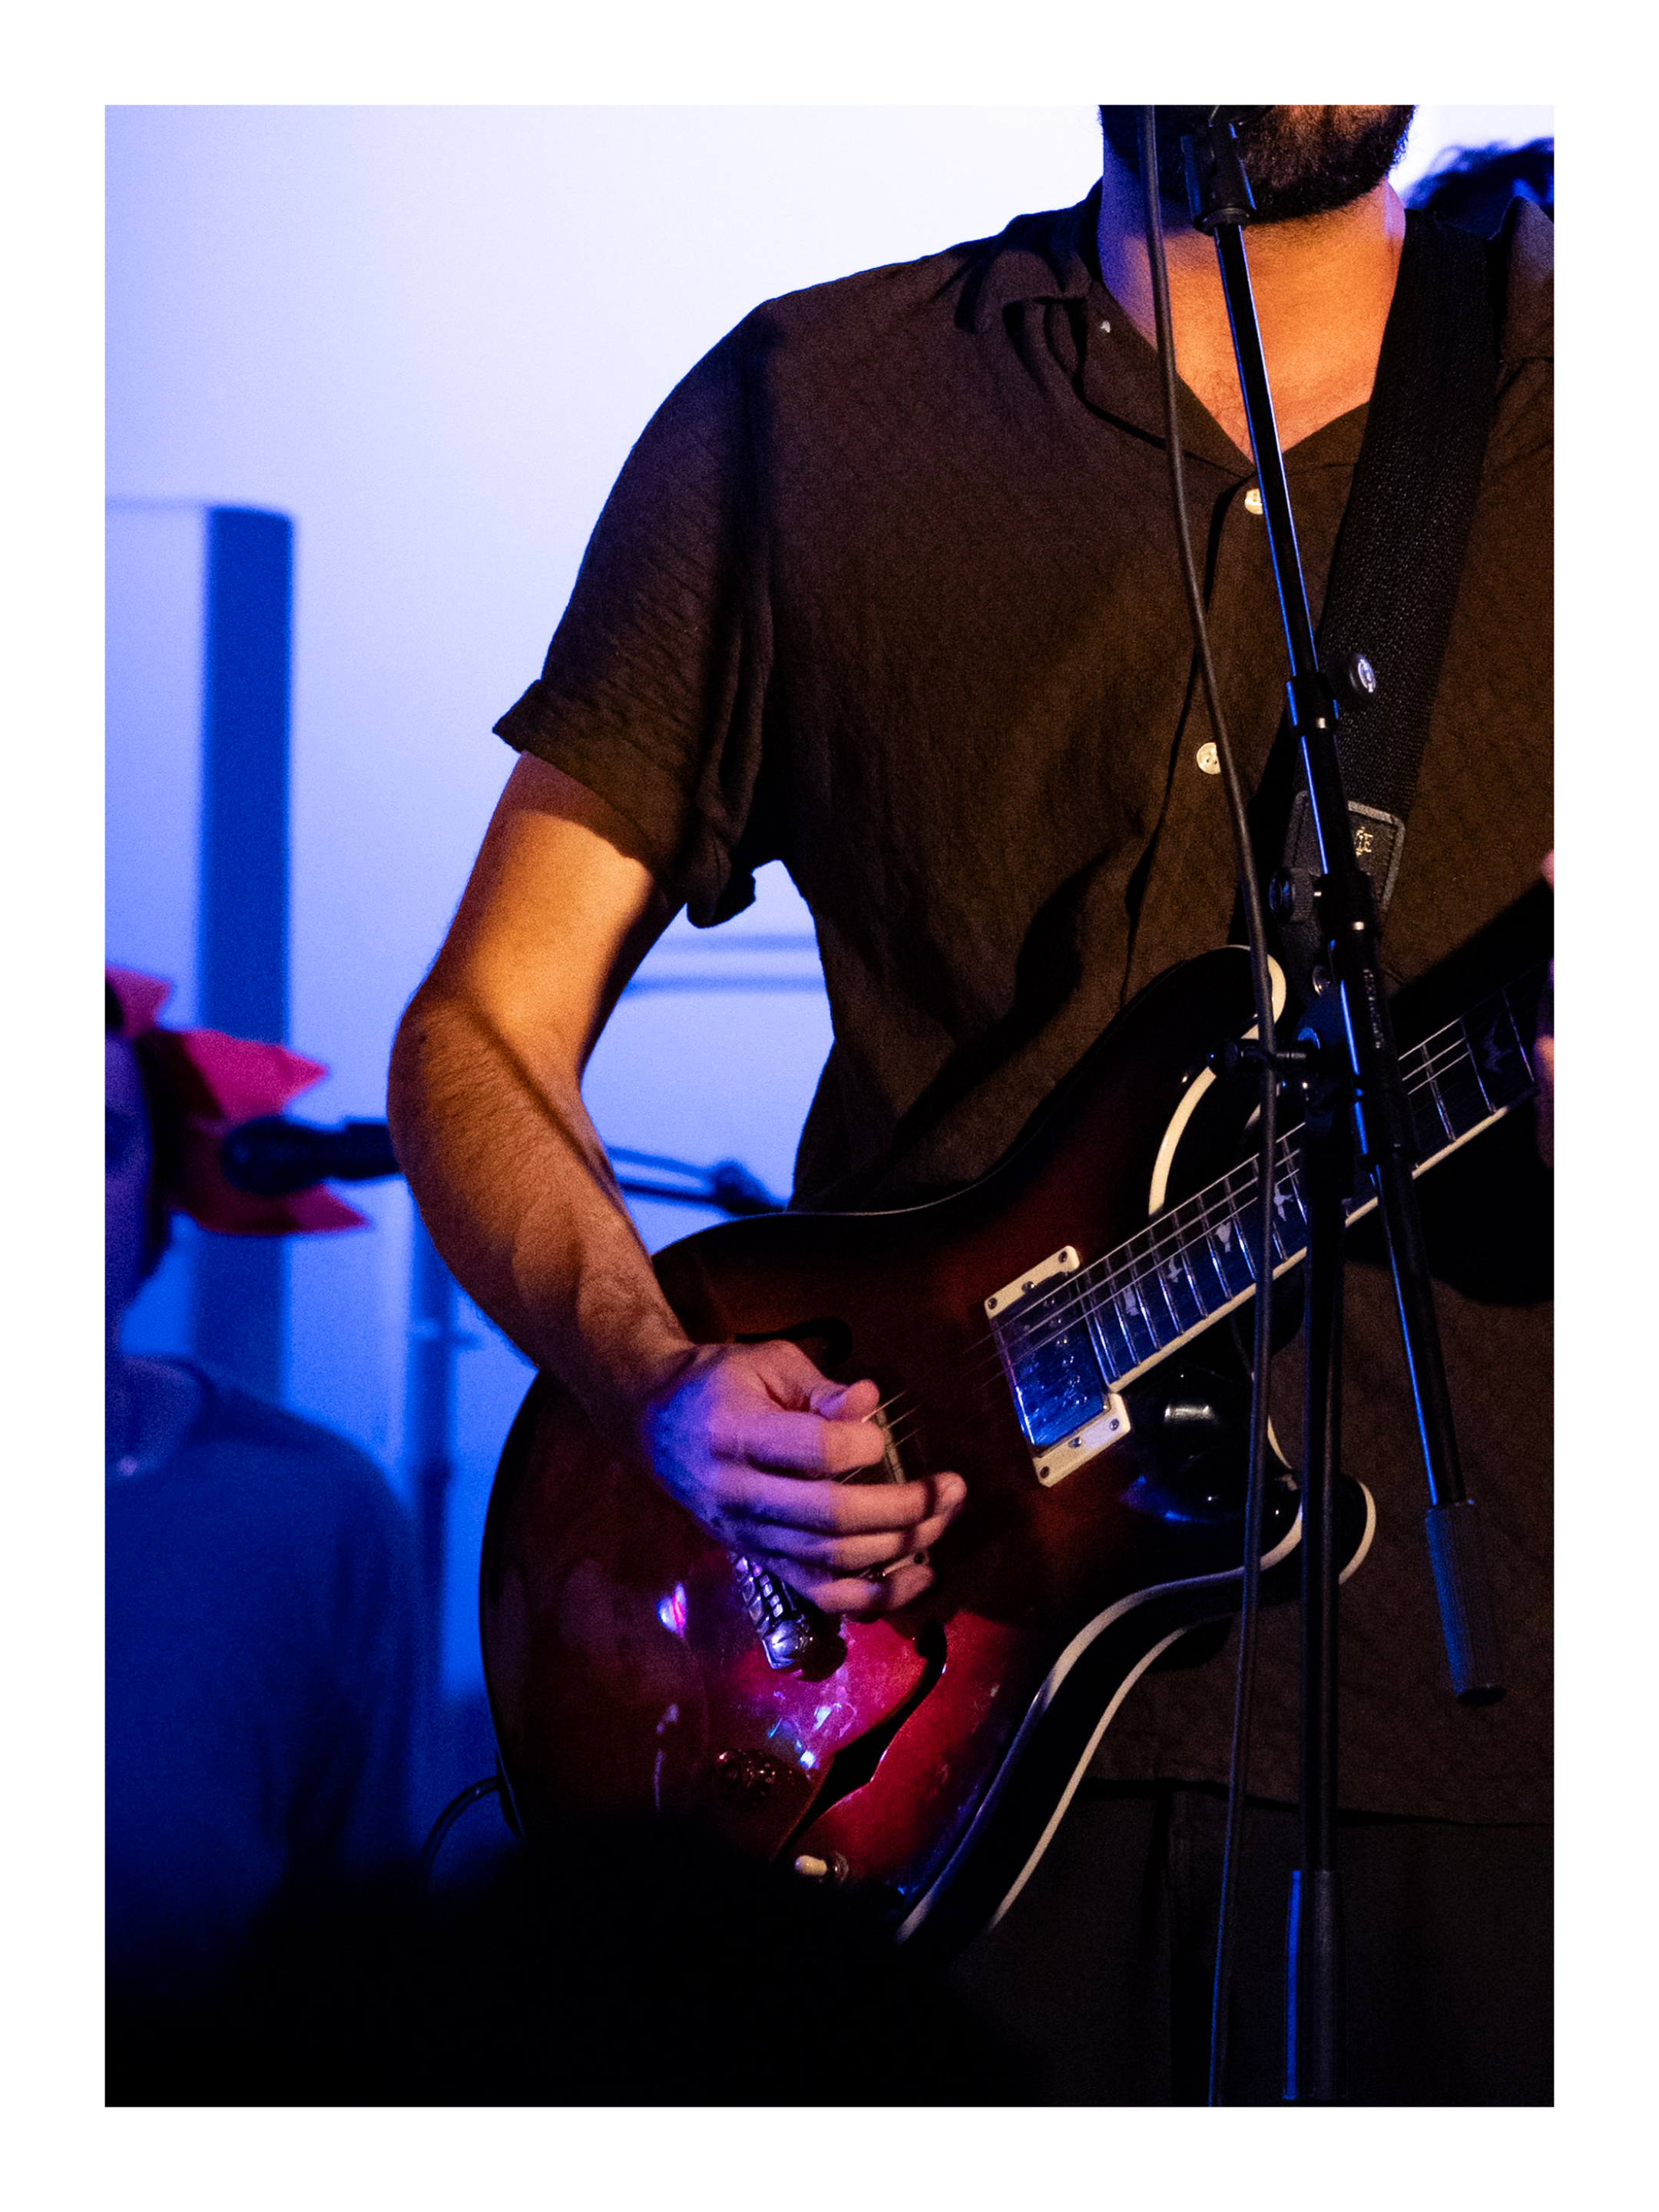
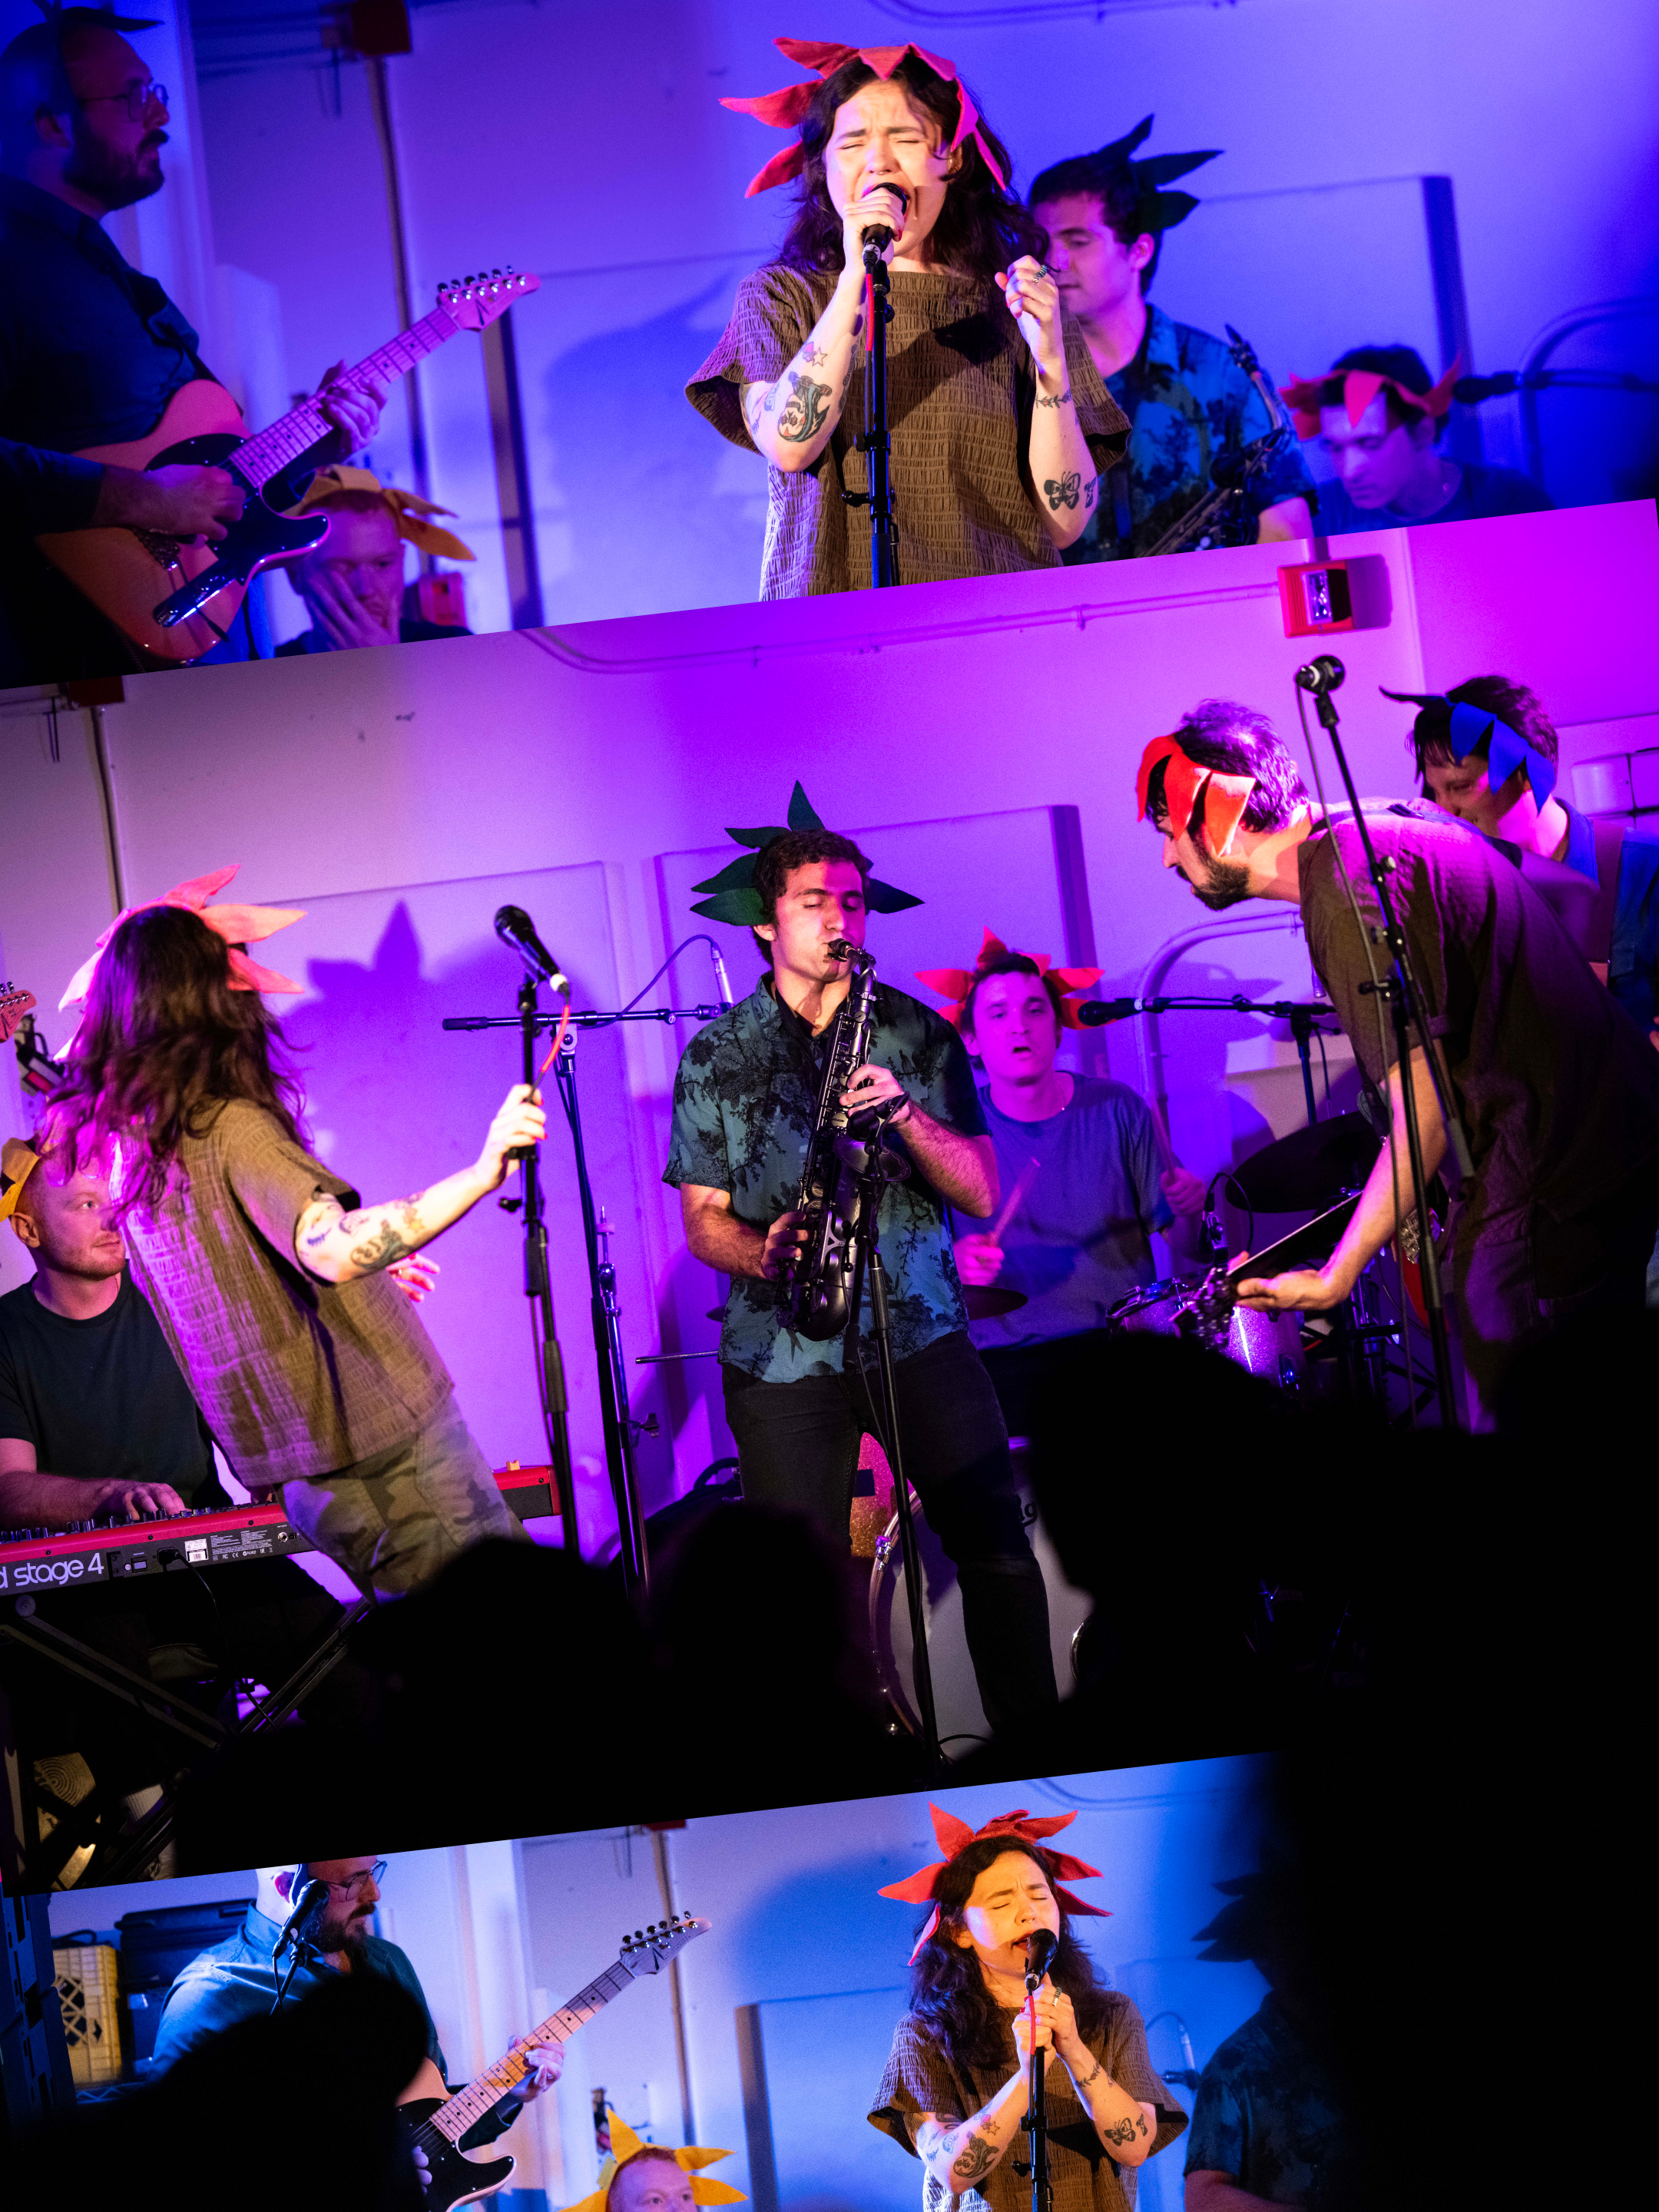
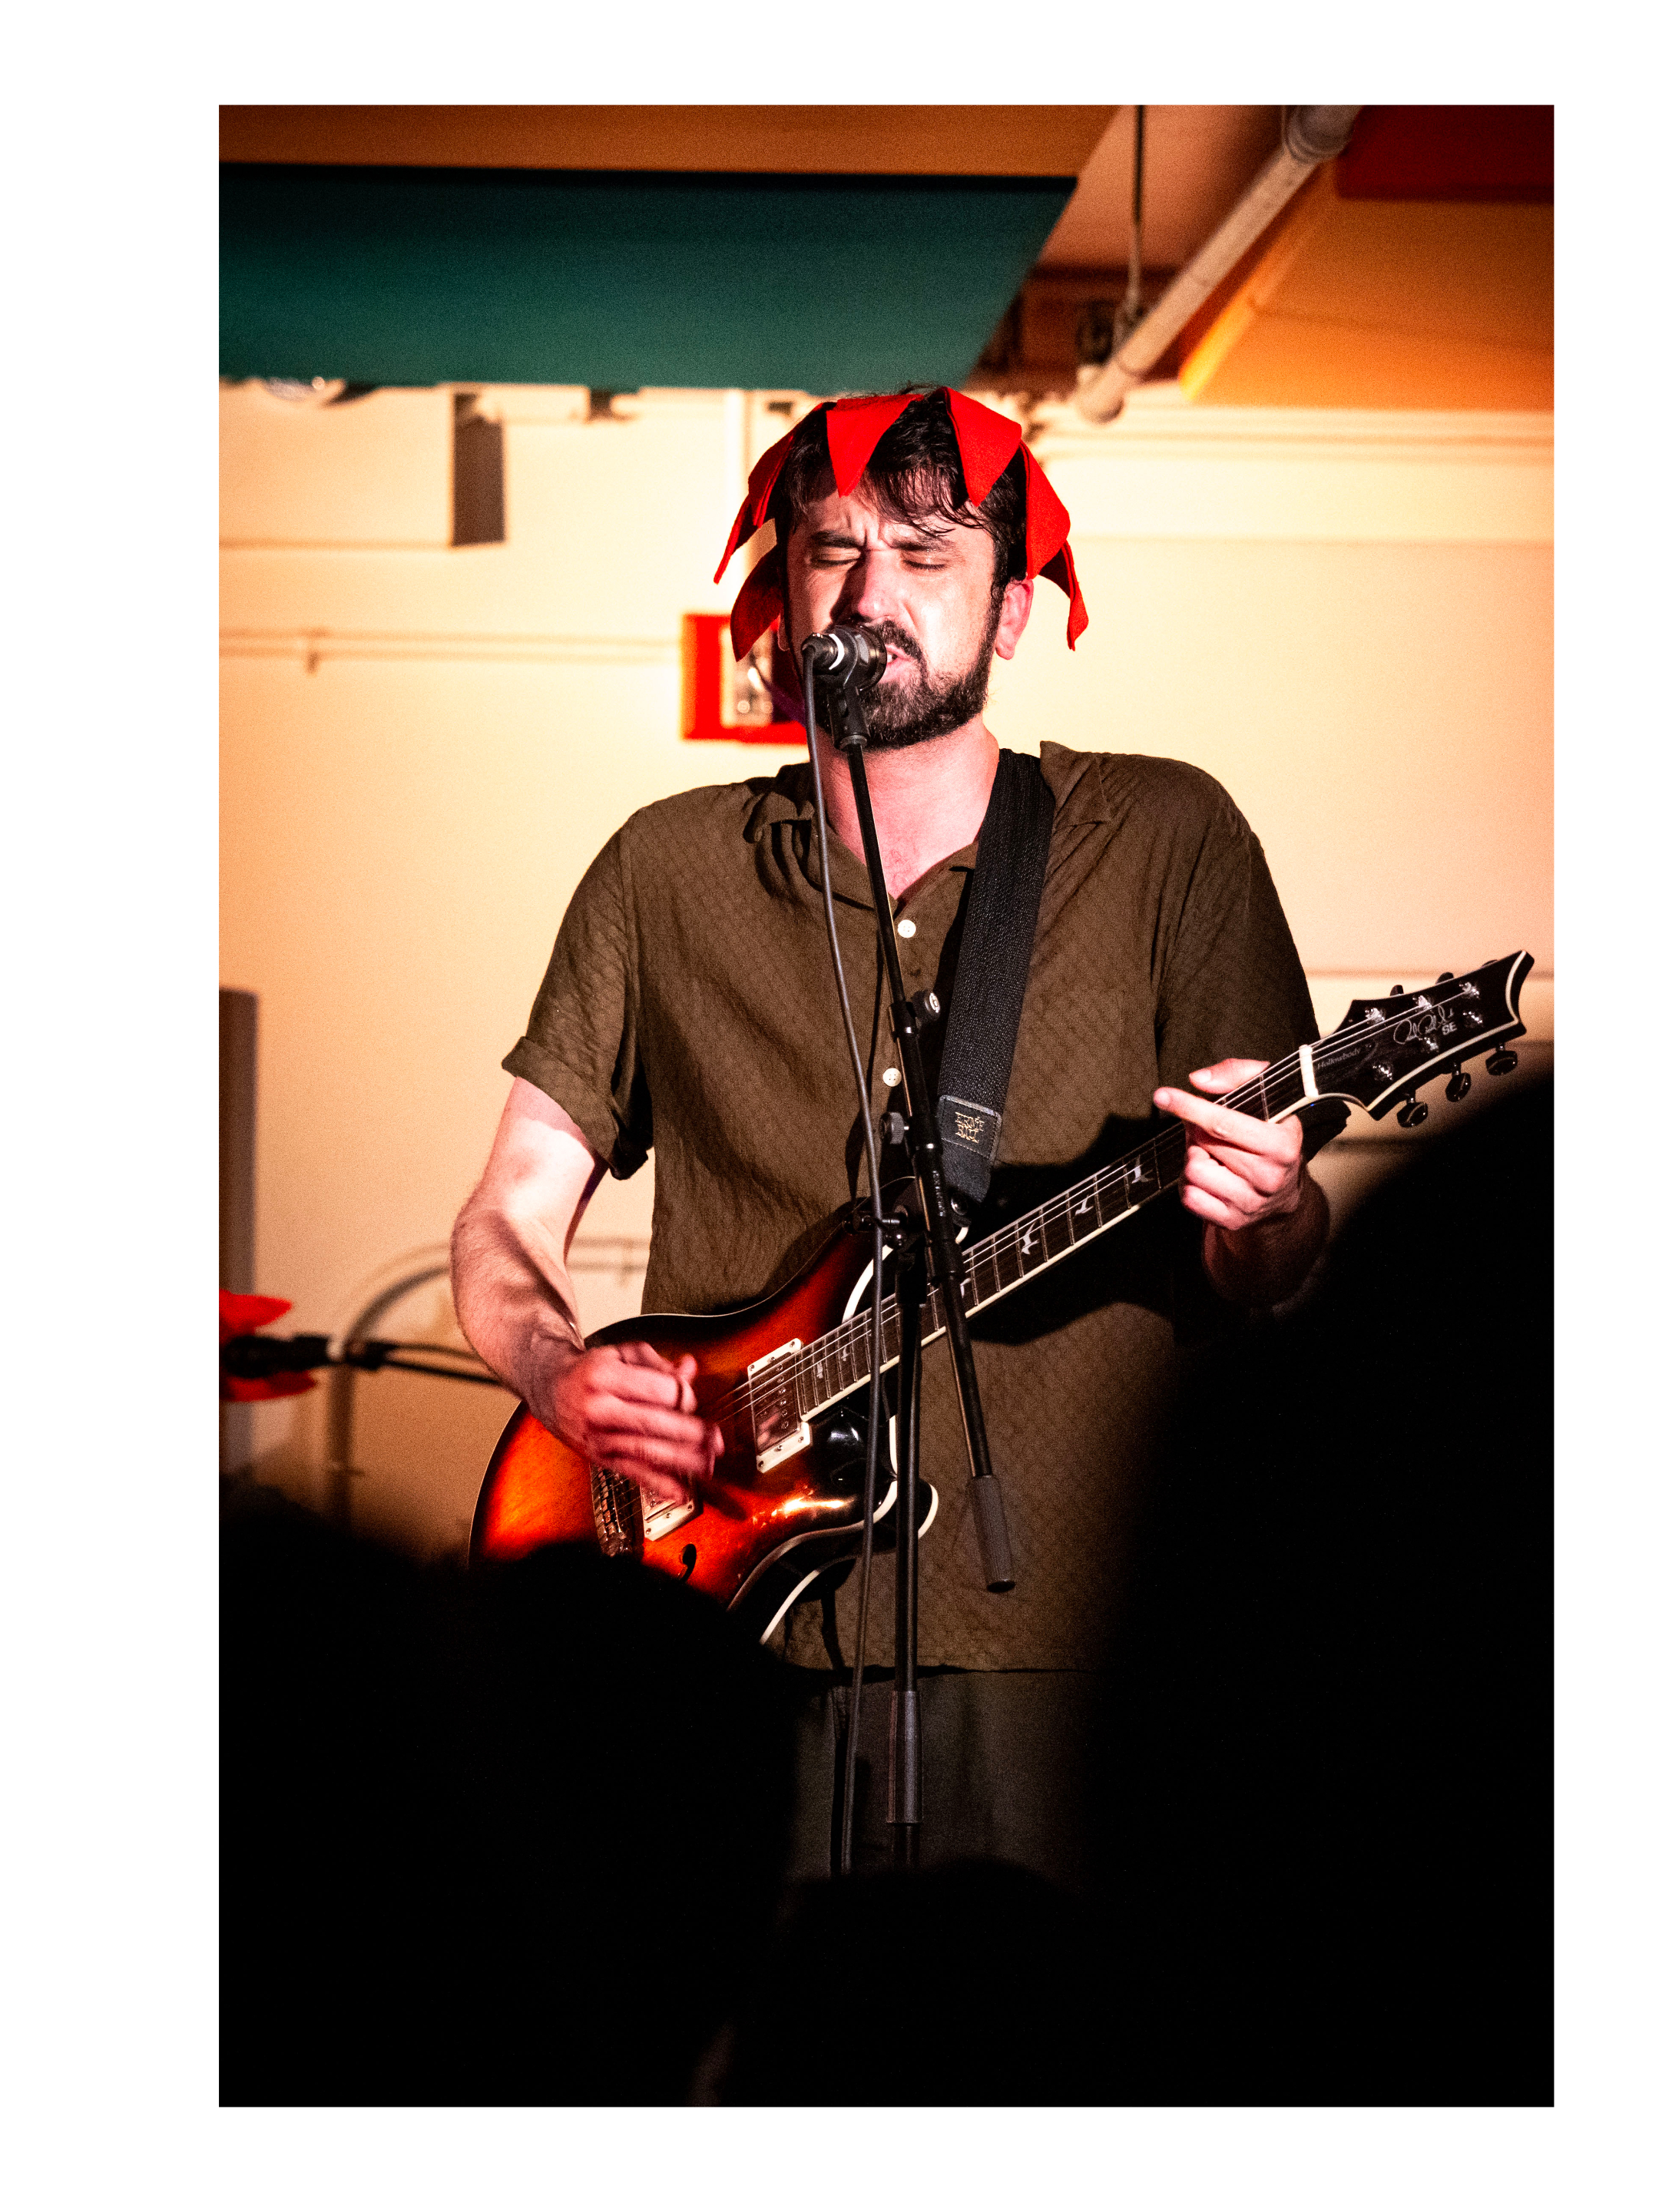
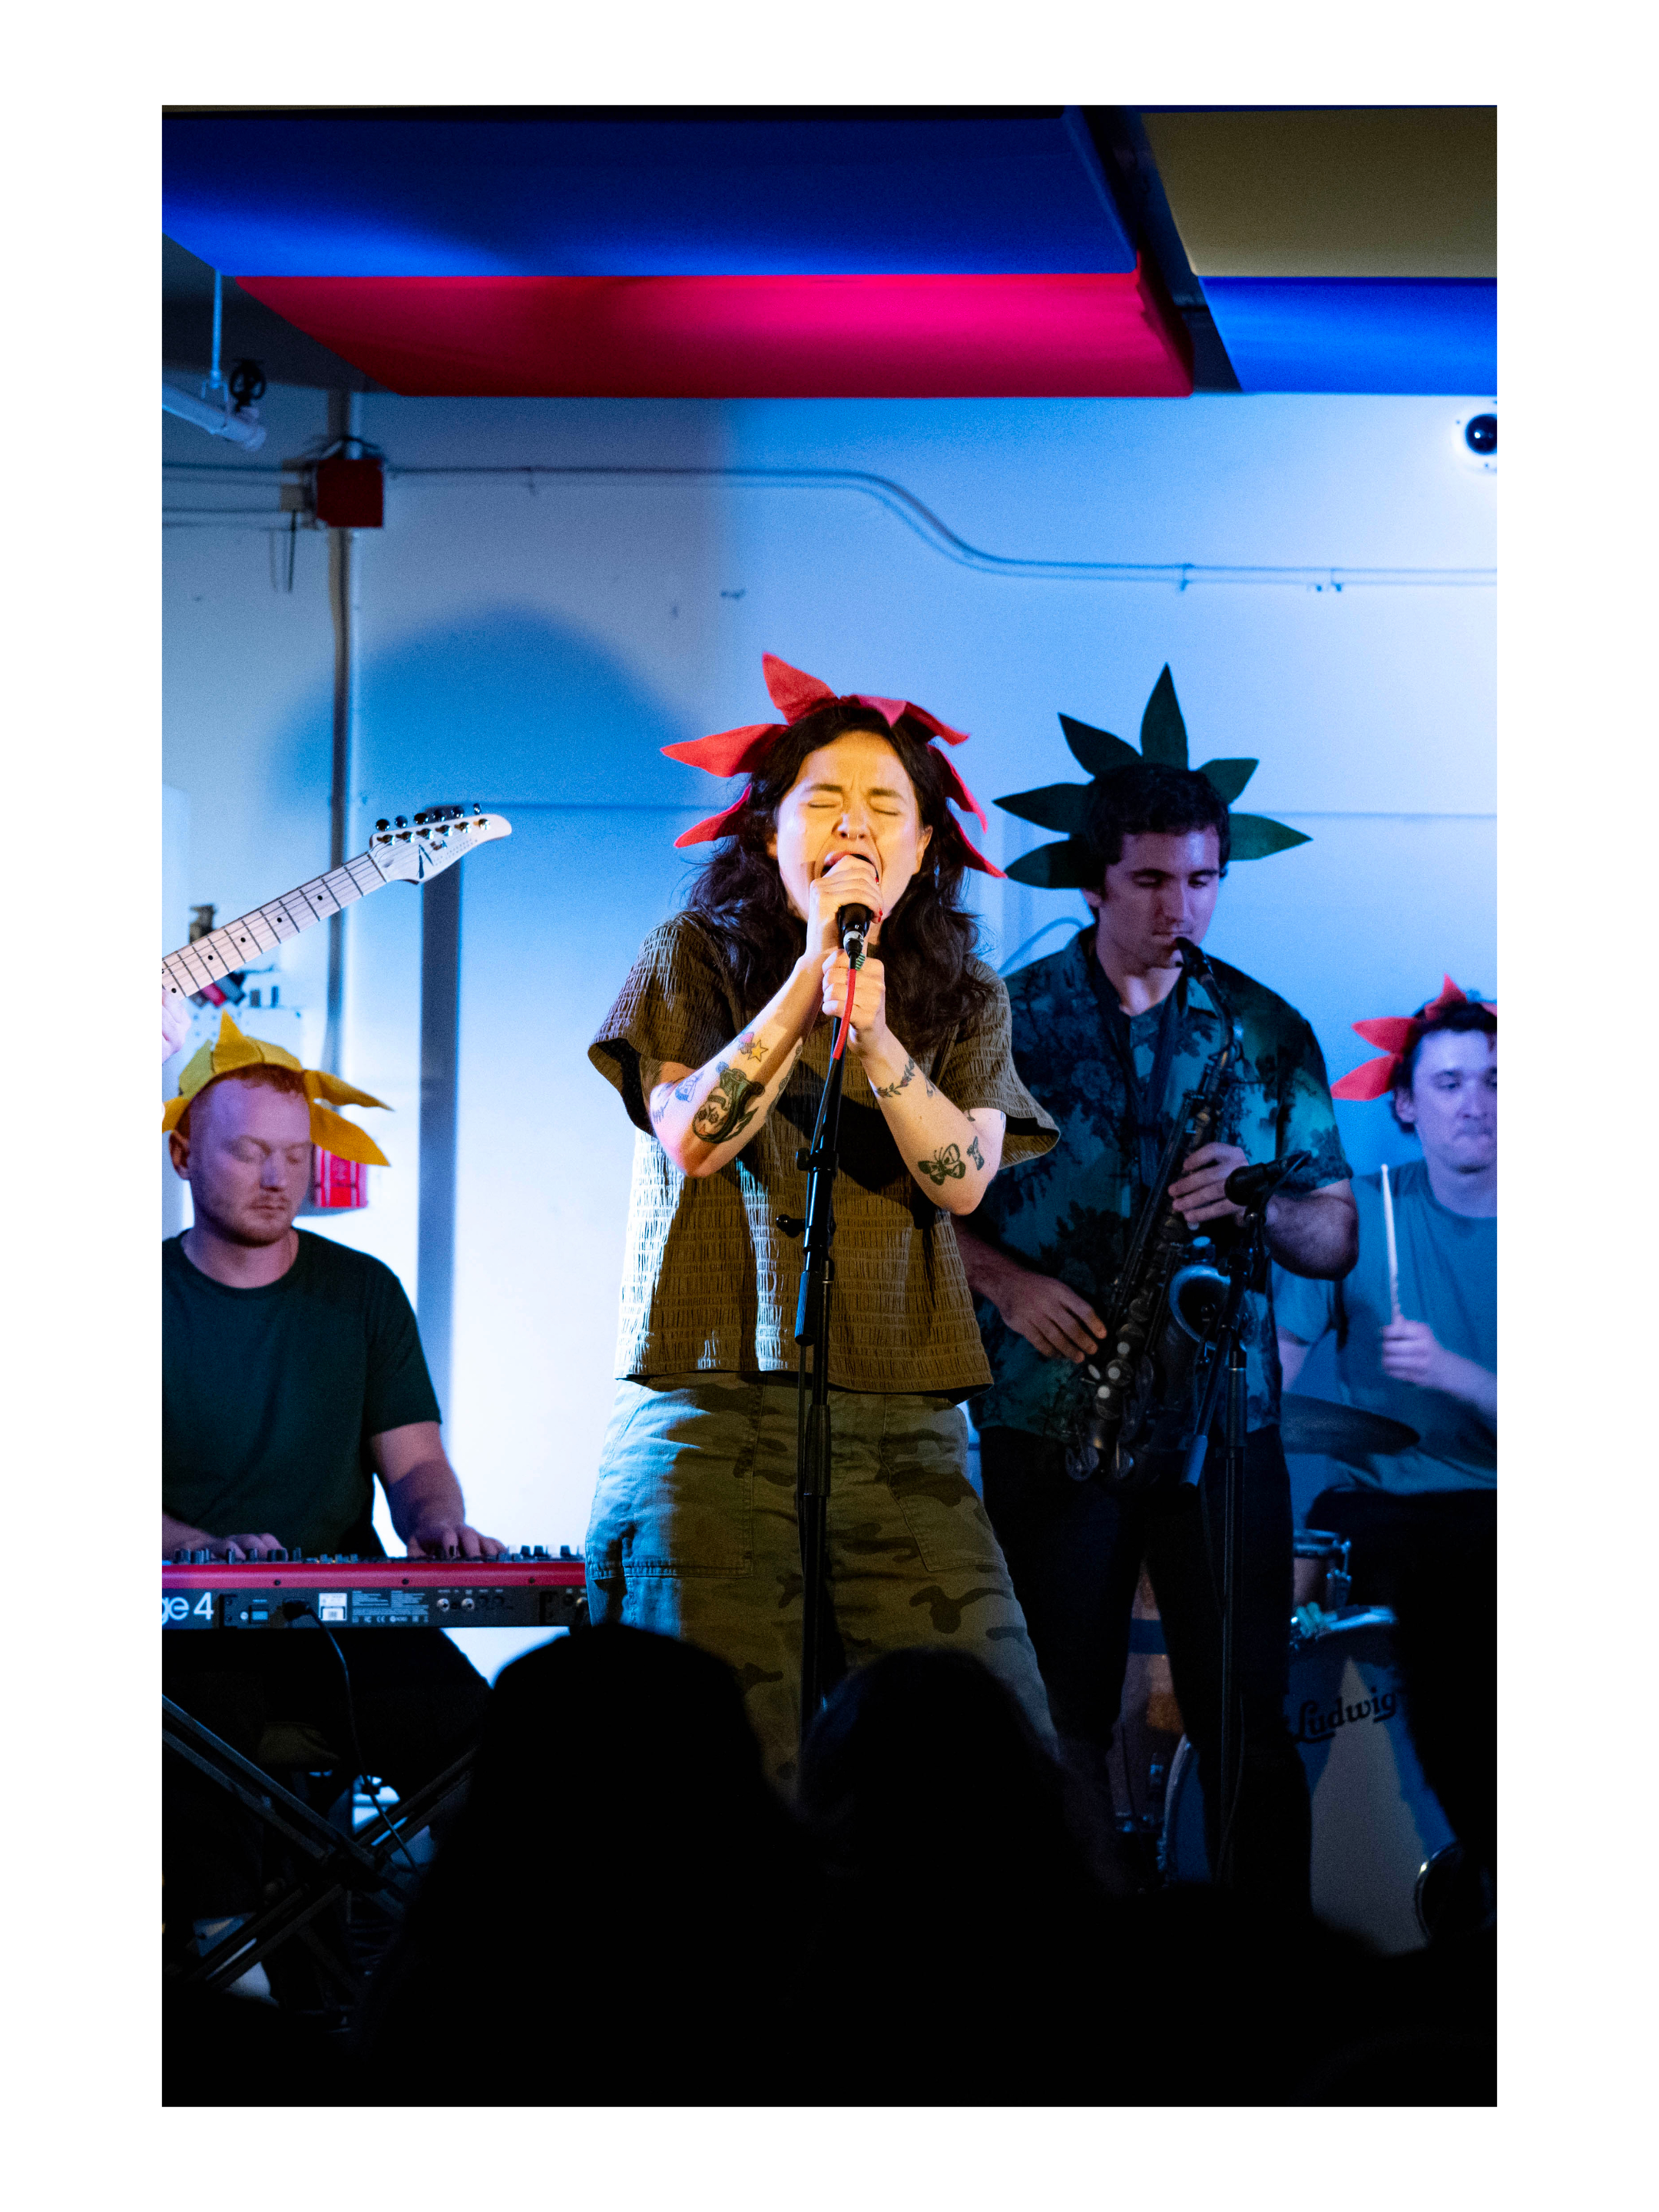
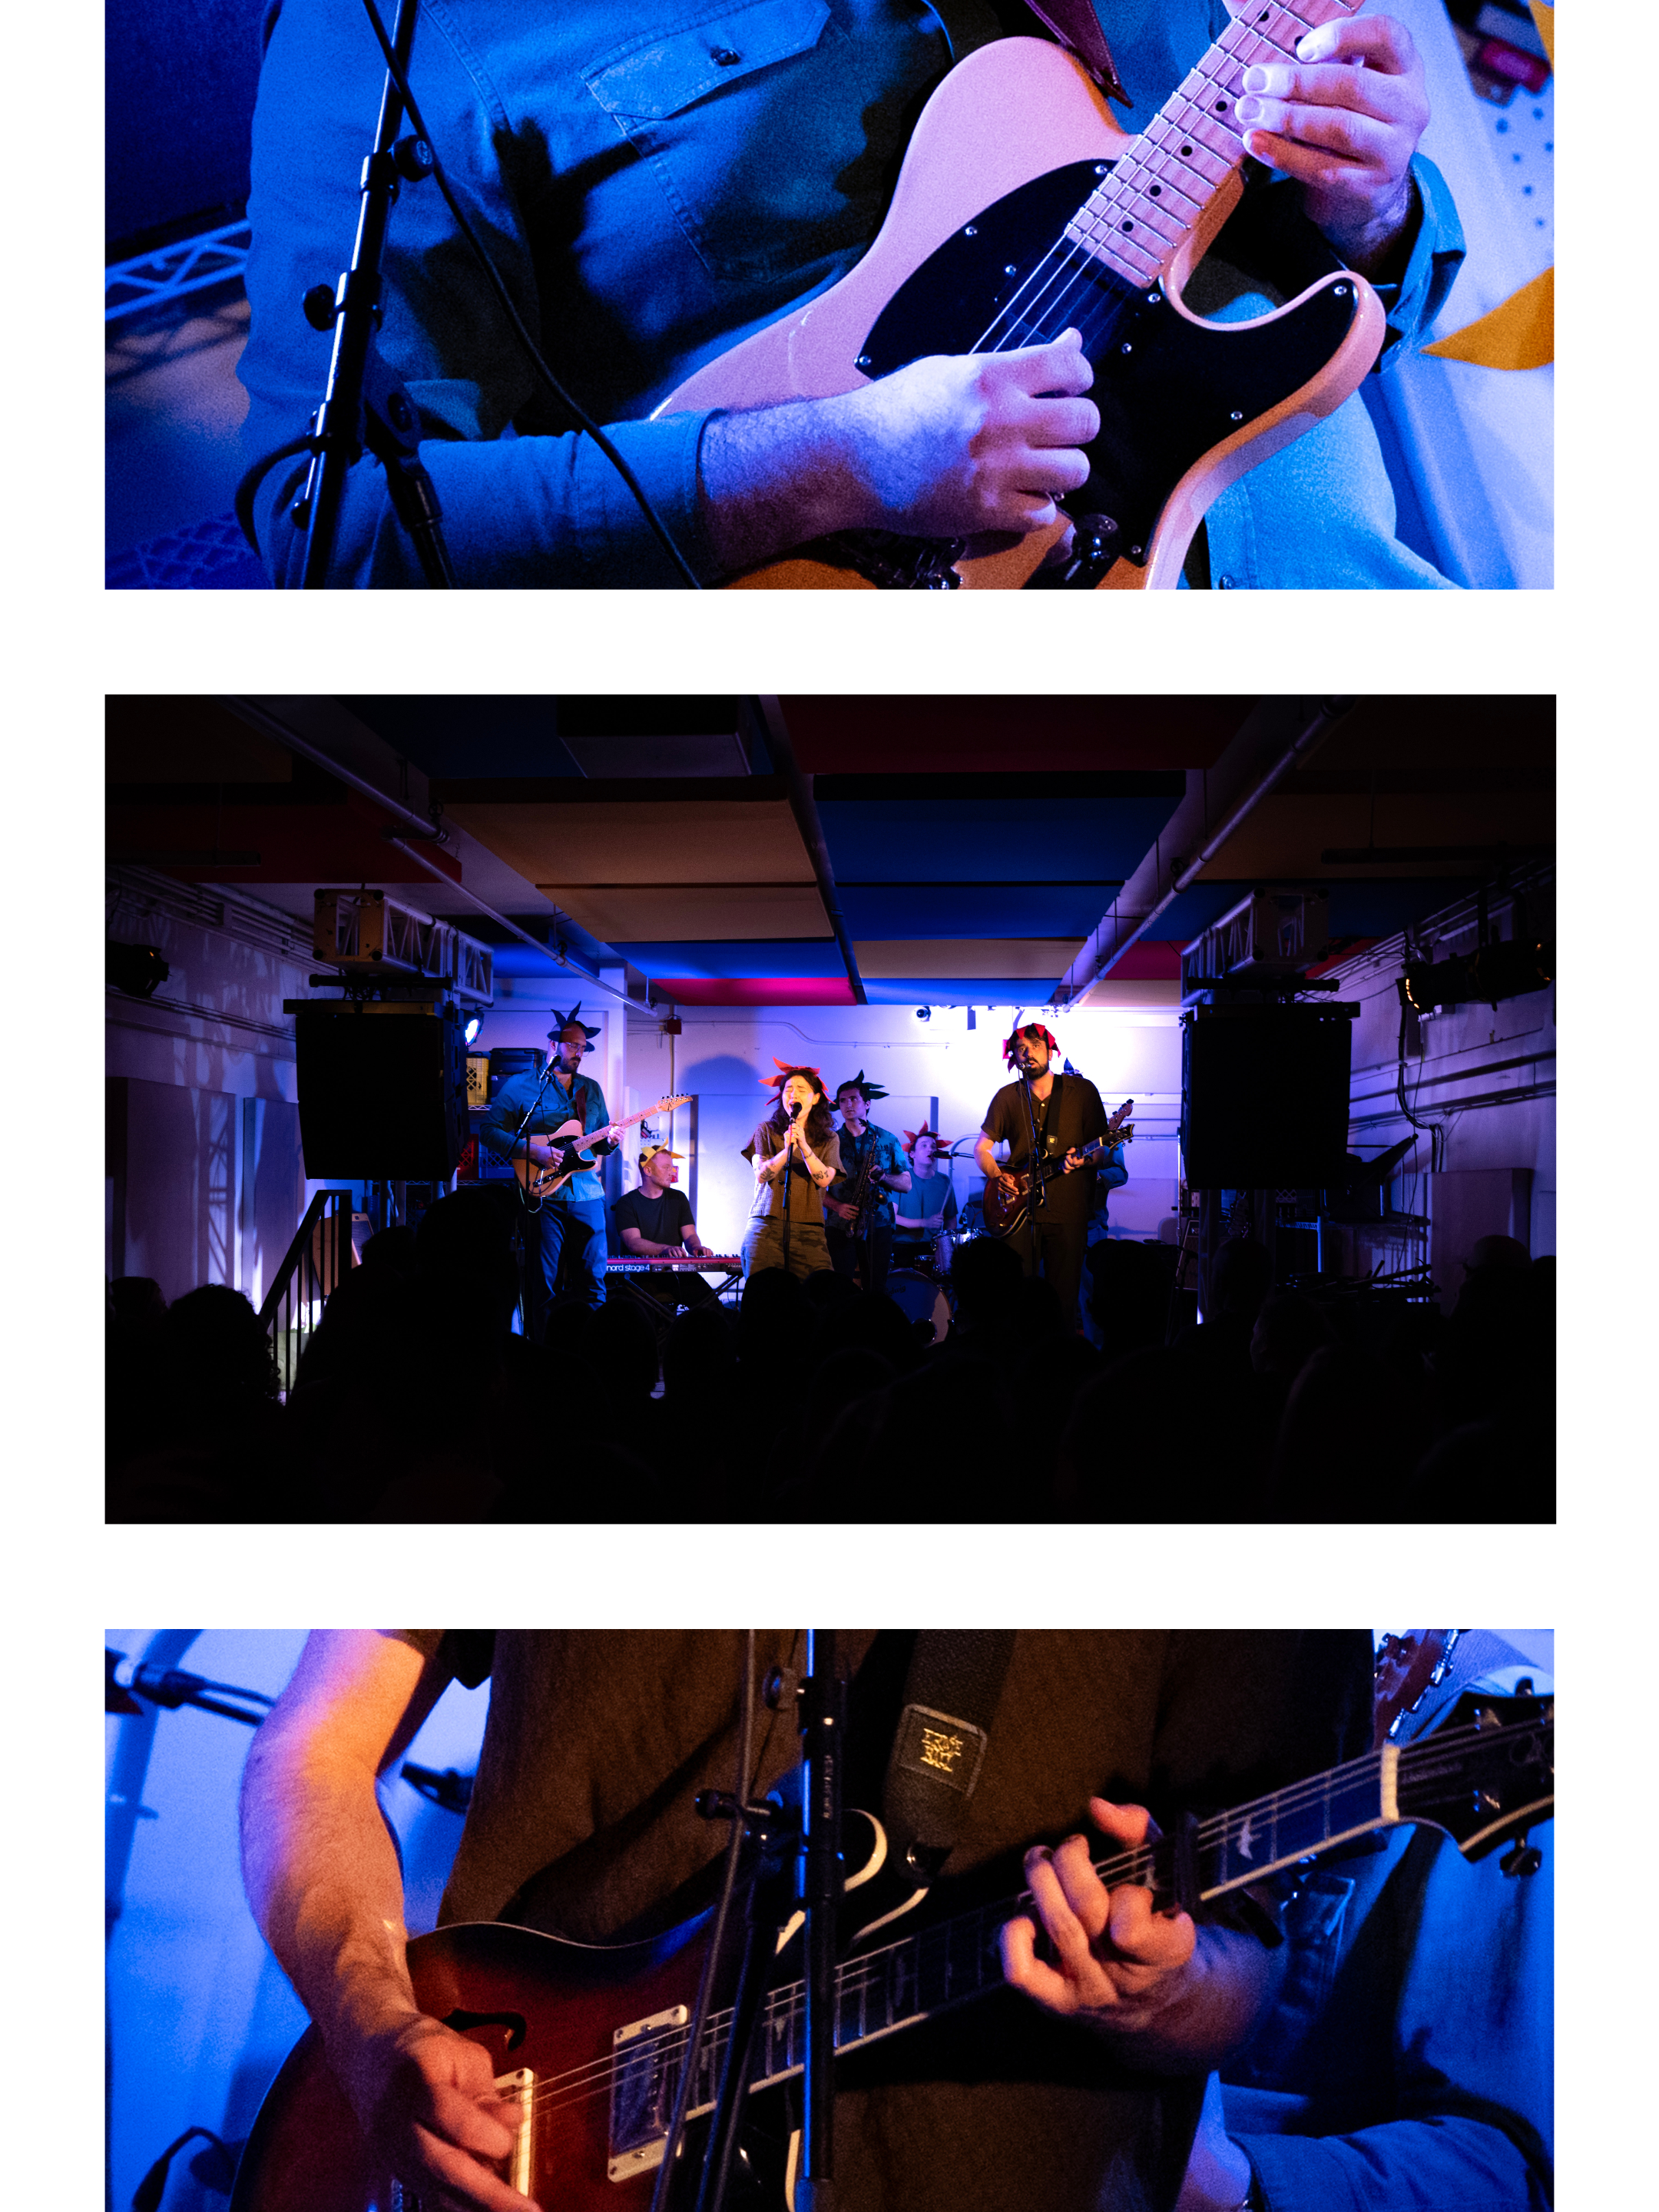
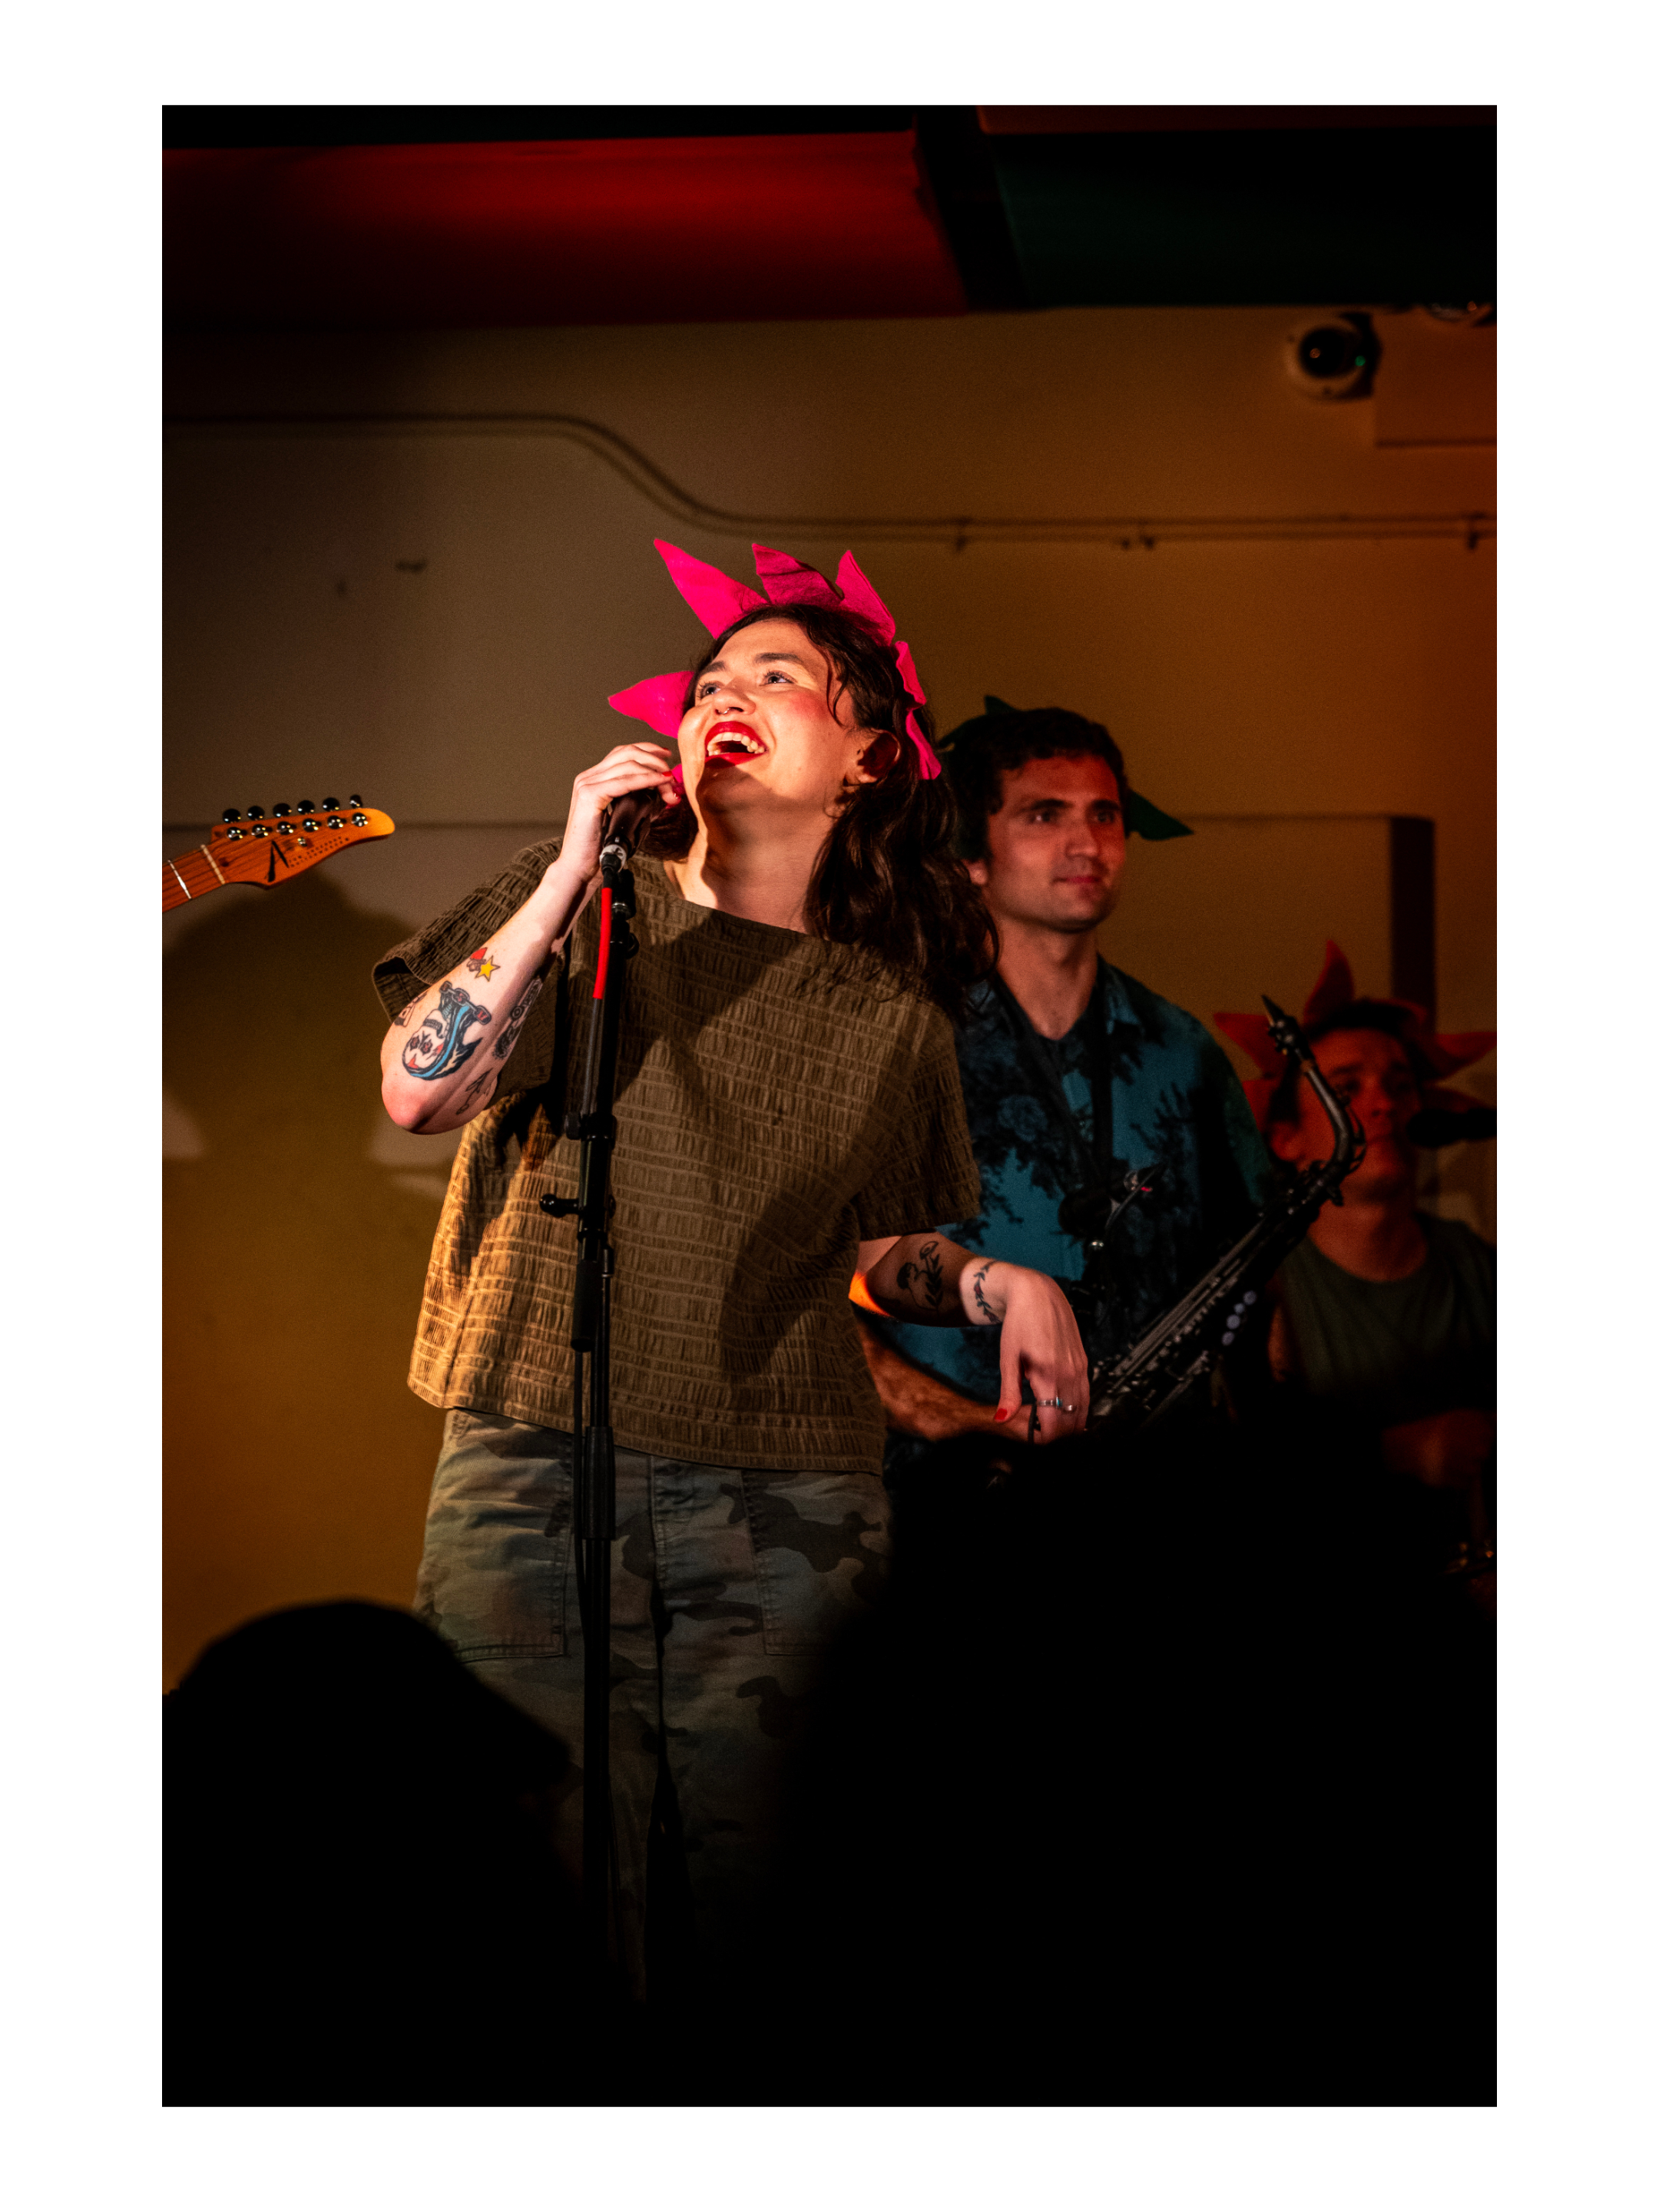
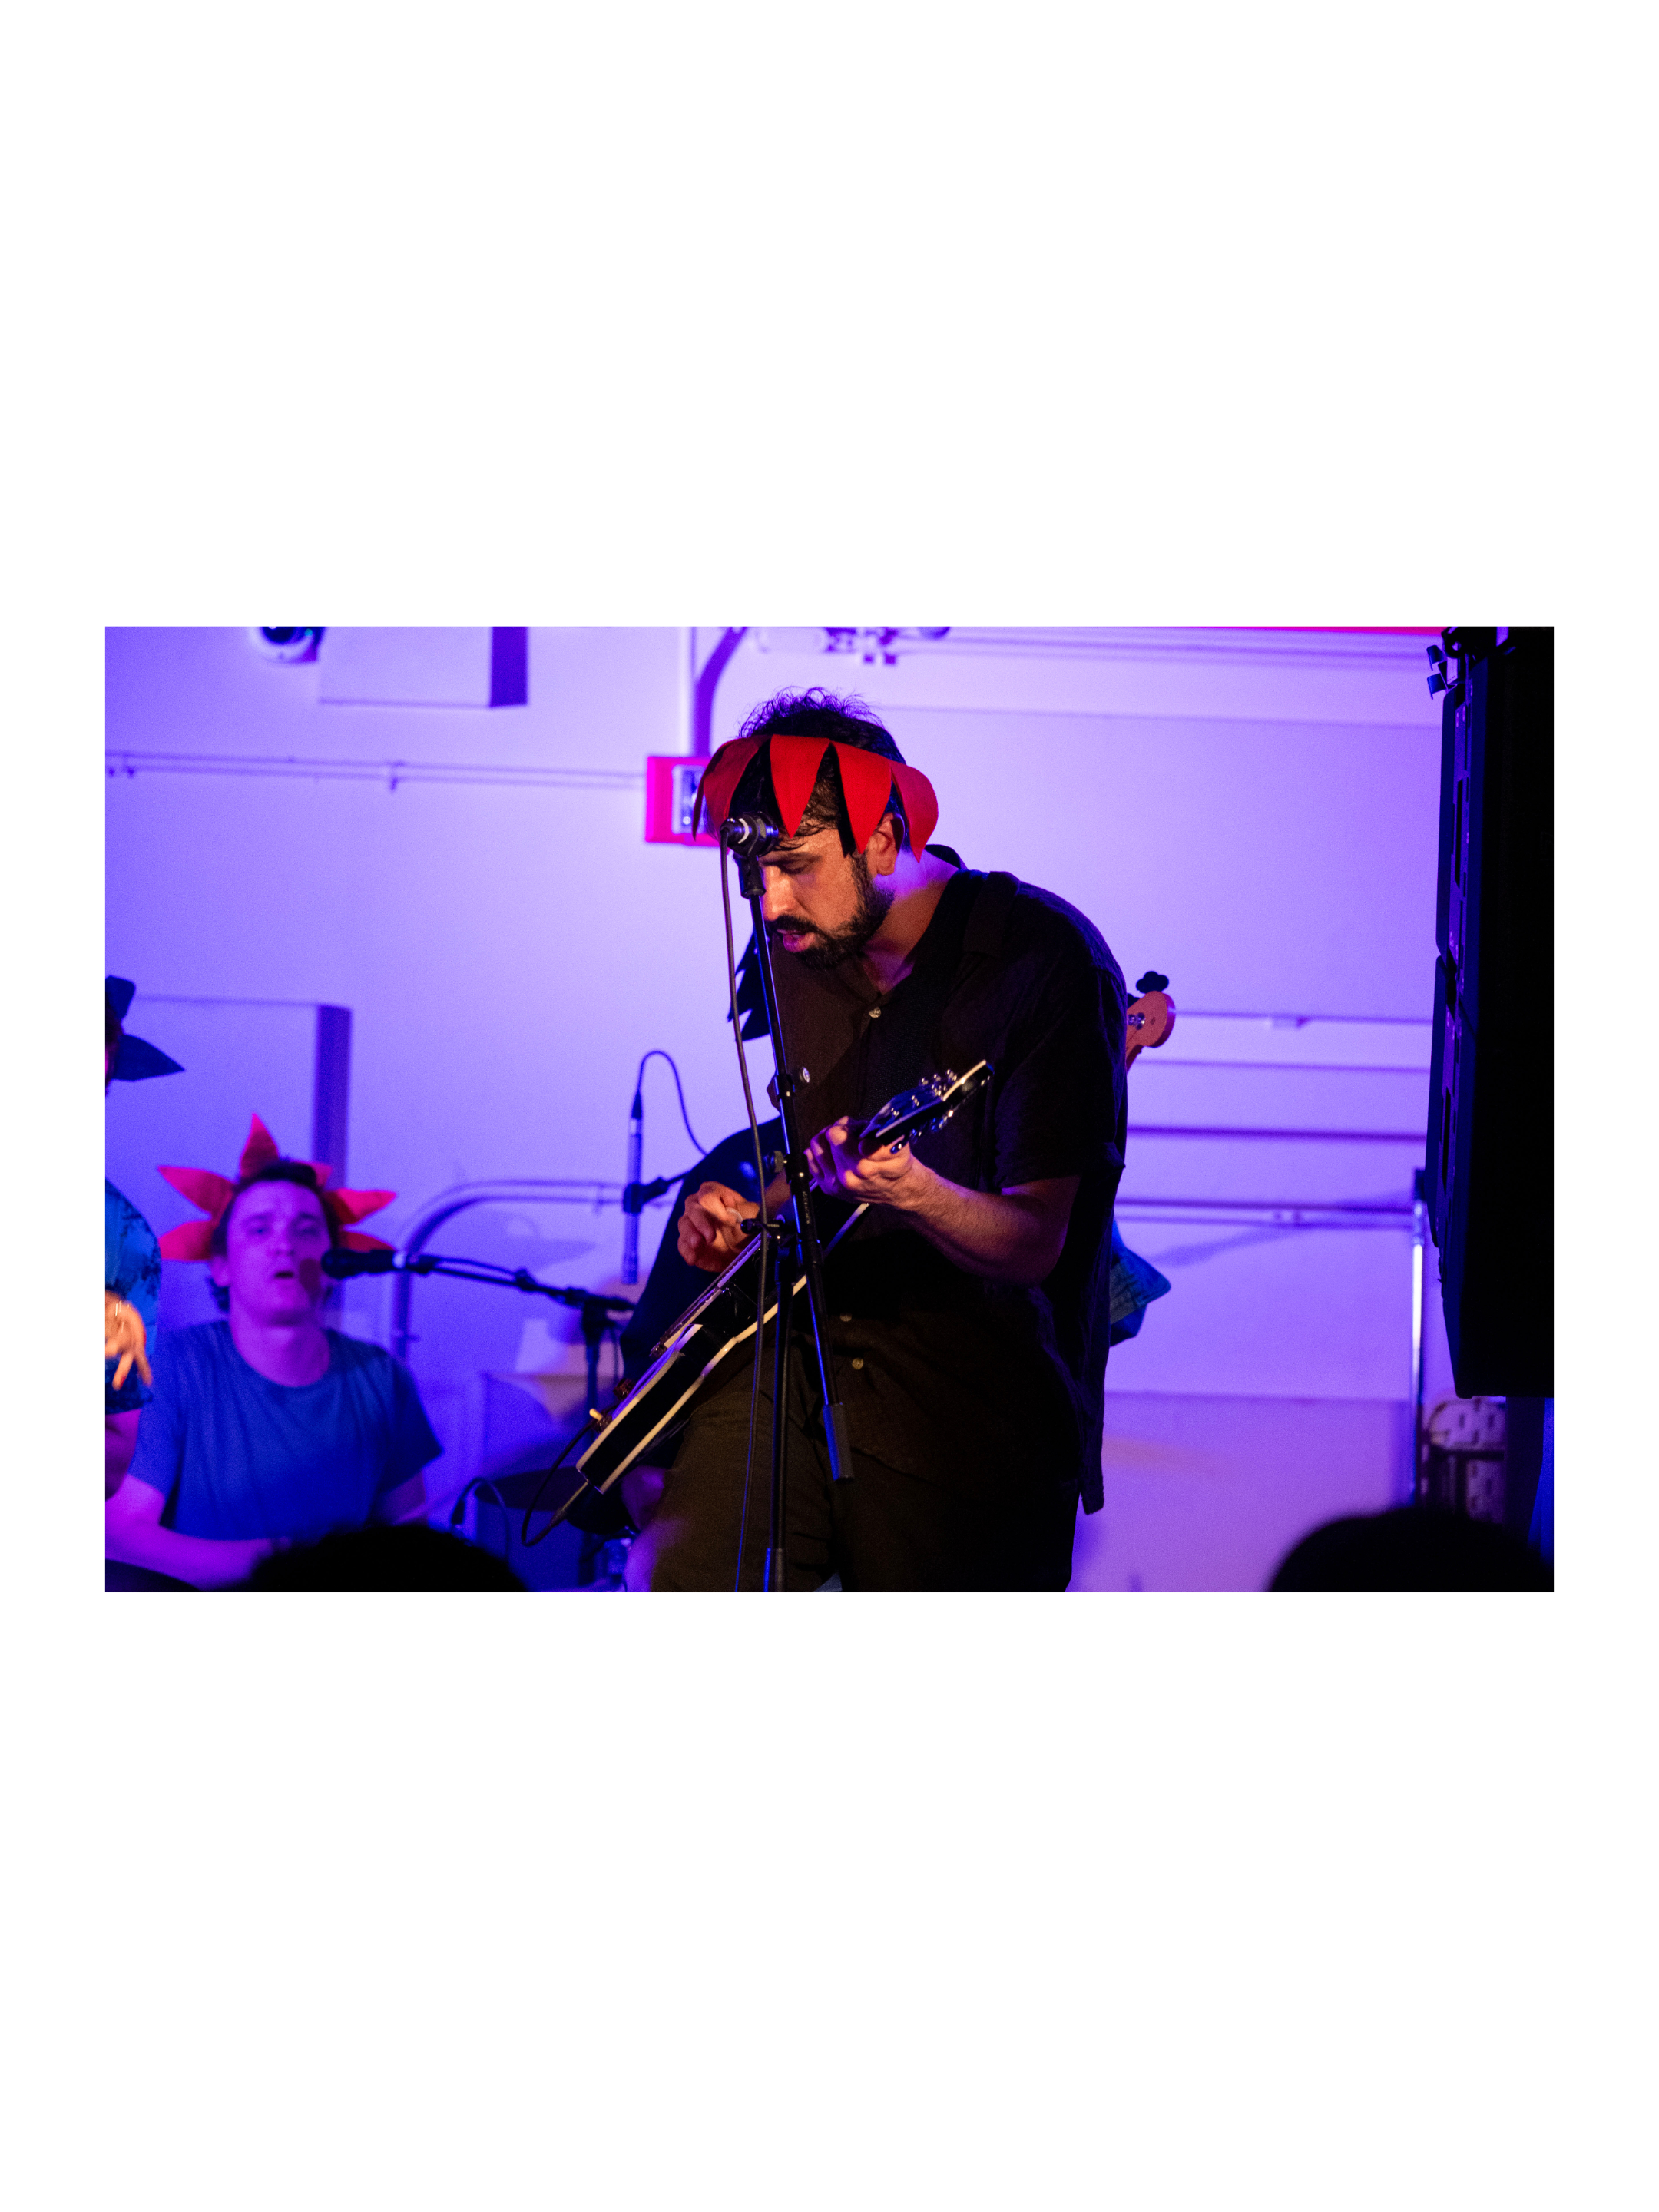
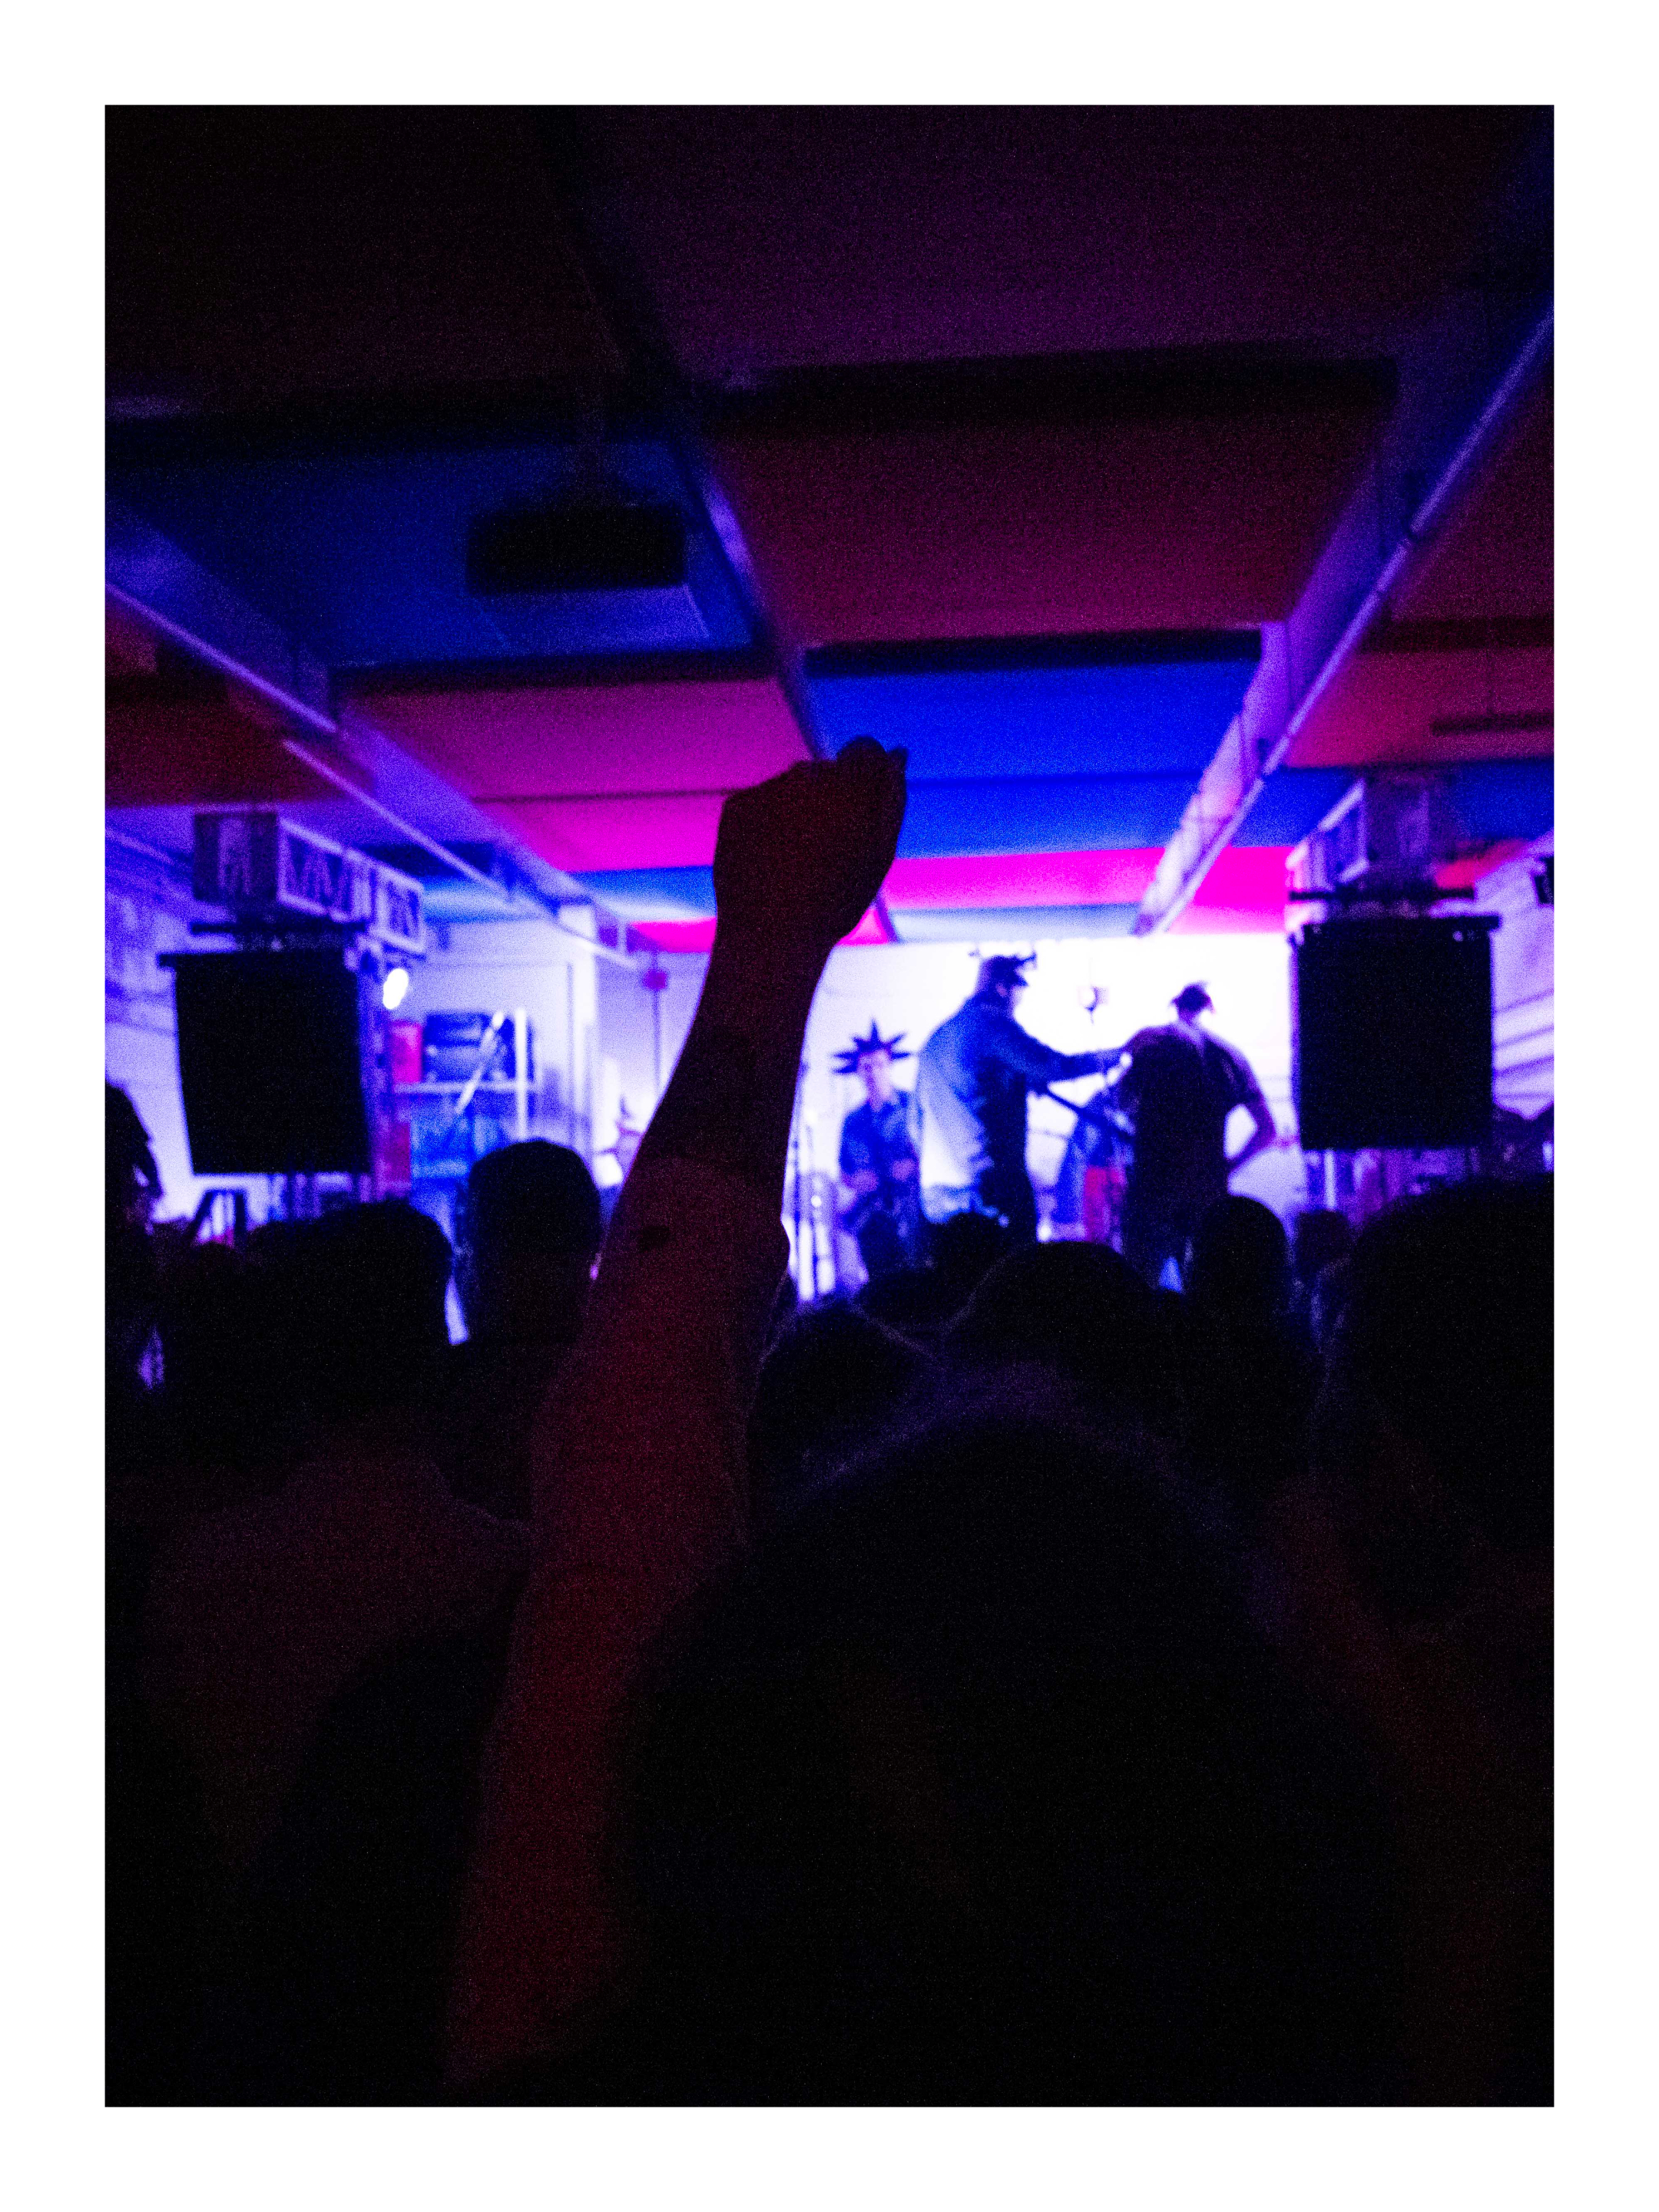
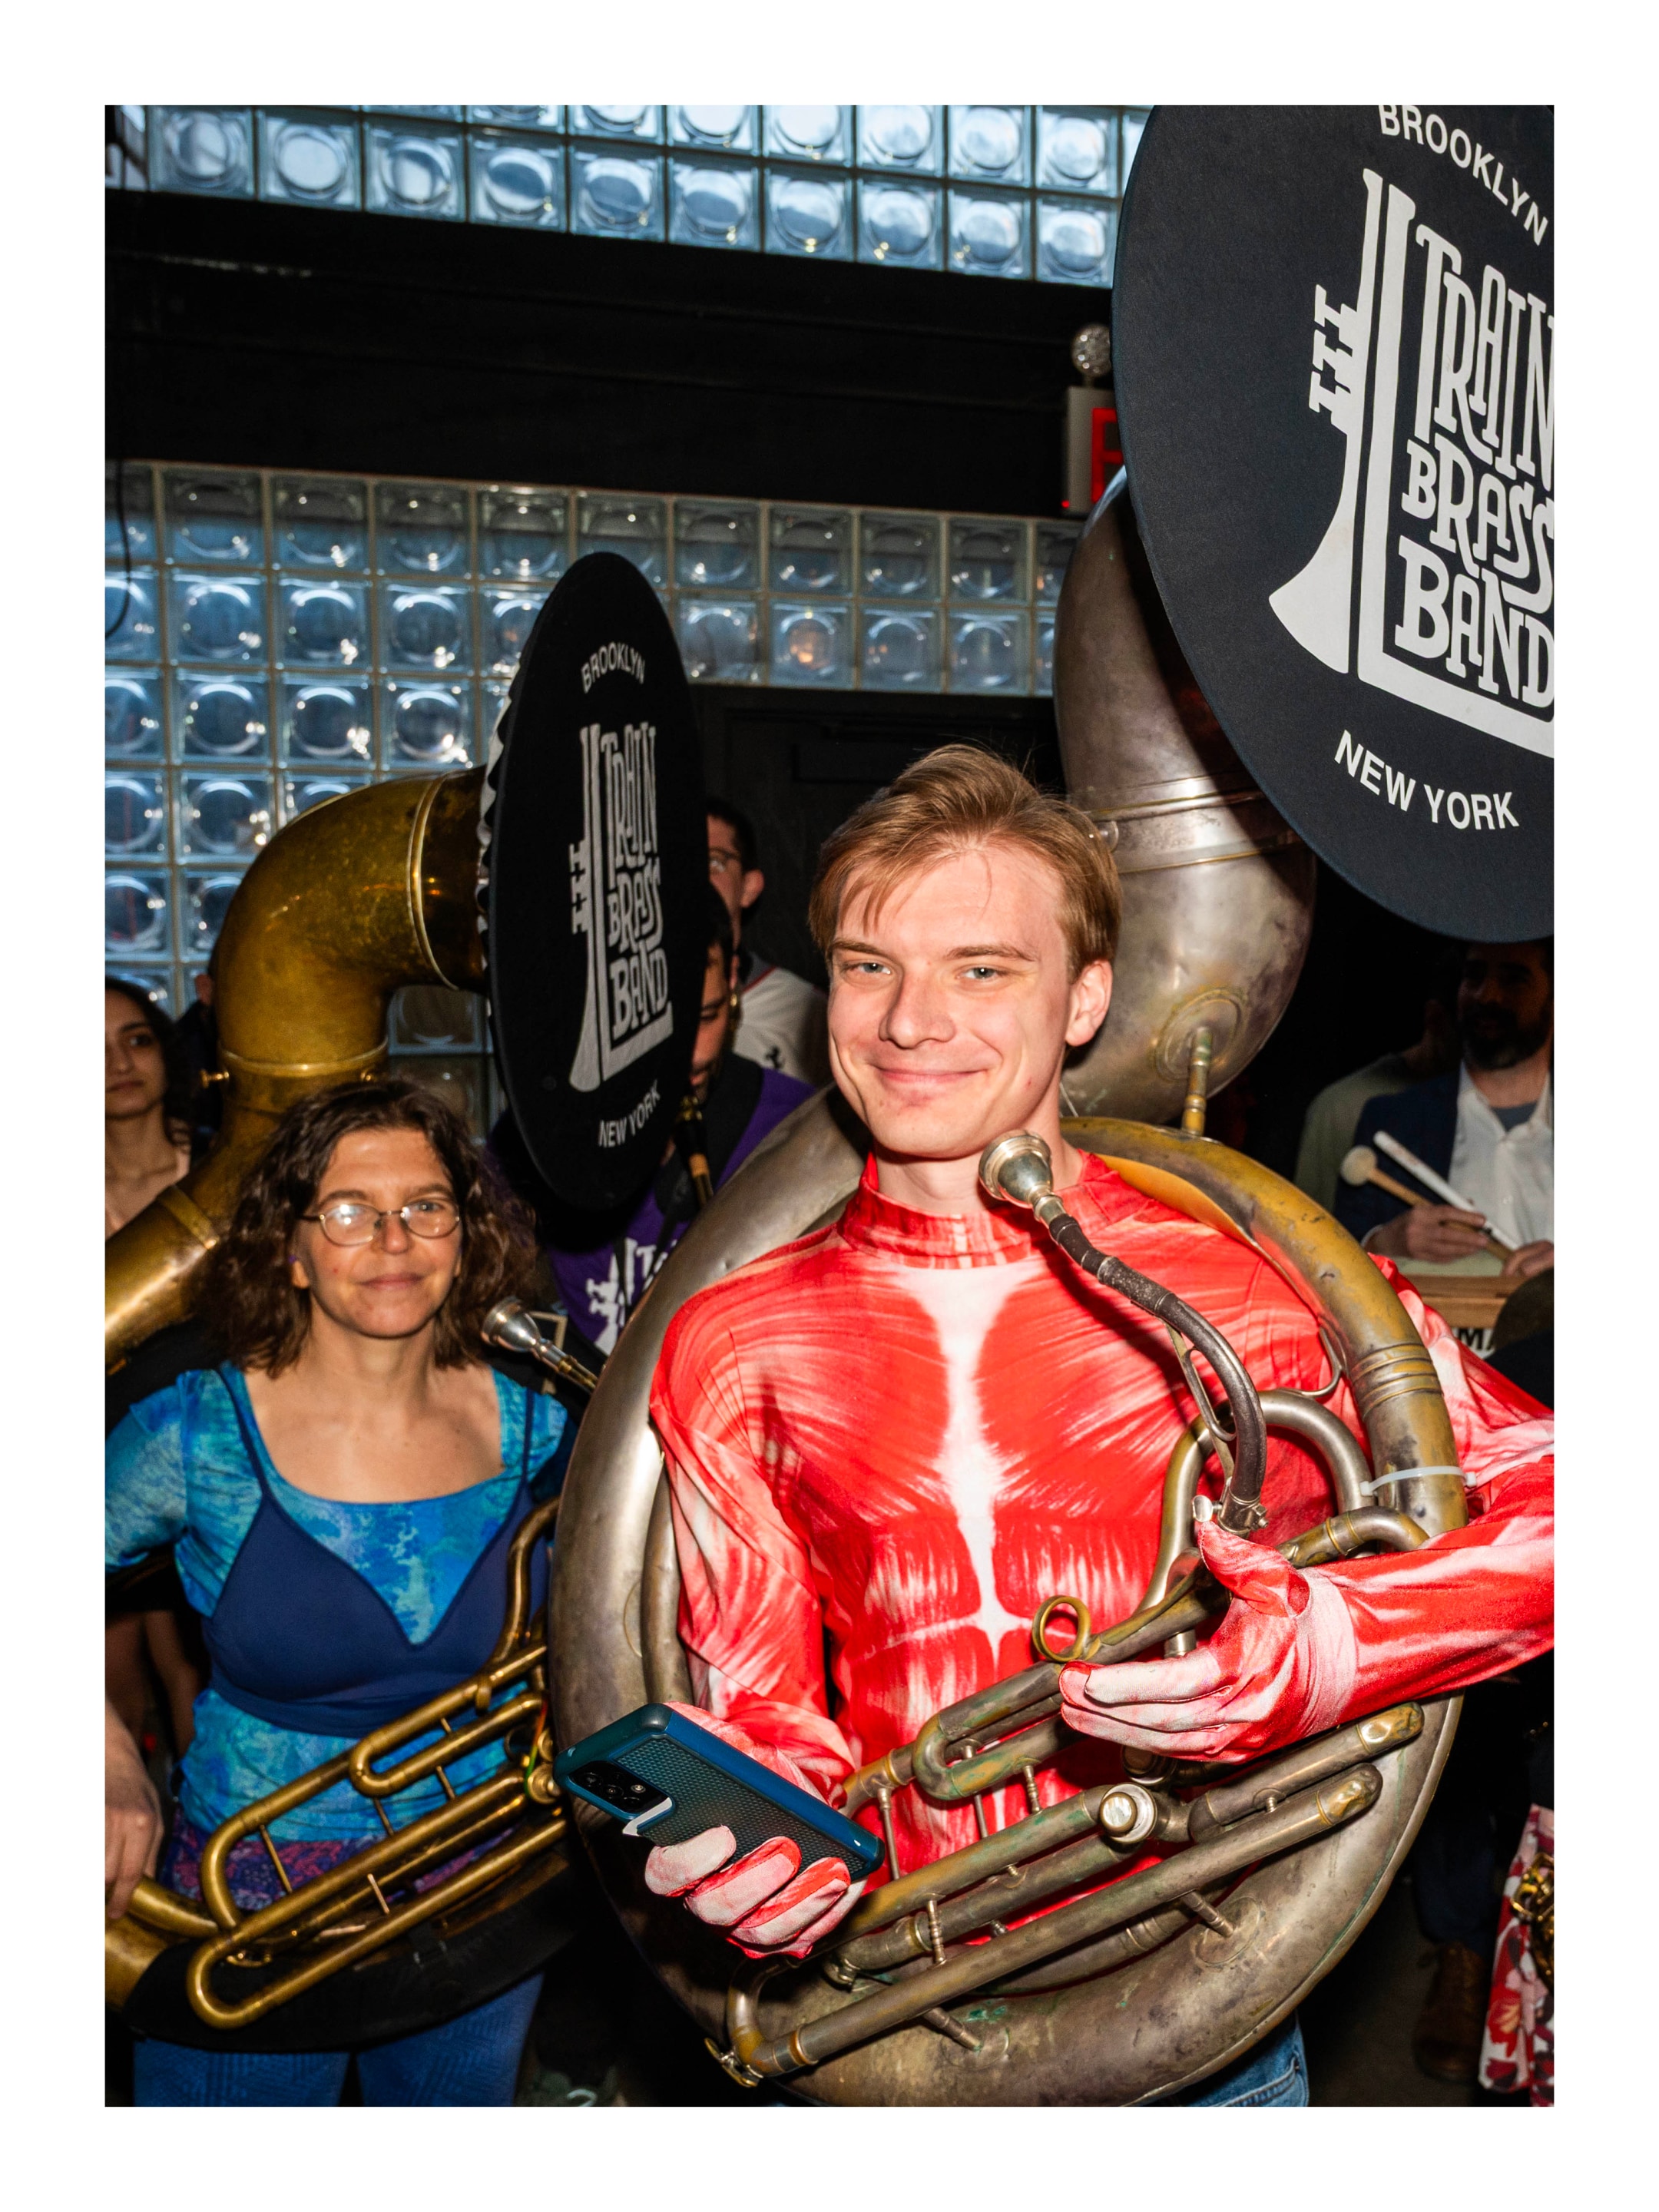
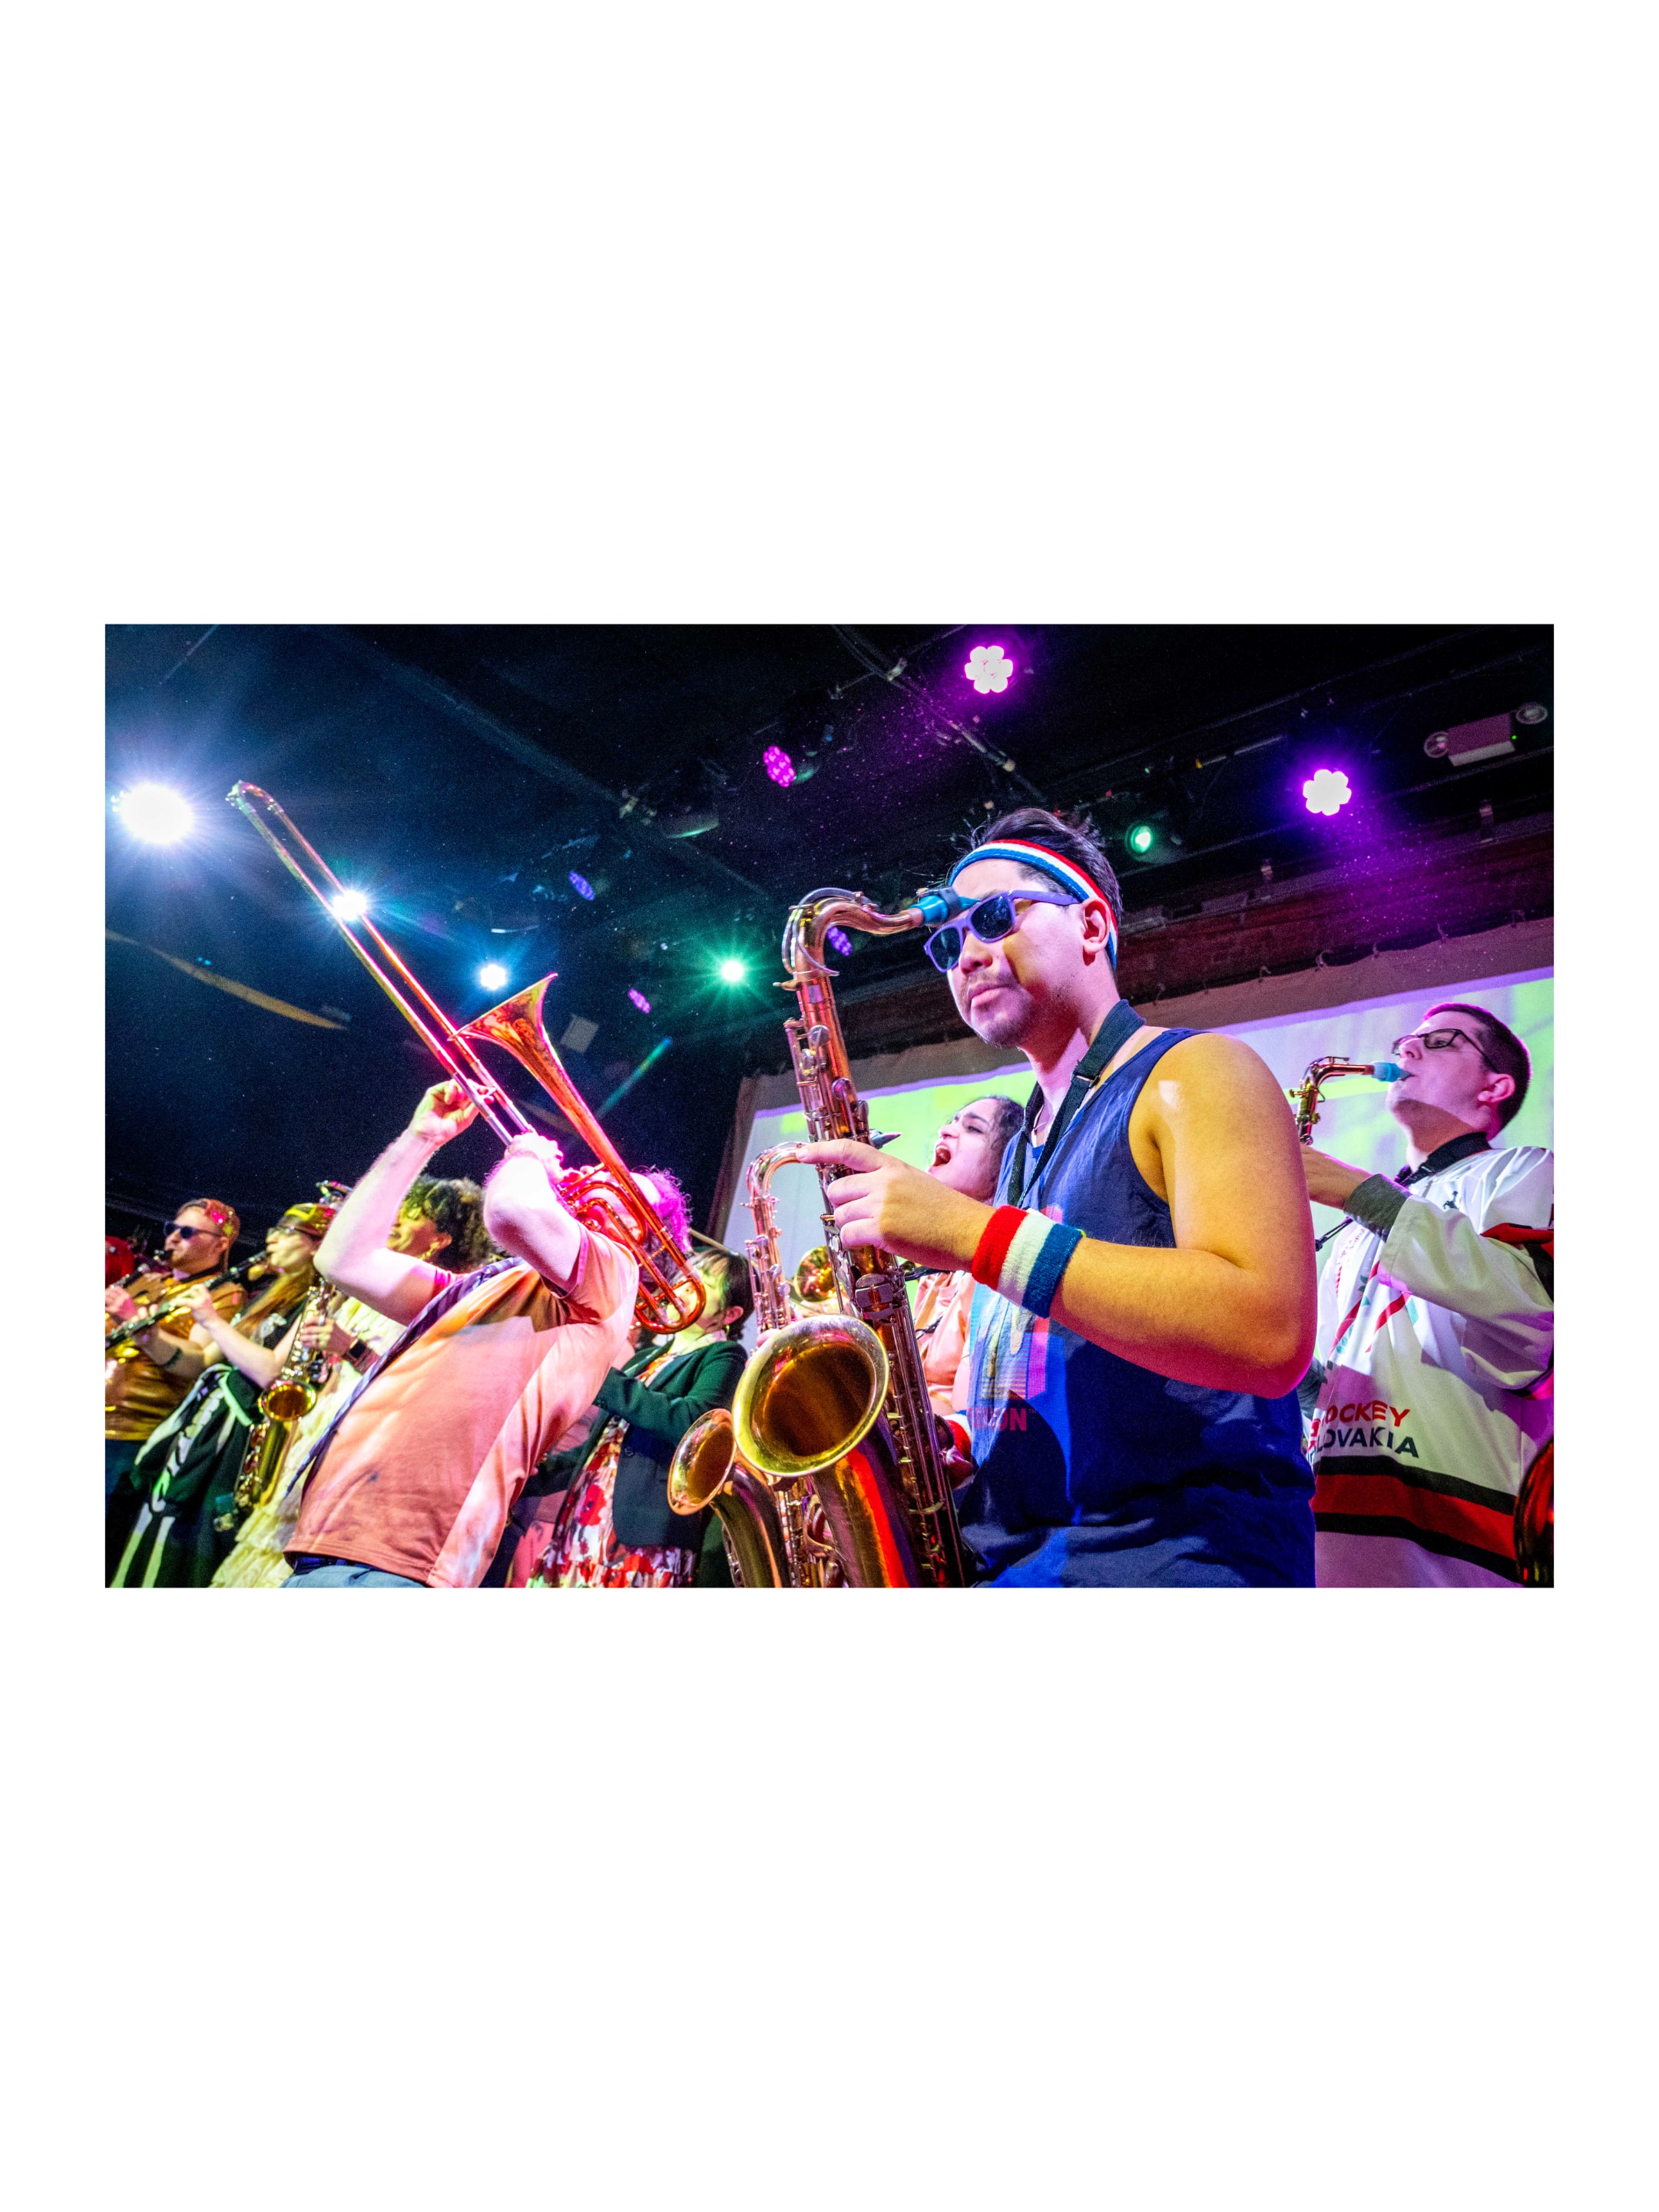
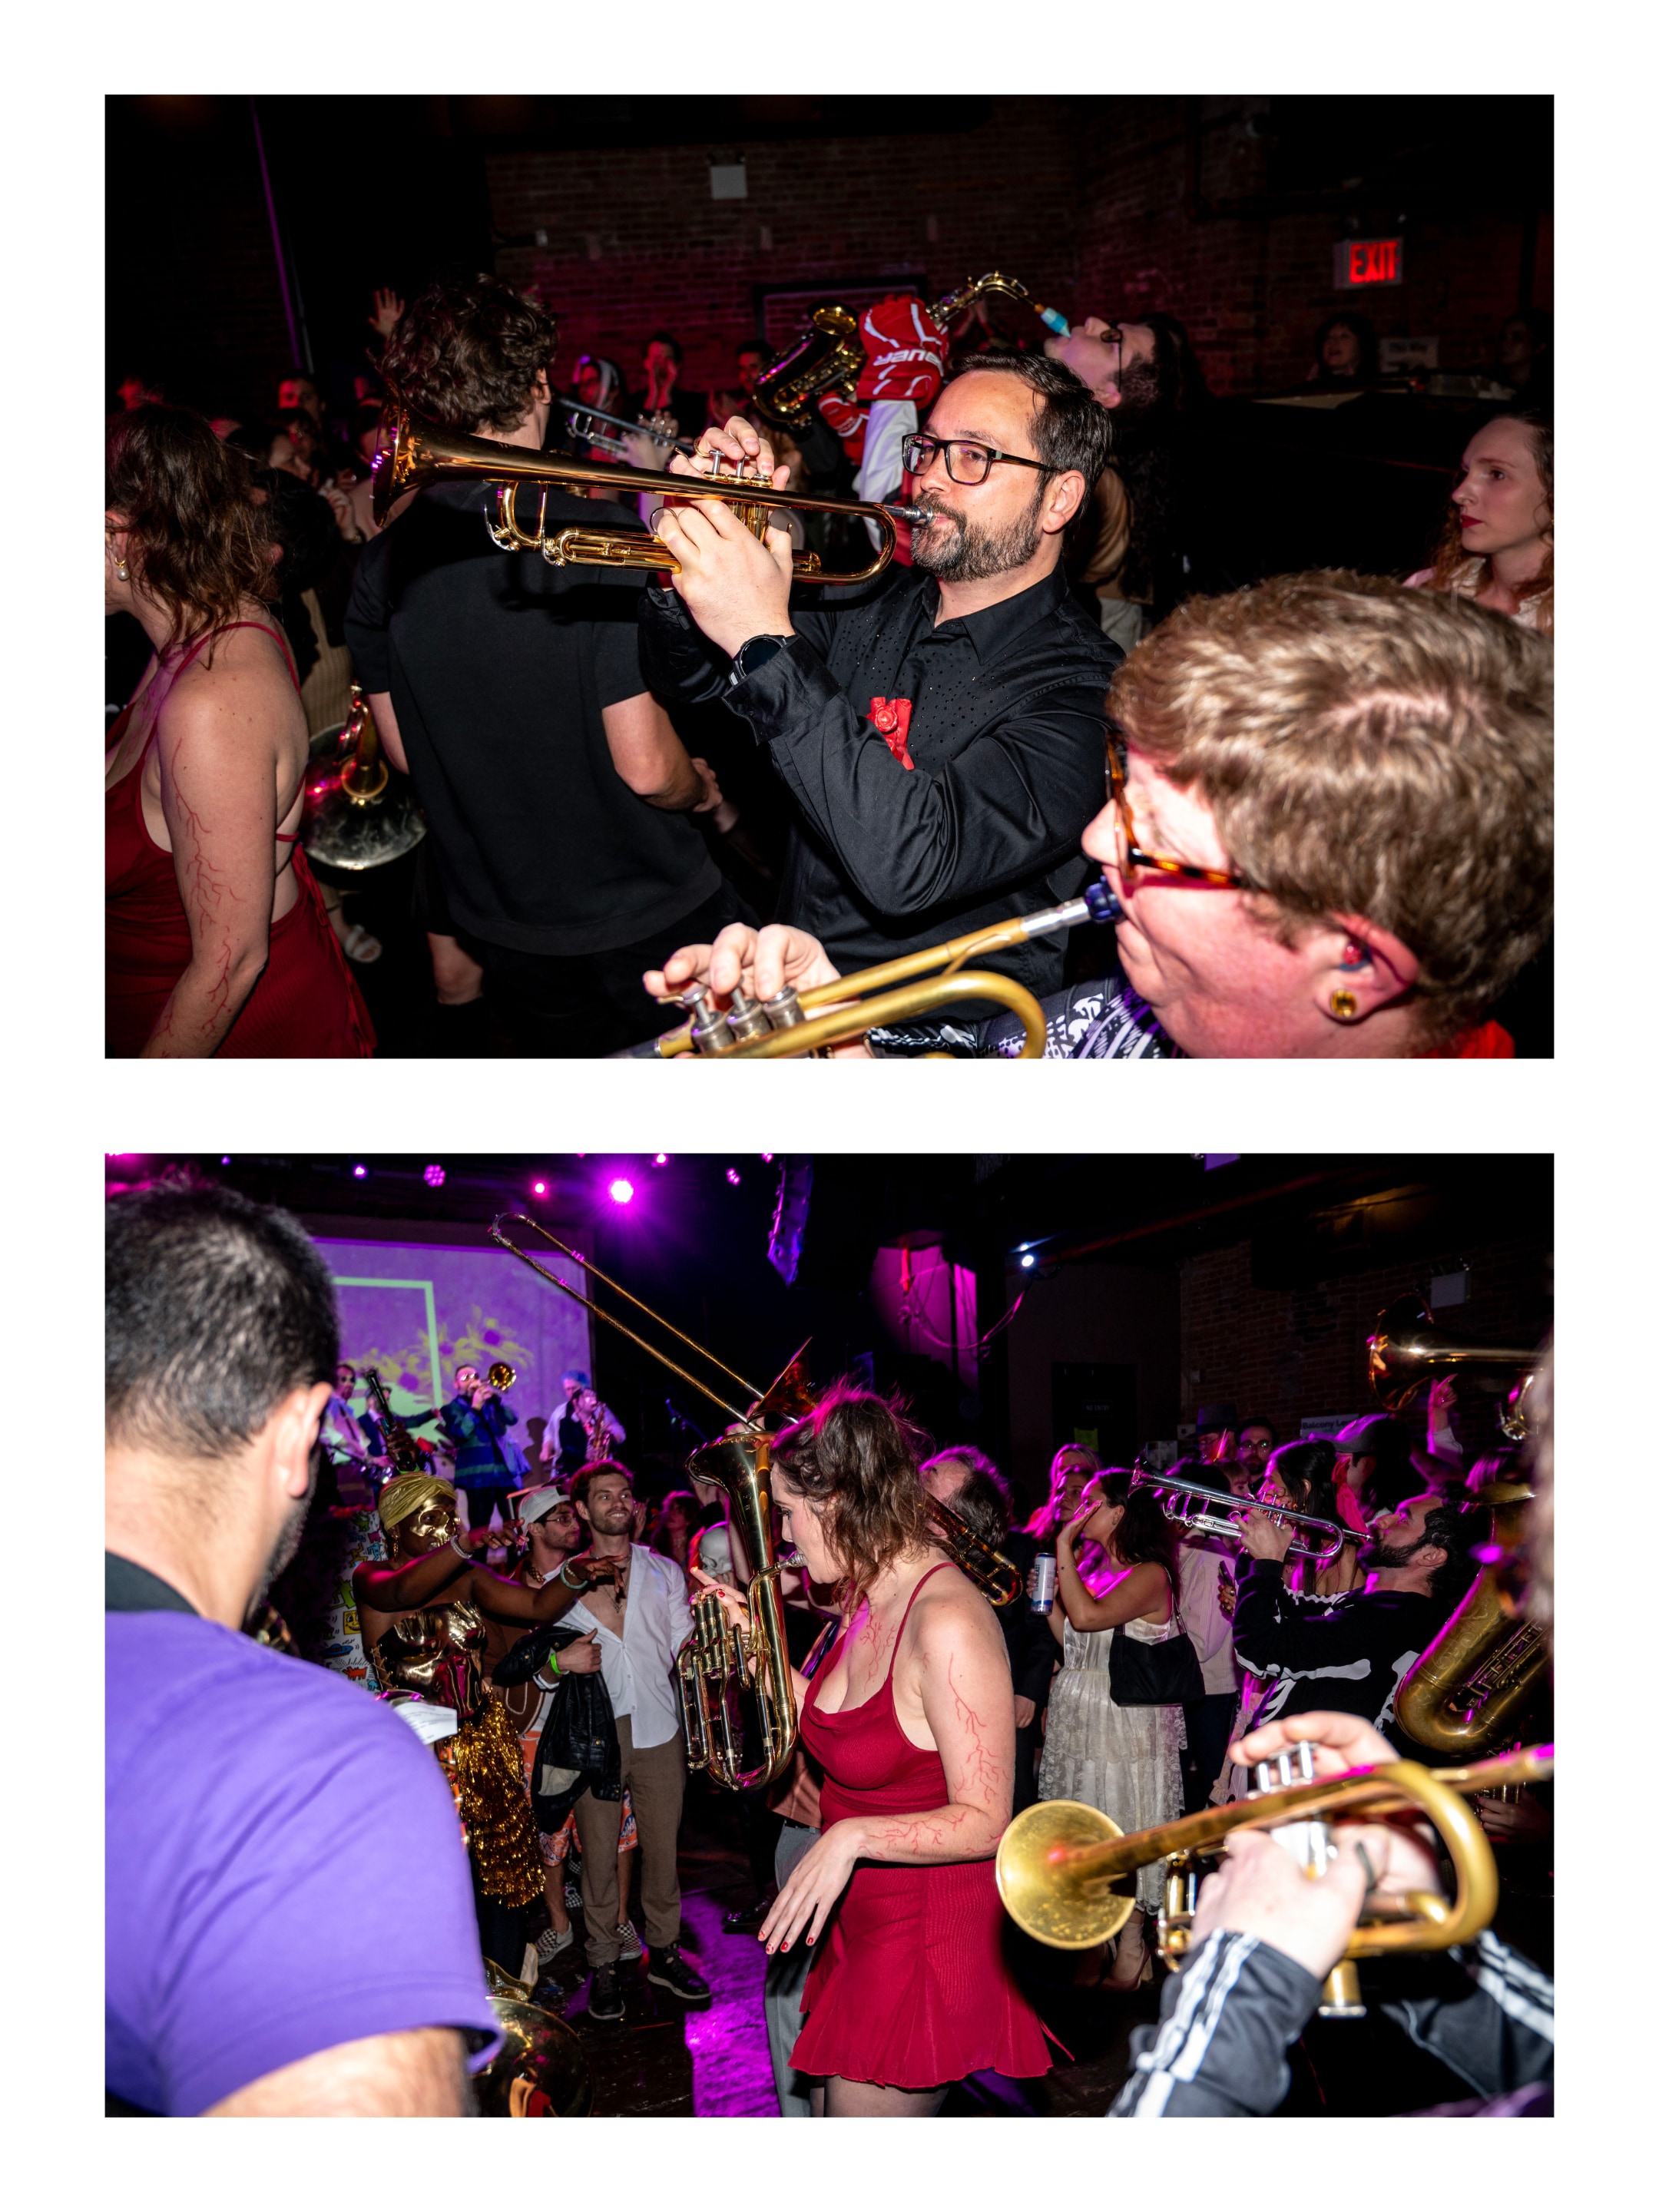
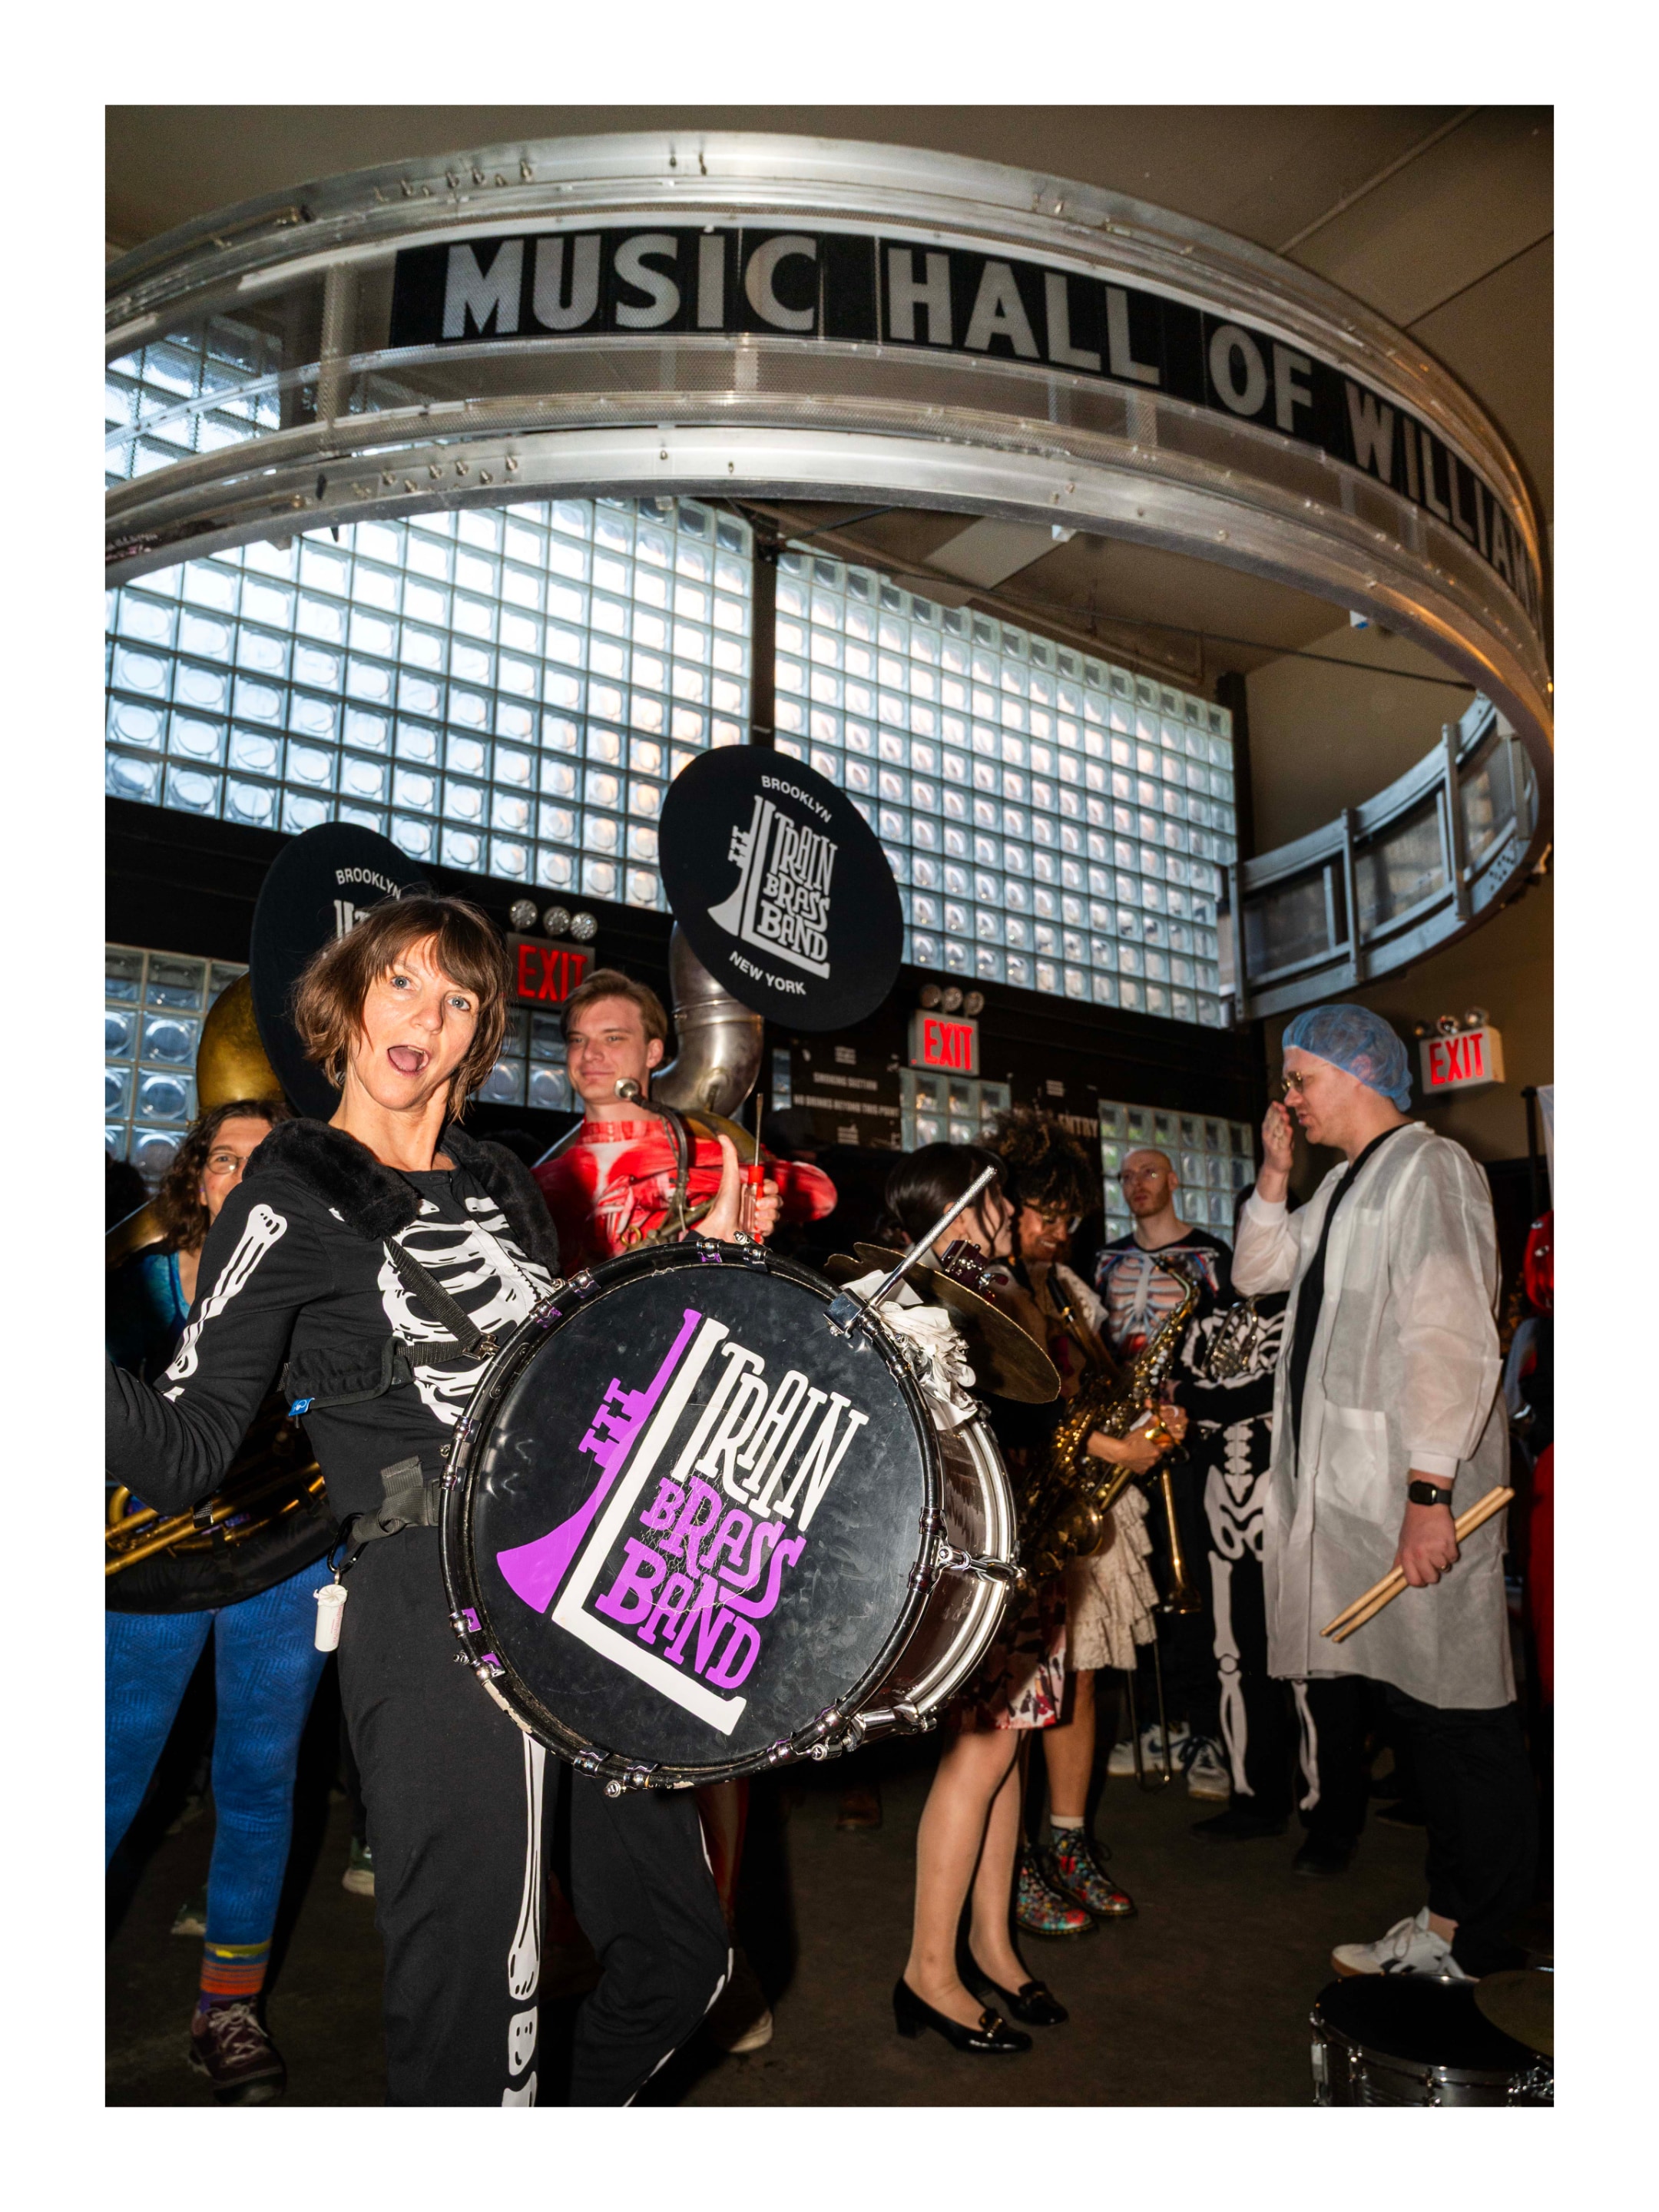
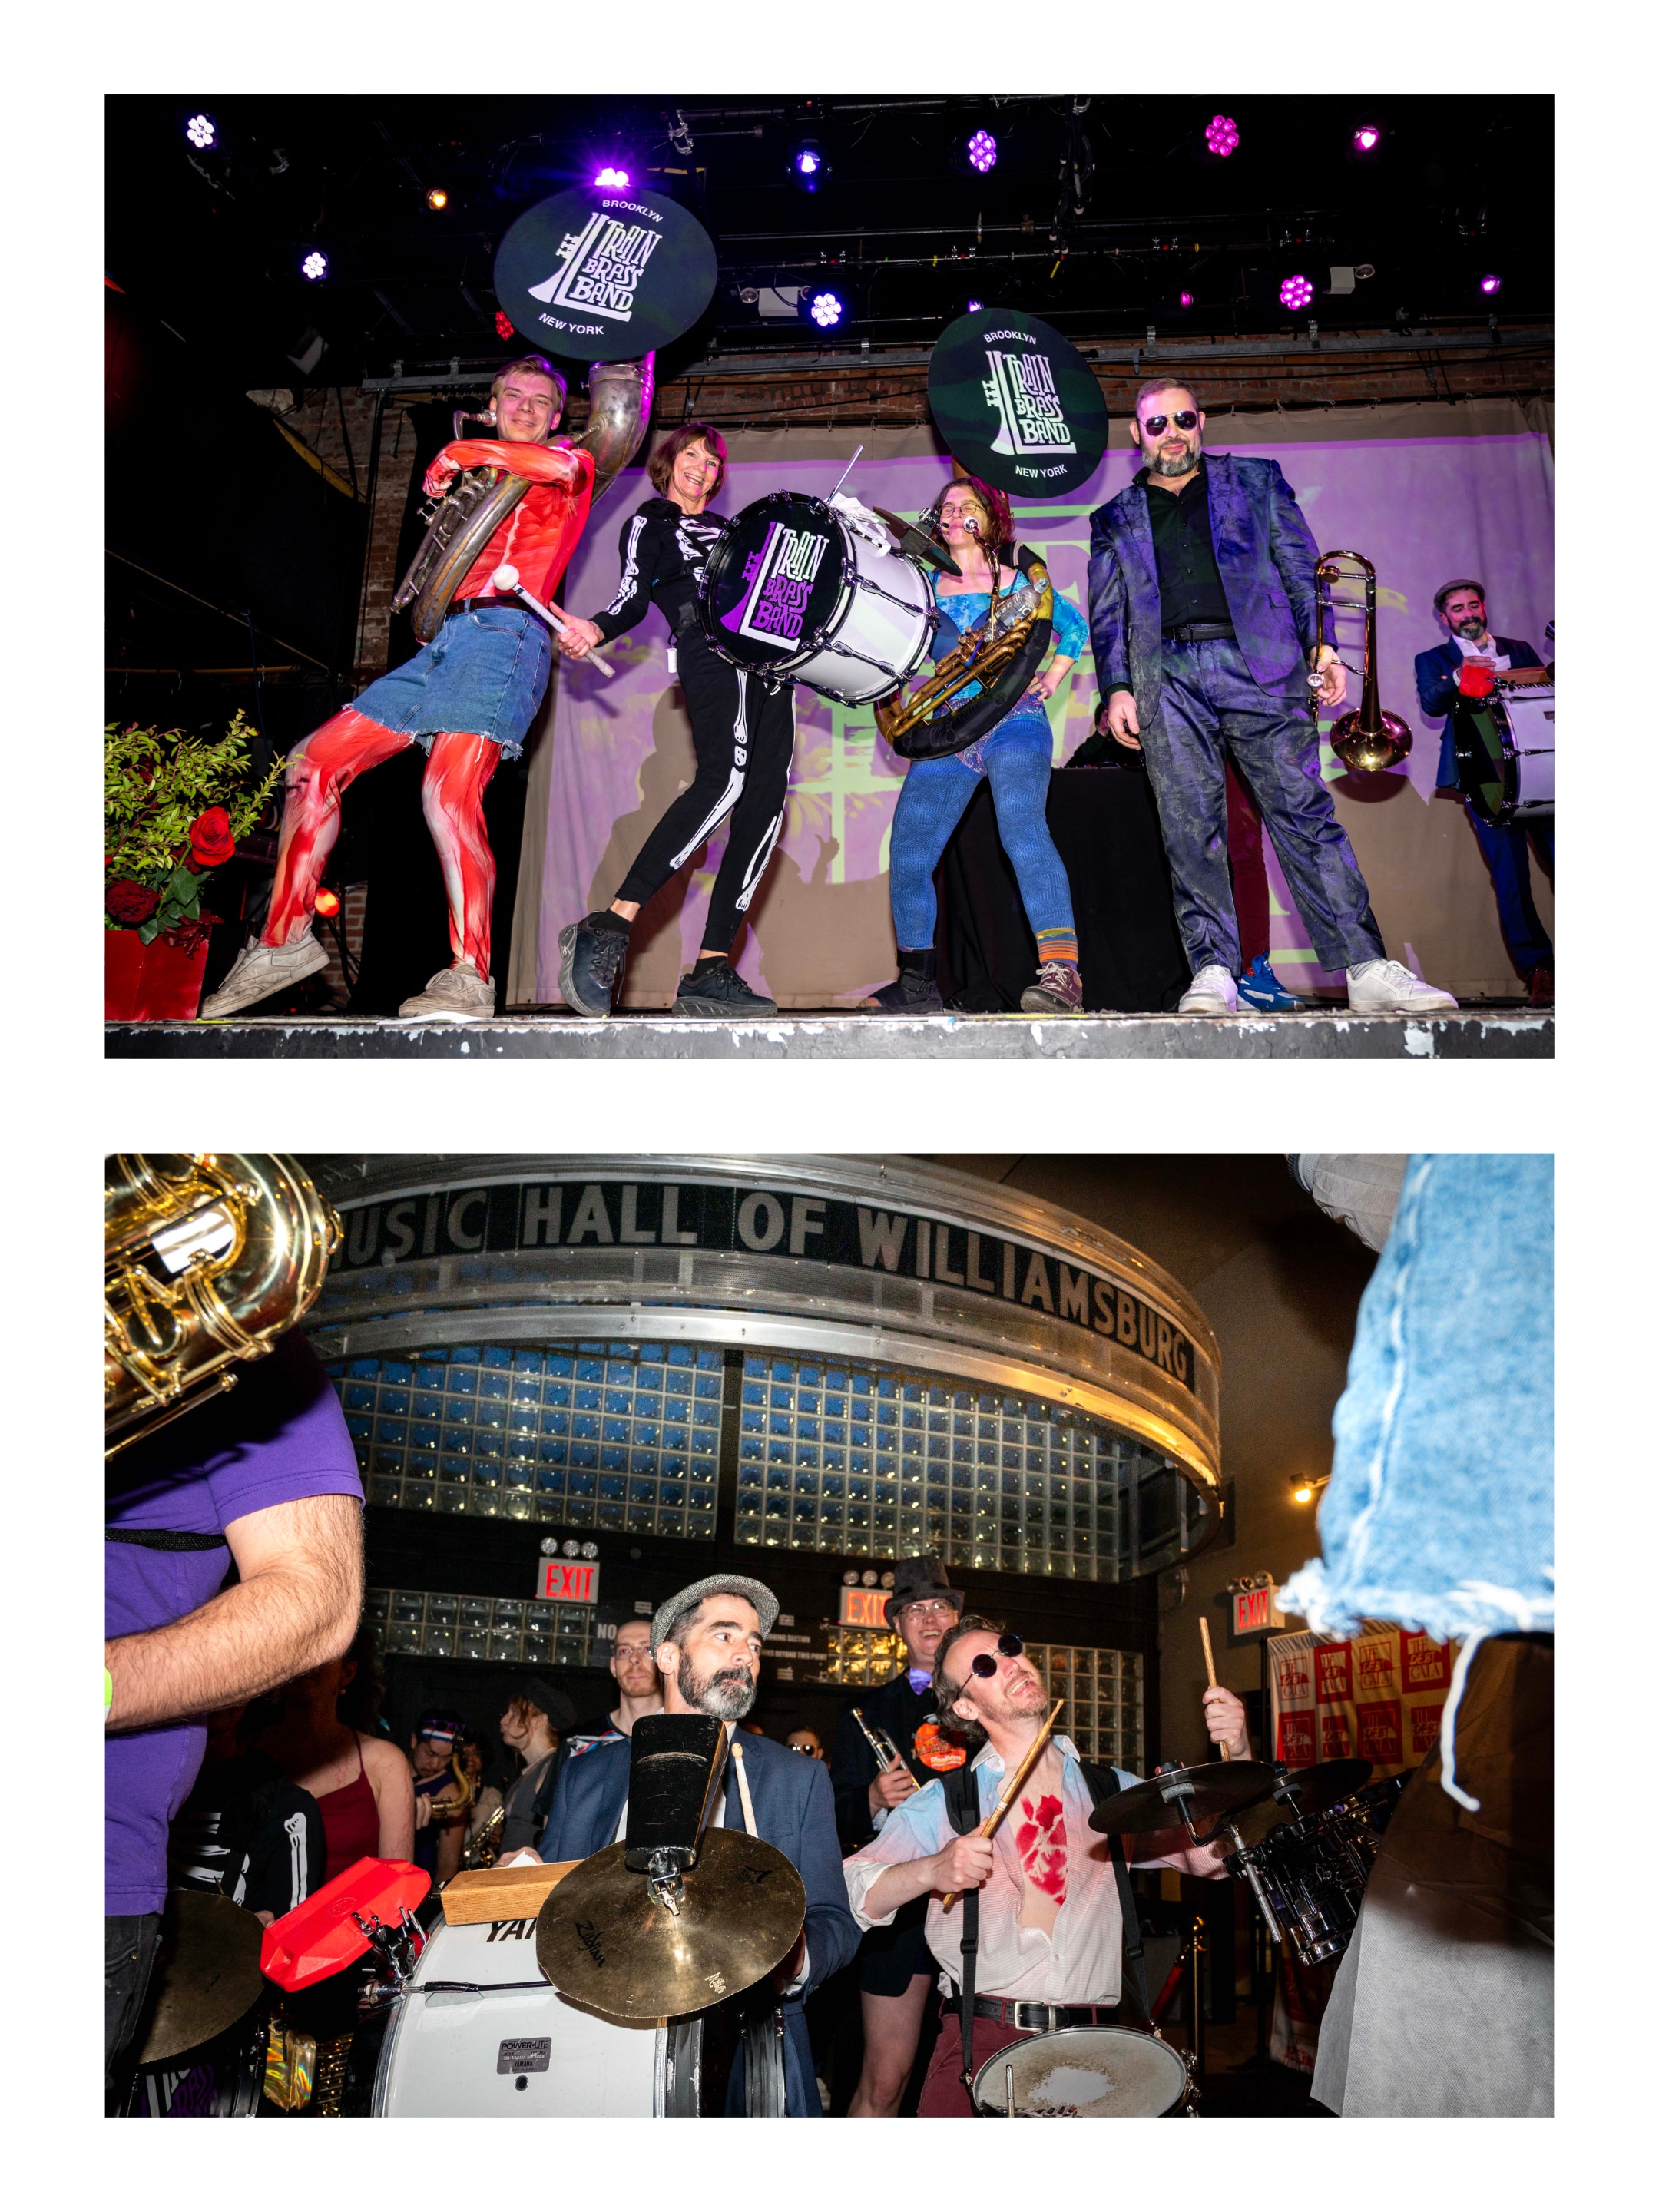
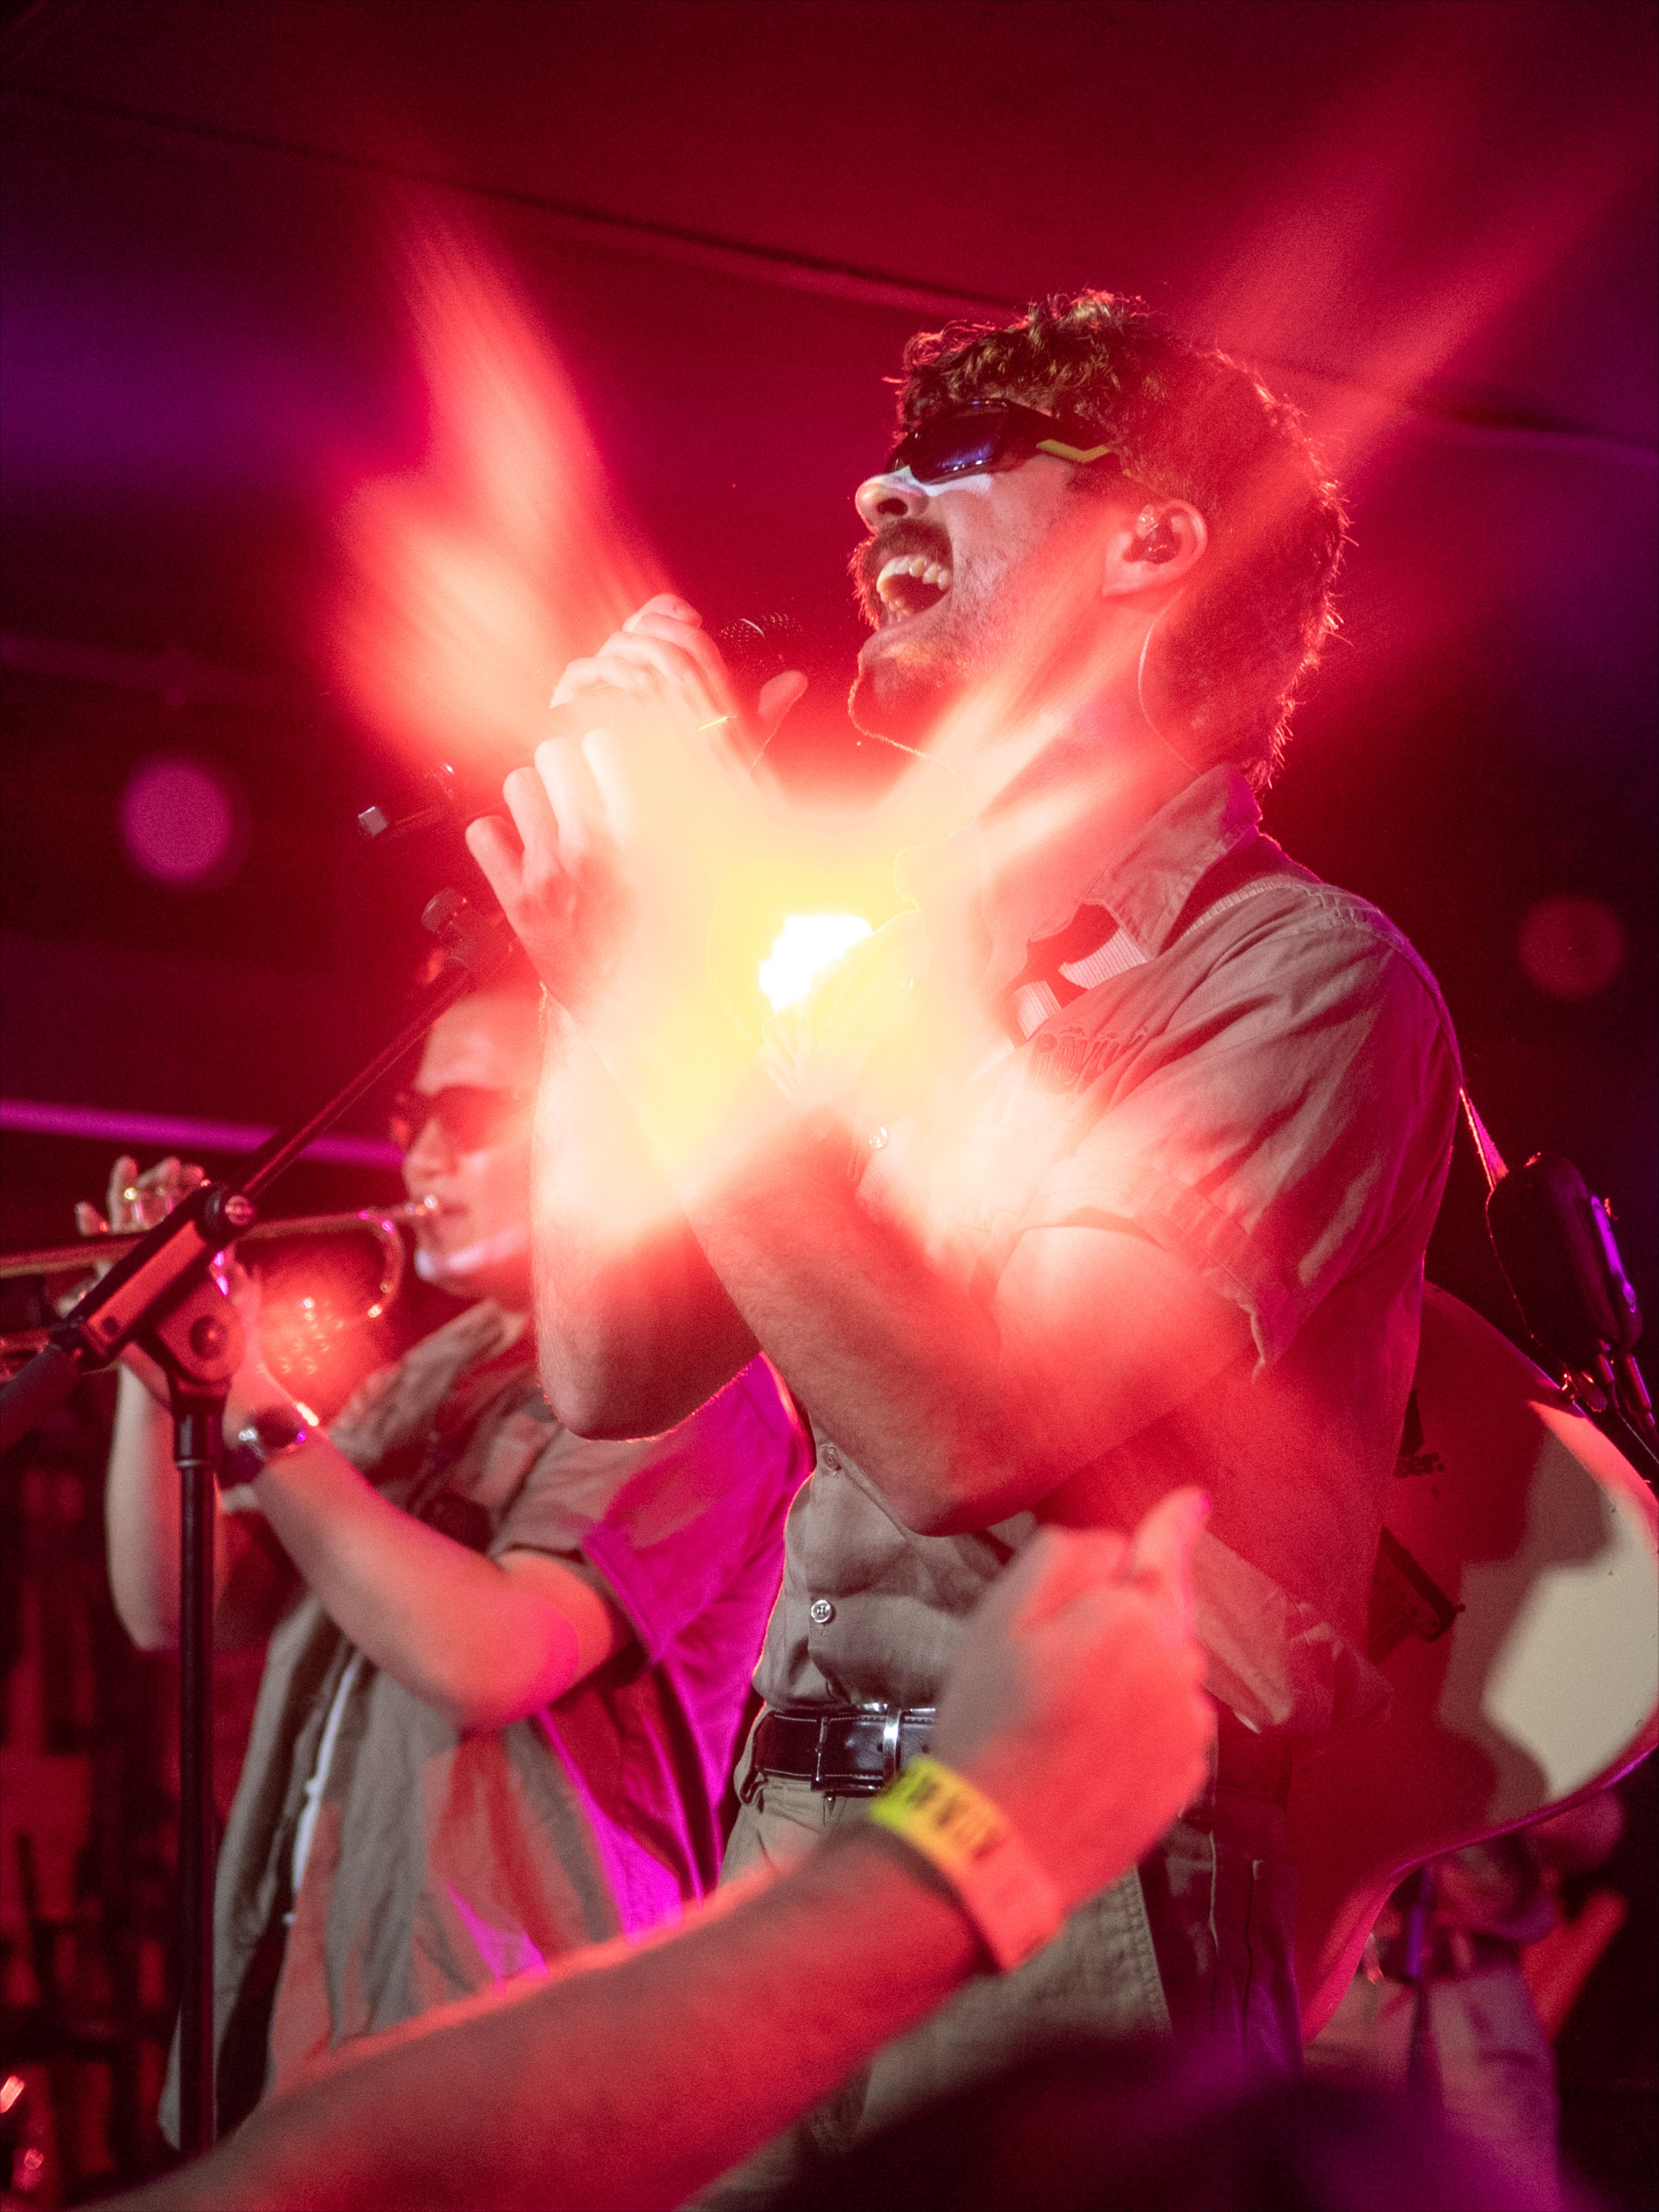
L Train Brass Band at The Debt Gala on May 3rd, 2026 at Music Hall of Williamsburg

Scroll for more →


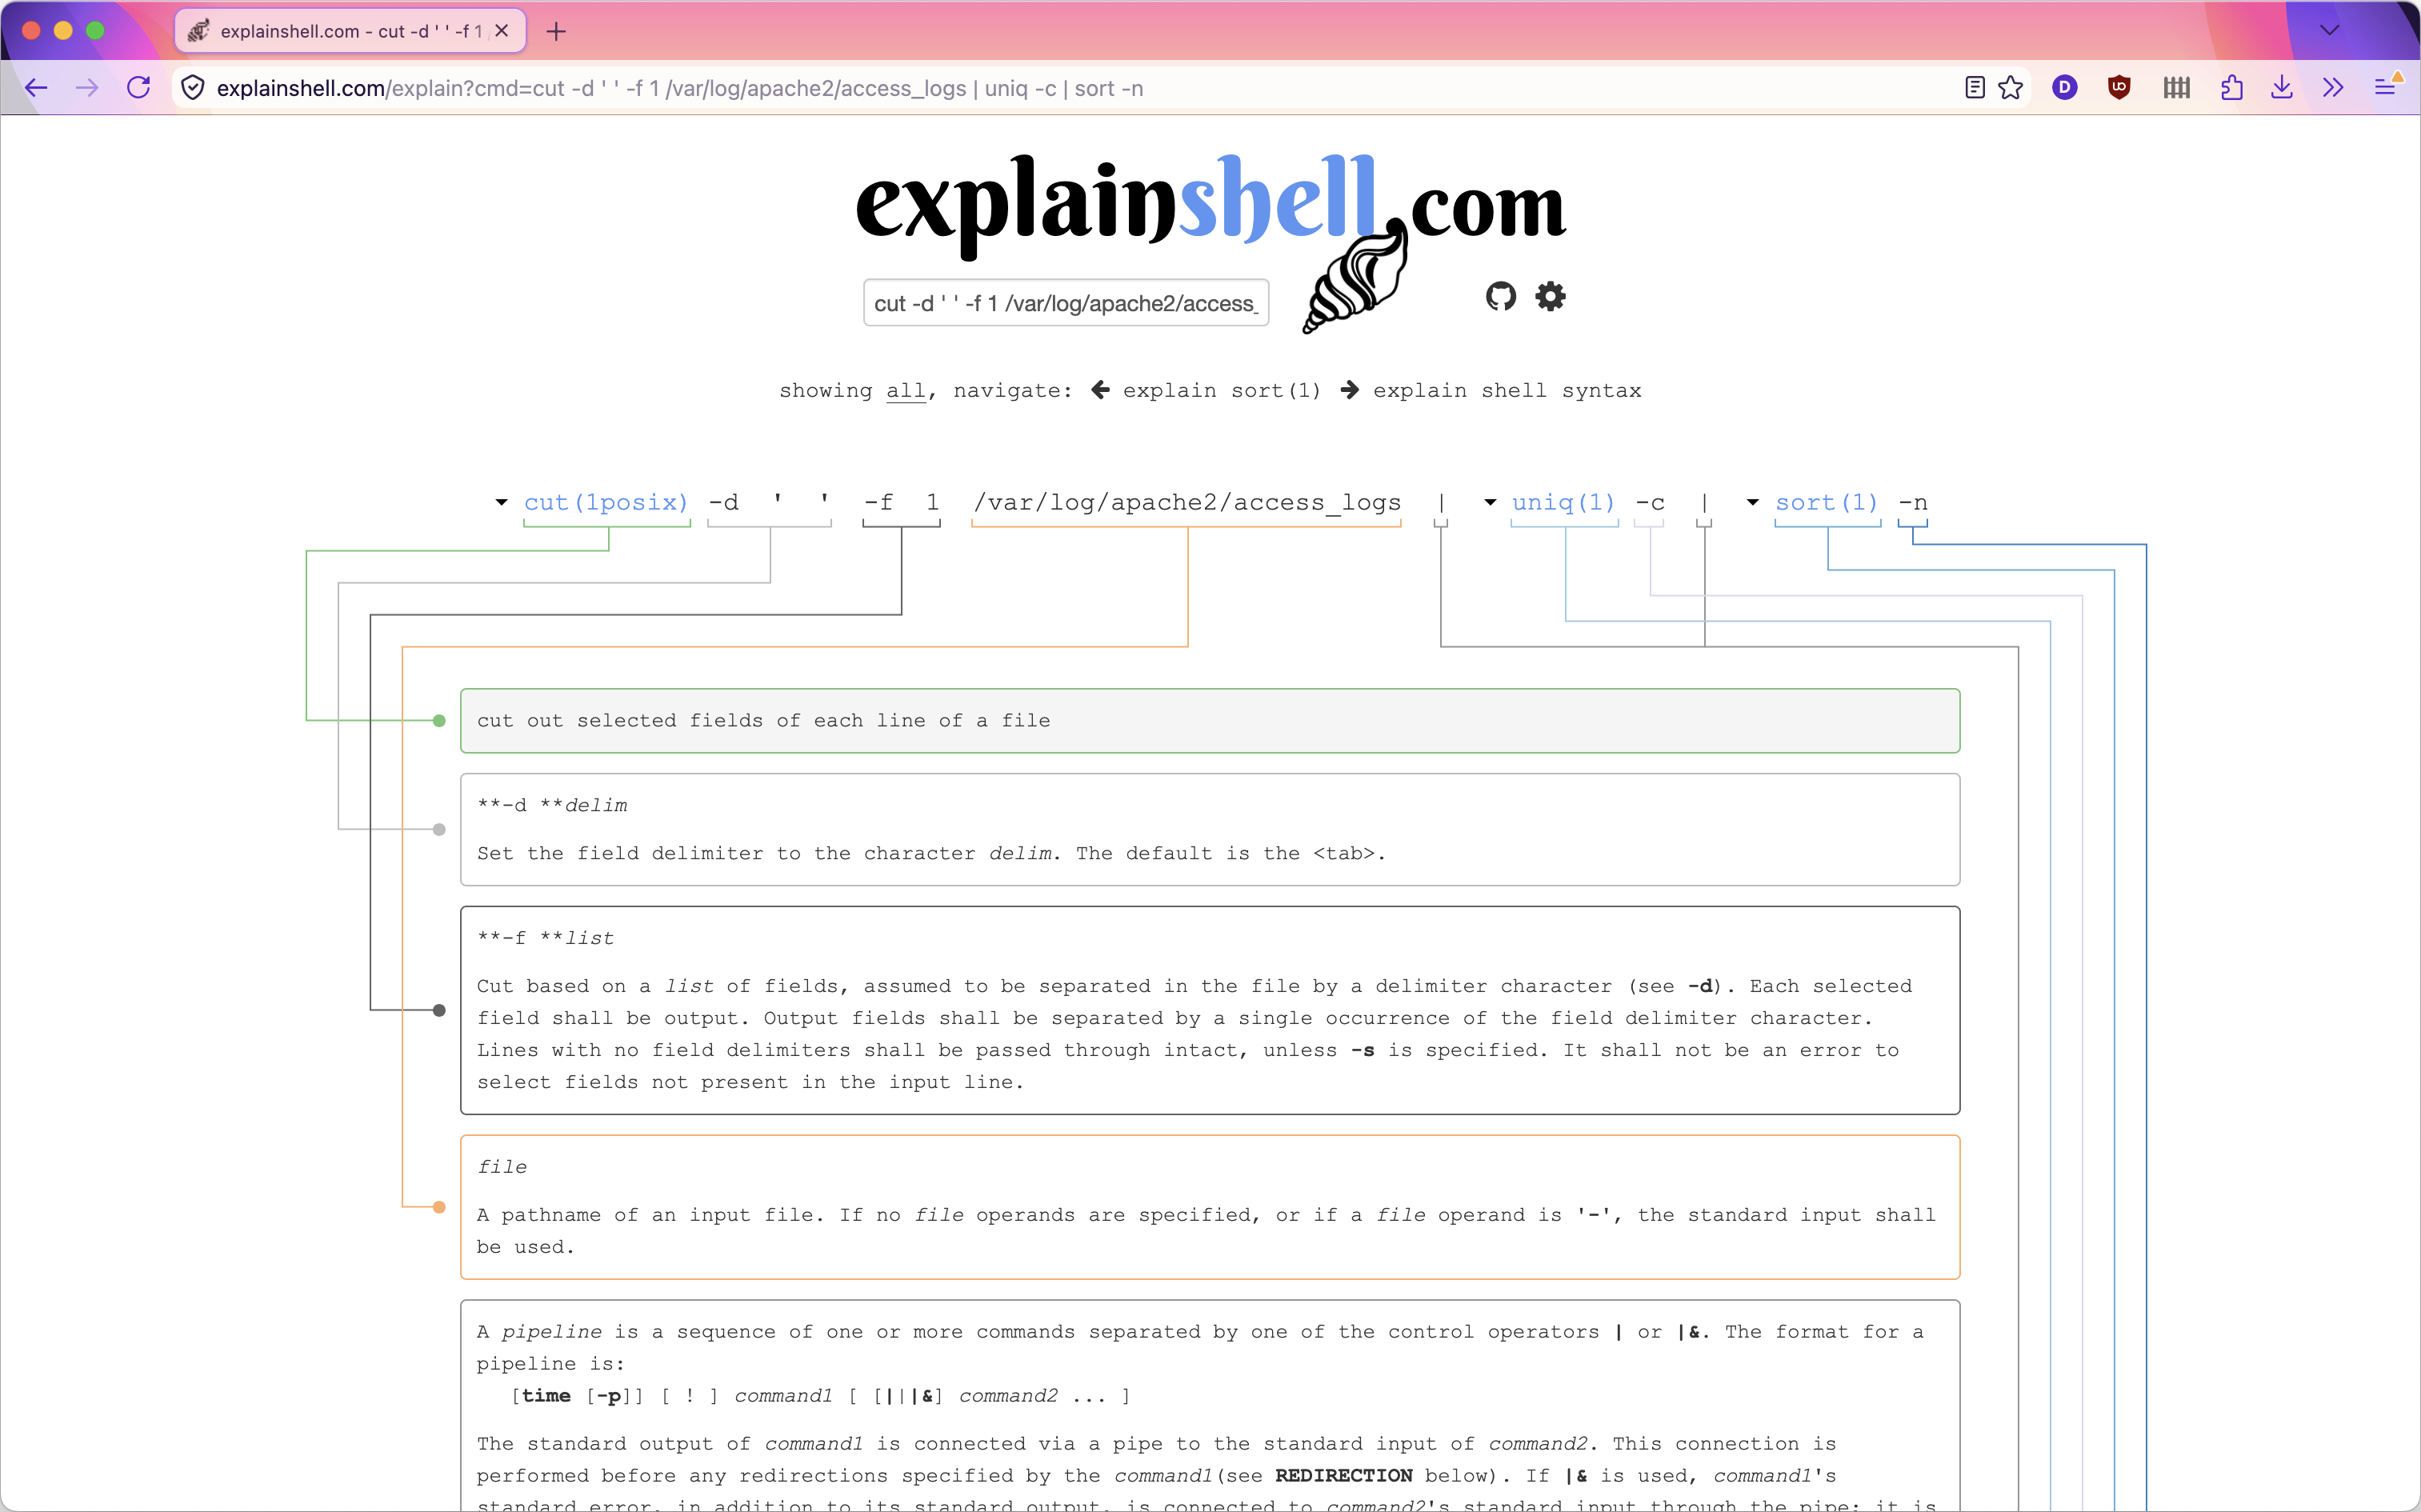
SCR-20260512-kpdi.png

Tool - Explain Shell. When I come across a terminal command or a set of arguments I don’t recognize my first stop is always ExplainShell.com. It isn’t perfect because it pulls data from manpages which don’t follow a perfectly uniform structure but much more often than not it helps me quickly make sense of what I’m looking at. After several years in maintance mode it recently got an updated set of data which I’m very excited to see!.


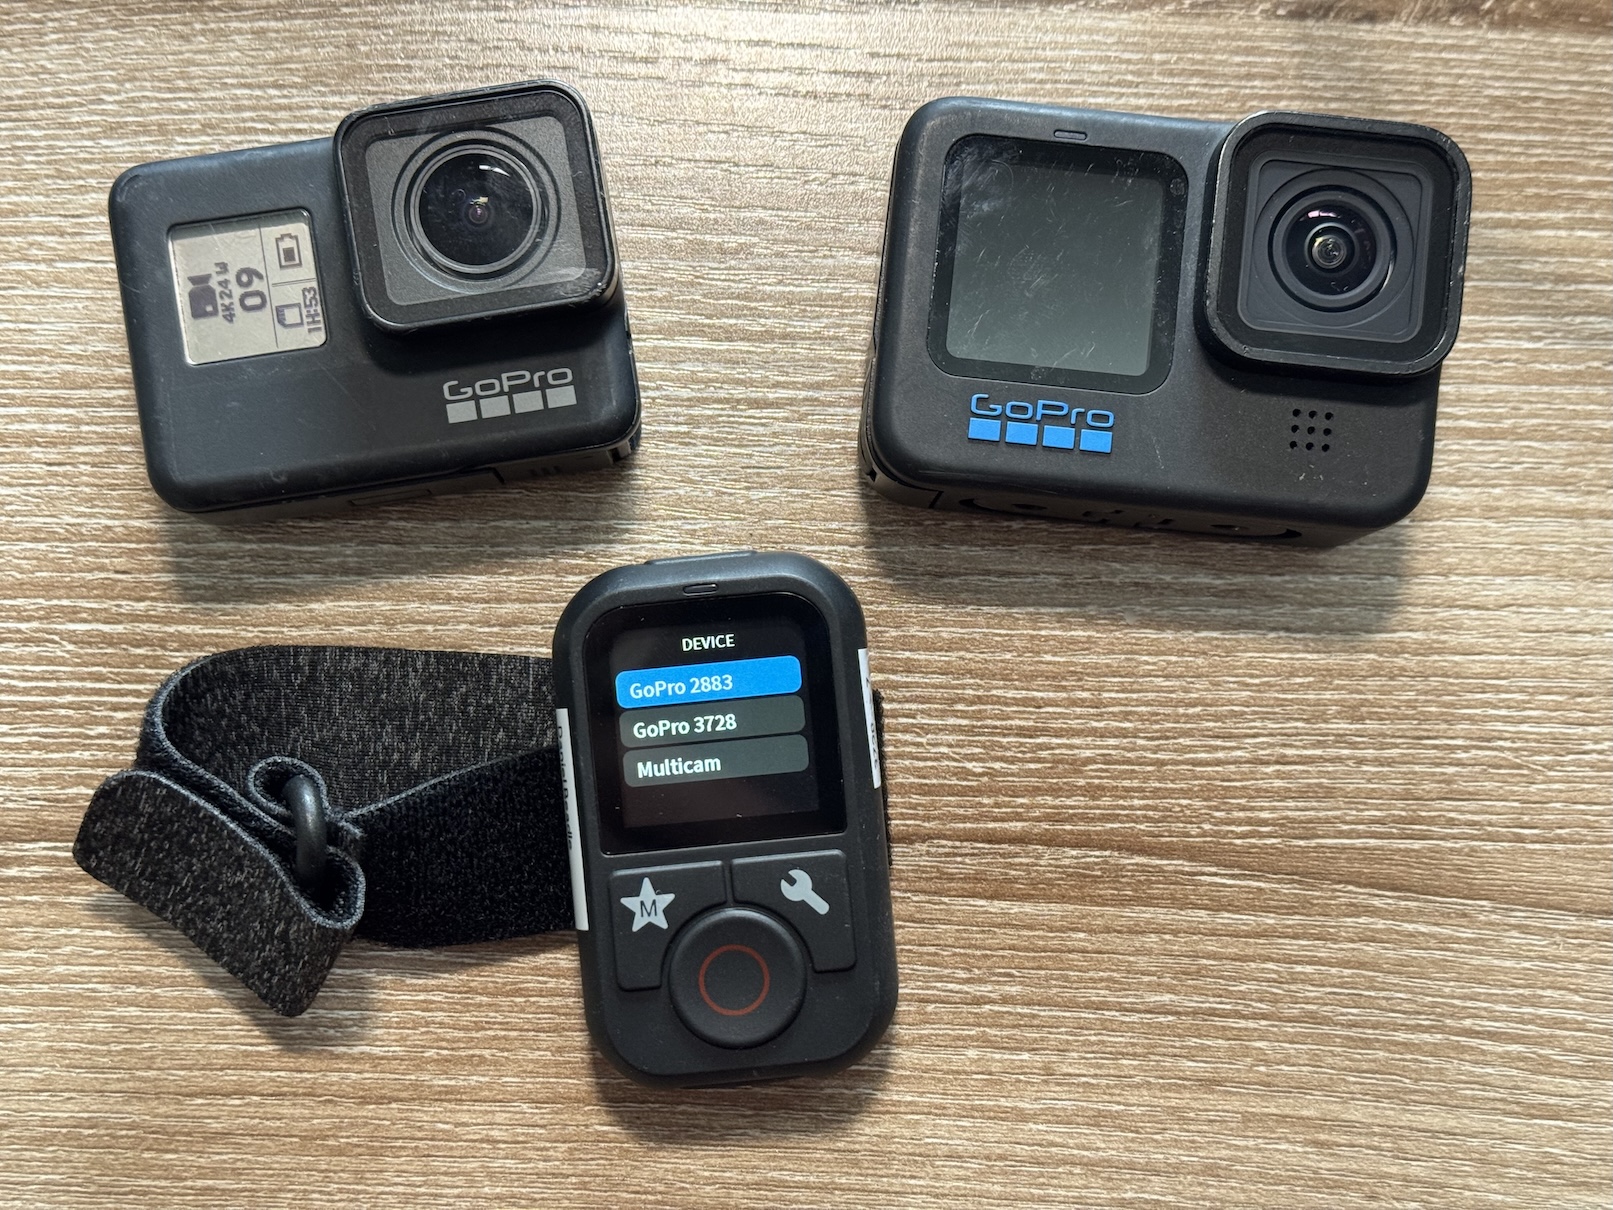
IMG_3018.jpeg

Review of the “Telesin Remote Controller for GoPro Hero 13/12/11/10/9/8/MAX”

I often use a GoPro Hero 10 to record my bands. It’s easy to throw in a bag and attach to whatever is available in the venue via the Magnetic Swivel Clip.

Since I can’t start or stop them from the stage I often record a lot of unnecessary footage of set up and tear down. Recording extra video isn’t a big deal when the GoPro is plugged in to an external power source1 but sometimes external power isn’t available and every minute of battery life counts2. After a recent gig where I had to run up and down some stairs several times to start and stop recording I decided I should get a remote. I tried using the GoPro Quik app on my phone as a remote but it was unable to connect… I believe both the app and the remote both use Bluetooth Low Energy (BLE) so that may still be an issue.

I purchased the remote for $37 from B&H. It’s lighter than I expected and the build quality feels good. The interface is simple and includes everything you need but no more.

It does basically everything you’d want from a remote to do but here are a few things I haven’t seen mentioned online anywhere:

Color screen

The screen is color but it doesn’t support any kind of live preview.

GoPro Names

If you have multiple devices connected you cannot give them memorable names. They are identified by a 4-digit id. I printed and attached a label clarifying which camera is which. This is illustrated in the image at the top of this post.

Powering on via Remote

If the remote has been paired, it can wake the GoPro from the powered off state IF AND ONLY IF the GoPro has been powered on previously. Let me clarify what I mean by that:

This does not work:

  1. Insert battery into GoPro
  2. Press record on the remote

Nothing happens â˜šī¸

This works:

  1. Insert battery into GoPro
  2. Turn on GoPro
  3. Turn off GoPro
  4. Press record on the remote

GoPro turns on, starts recording, and turns off again when you stop recording 😊

Note that in this process the GoPro turns on, starts recording, and immediately turns off again and you cannot change any presets.

Changing Video Presets

The remote can change presets on the camera but it can only change VIDEO presets if the “Video Performance Mode” is set to “Maximum Video Performance”. If the mode is set to “Extended Battery” or “Tripod” the remote will list the other presets and let you select them but the camera will not change. Interestingly enough it can change PHOTO and TIME LAPSE presets when set to “extend battery” or “tripod” modes3.

Partially Compatible with the Hero 7 Black

The remote can turn on and start / stop video on the Hero 7 Black which I have not seen listed anywhere. Multi-camera mode (starting and stopping multiple cameras at once) also works. You cannot change presets and the Hero 7 shuts off after finishing the video. Again, not a big concern for me but worth mentioning.

  1. I recommend Lossless cut for easily chopping up large files ↩︎

  2. The Enduro batteries help some. If you’re trying to squeeze out every minute I would recommend them. ↩︎

  3. I suspect the issue is related to how the video presets are named. Some presets slightly differently in different parts of the UI. Maybe someone could tweak the firmware to fix it but I am happy to choose my preset and simply use the remote to start and stop the camera. ↩︎


IMG_2409_Large.jpeg

Zoom H4n Pro file recovery after sudden power loss

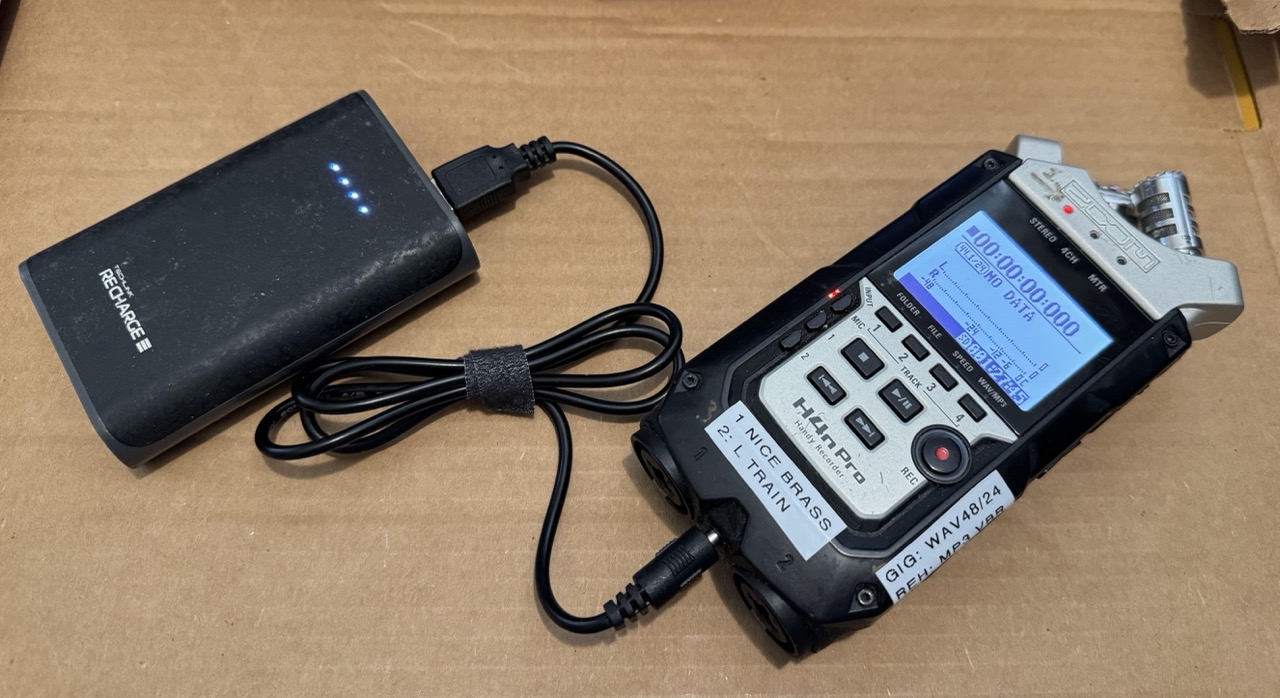
I’ve been using a Zoom H4n Pro audio recorder for a few years now. I like that it’s durable, relatively inexpensive1 and doesn’t look too fancy. Those last two points are very important when I set it up on the New York City sidewalk across from my bands2 while I’m playing. It doesn’t catch anyone’s eye and if it does it’s easily replacable.

There are a few things I don’t like about it. The rubberized coating gets gross3, the menu system is convoluted, it chews through AA batteries… and if it loses power while recording it loses your files.

To prevent a power loss I strongly recommend powering it off of a 5V USB port, either from a wall outlet or a rechargable battery pack (Pictured above) with a USB to barrel jack adapter AND with AA batteries in the recorder. The recorder will draw power barrel jack and will fall back to the AA batteries if needed.

If your recorder does lose power while recording your files are probably still recoverable. Here’s how I recovered a 24-bit stereo WAV file recently.

Notes

  • Only 1- or 2-channel audio files. For 4 channels read merethan’s guide linked below
  • This is for MacOS specifically: The same general process is relevant to Windows and Linux, you will have to figure out a different way to make an image (ISO) out of the SD card
  • MacOS Terminal: These instructions assume familiarity with the terminal. If you don’t know what that is or are not comfortable following instructions I recommend asking or paying someone else to do this for you.
  • Only for WAV: I do not know if this process will work for variable bit-rate MP3 files. I have only tried with WAV files.

Recovery Process

  1. THIS IS VERY IMPORTANT: DO NOT SAVE ANYTHING ELSE TO THE SD CARD.
  2. Connect your sd card directly to your computer.
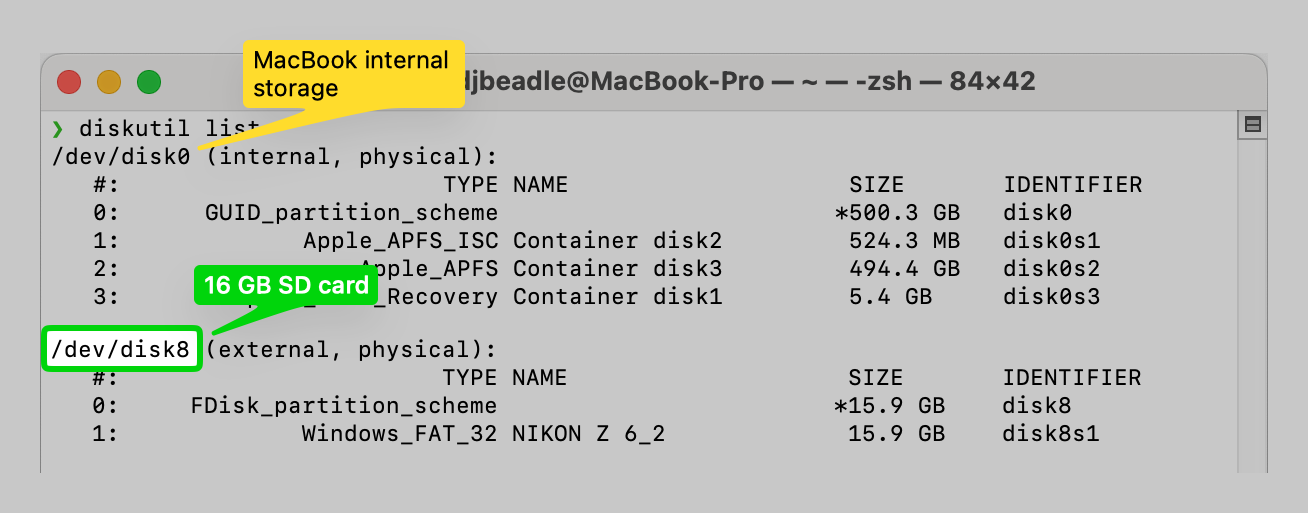
  3. Identify the path to the device by opening Terminal. On Mac the command is diskutil list
    Look for a path like /dev/disk8 with the correct value in the “SIZE” column
SCR-20260427-lwzs-2.png
  1. Create a byte-for-byte replica of your SD Card. This will be exactly the same size as your SD card so make sure you have enough free disk space. Some instructions recommend using Disk Utility but as of MacOS 15.6.1 I couldn’t figure out how to make a full disk image that way.

    sudo dd if=/dev/disk8 of=~/Path/to/save/your/sd/card/image/zoom_sd_card.iso bs=512

  2. REMOVE THE SD CARD FOR SAFE KEEPING. DO NOT TOUCH IT AGAIN UNTIL YOU HAVE YOUR FILES

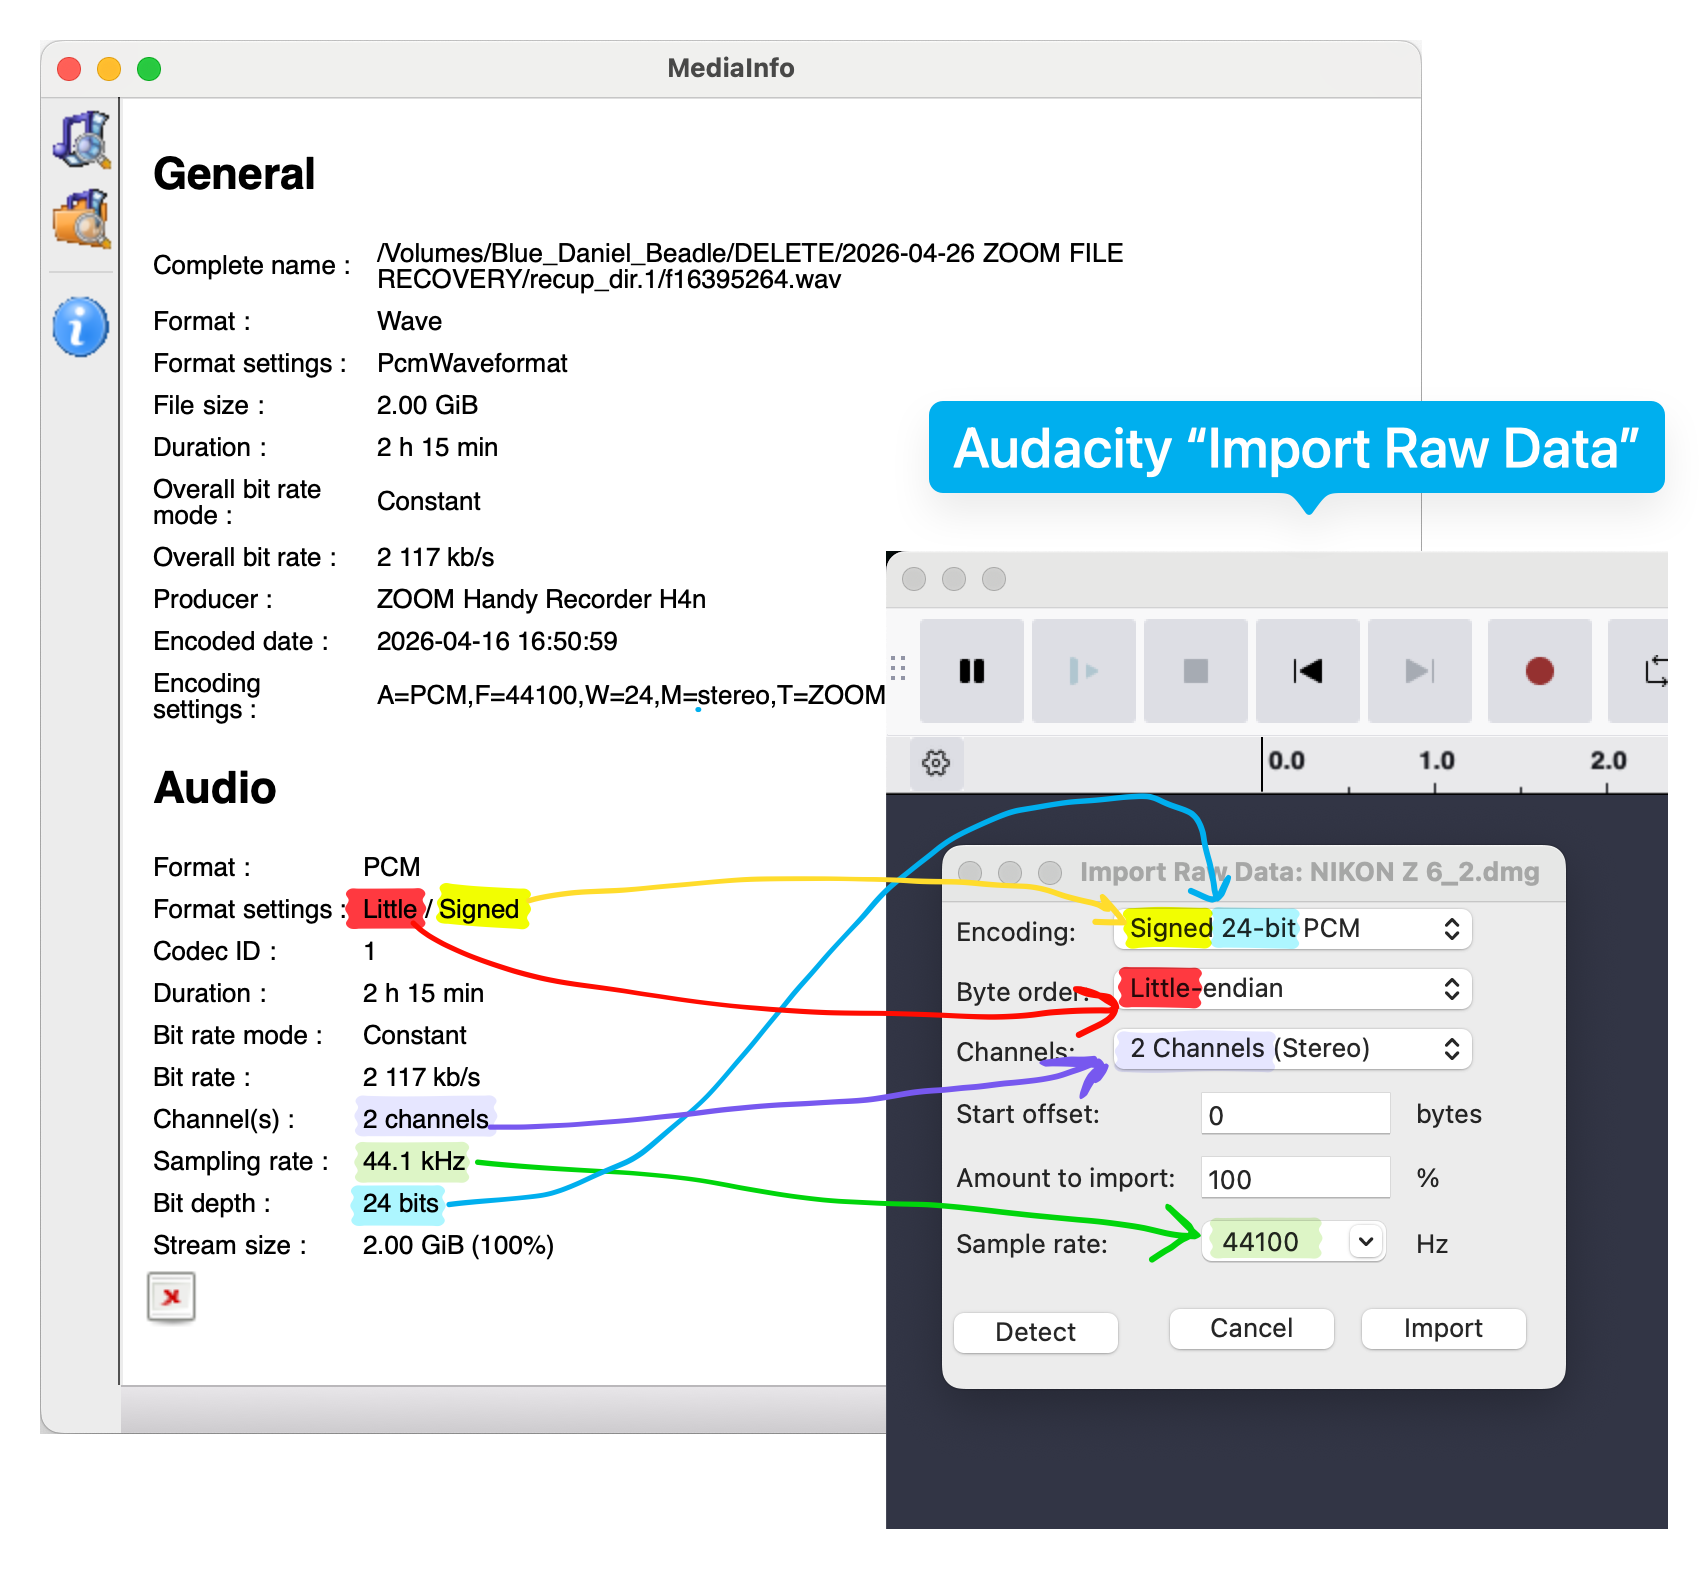
  3. Figure out what your audio recording settings were. If you have another recording you made with the same device with the same settings you can use open it in MediaInfo to see. Look for “Channels”, “bit rate”, and “bit depth”.

    If not you can try putting a different SD card in your Zoom and checking the format to see what was selected by default.

  4. Make sure you have a lot of disk space for Audacity’s temporary files. I needed a full 45 GB free for a 16 GB sd card

  5. Open Audacity

  6. File > Import > Raw Data…

    • Encoding: Signed ??-bit PCM
      ?? is the bit rate you found in step 5
    • Byte order: Always “little endian”
    • Channels: The number of channels you found in step 5
      This guide is only applicable to 1 or 2 channel audio. For 4 channels read merethan’s guide linked below
    • Start offset: Start with 0, finish the instructions, then come back and try 1, 2, 3, and 910
    • Amount to import: If all of your recordings were made with the same settings you can set this to 10% to see the first part of your disk image allowing you to check if you got it correct in Audacity. If your recordings have different settings you’ll just have to use 100% and inspect the disk image manually
    • Sample rate: Set this to “bit depth” you detected above. Note that Audacity wants Hz and MediaInfo uses kHz (44,100 Hz = 44.1 kHz)
SCR-20260427-ndht-3.png
  1. WRITE DOWN WHAT SETTINGS YOU USED
  2. Press import and get a snack
  3. Turn down your speakers to a quiet level. There will be loud annoying garbage. Headphones NOT recommended.
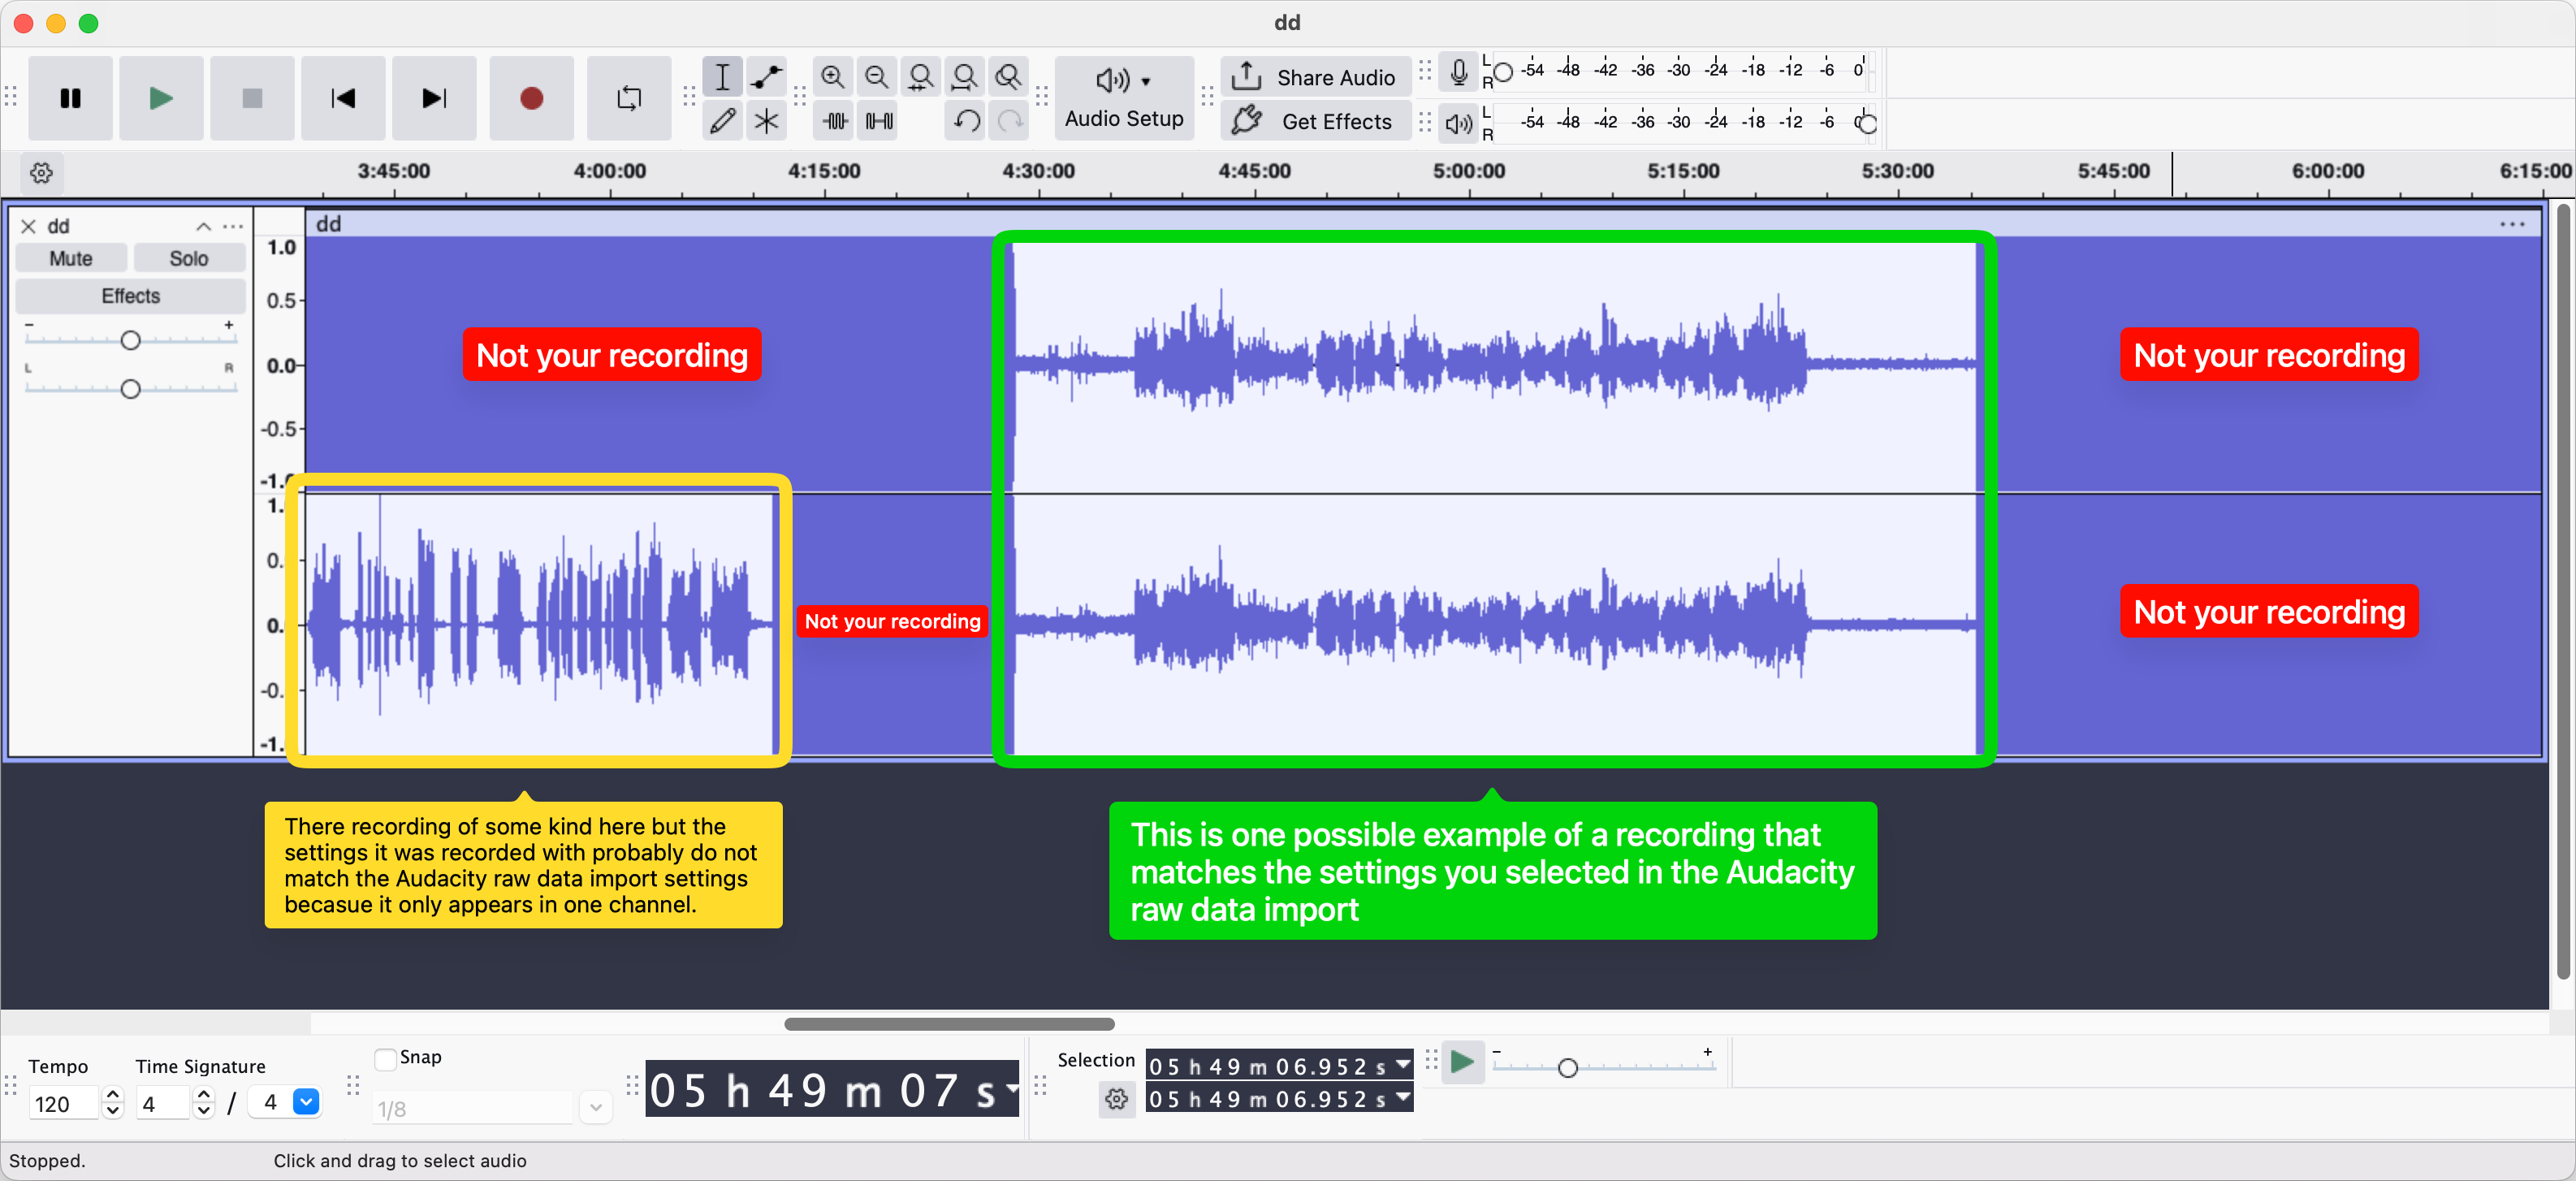
  4. Look through your file for something that looks like an audio recording. Try playing it. If you find part of your recording select it and export it to a safe spot (NOT YOUR SD CARD. NO WRITING TO THAT!) with the same settings you originally recorded it with. I recommend leaving some wiggle room on either end of the recording that you can trim down later.
    NOTE: Your recording might be in a single continous piece or it might be split up.

    Stuff that sounds like garbage are non-audio files or audio files that were recorded with different settings.
  1. Write down what you found with these settings.
  2. IF YOU DID NOT FIND EVERYTHING DO NOT PANIC.
    • Quit Audacity with Command-Q (⌘Q)
    • Make sure you have the expected available disk space. If your disk is suddenly full it might be an Audacity recovery file. Delete any large files lingering in /Users/YOUR_USERNAME/Library/Application Support/Audacity/SessionData
  3. Return to step 9 and change the Start offset, then repeat the remaining instructions.
  4. Once you have found everything you can recombine it

Good luck!!


The following guides were invaluable:


  1. ~$100 on eBay as of writing ↩︎

  2. Nice Brass and the L Train Brass Band ↩︎

  3. I used rubbing alcohol to scrape the rubberized coating off ↩︎


It’s well known that hard drive prices have been rapidly increasing. Here’s my personal experience.
In November, 2024 I bought a bundle of two 16TB WD Red Pro NAS Hard Drives directly from Western Digital. The list price was $670 but there was a promotion for the bundle bringing the price down to $500. Tax was $45 and shipping was free. That works out to $272 per drive ($17/TB).

The same drives are now listed for $400 on WD’s website ($25/TB). Diskprices.com (Archive.org snapshot of today) says the lowest price available for a new 16TB drive is $360 ($22.5/TB). Amazon has them for $578.

keepa-amazon-price-history.png

^ Amazon price history (source: Keepa)

Prices fluctuate, of course, that’s annoying but not so strange. The fact that everything is out of stock seems stranger to me. I was thinking about upgrading some drives and selling the used ones to my coworker but that doesn’t seem feasible now.

microcenter.jpeg

The same is true for flash storage and SSDs. I know a video editor who likes to work on 4TB Samsung T7 USB drives. In November, 2024 they cost $279 each. Today they cost $664 on Amazon and $880 on B&H. At least they’re on the shelves, I guess.

keepa-amazon-samsung-t7.png

I’m not sure where this is going but it seems like prices will keep going up for the immediate future. At this point I’m nervous about SD cards and routers too.


Grace Bowers at Night Club 101 on March 16th, 2026

Scroll for more →


Gladiators NYC in Central Park back on November 11th, 2025

Scroll for more →


Posting these graphs so I can easily reference them next time they come up in conversation

Climate graphs from Weather Spark (NYC, Arroyo Grande)

Ocean temperatures from Surf-Forecast.com (Asbury Park, Pismo Beach)


Relisten.net I just discovered Relisten (via a post about gapless.js on HN) a website with a slick multi-column layout for browsing live music recordings on Archive.org. I somehow missed this in my search for prior art while building my own Archive.org audio player.

Relisten is built by a different Daniel in Brooklyn. Hello, Daniel! 👋